

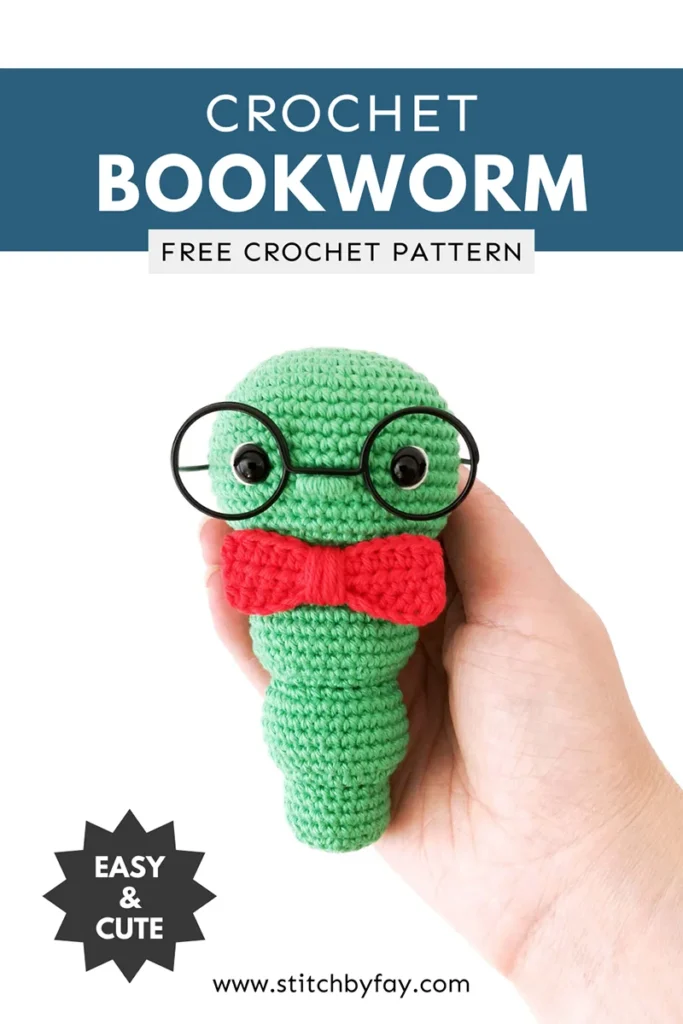
Crochet Bookworm Pattern
This crochet bookworm pattern is quick, cute and full of personality, making it perfect for gifting to fellow book lovers or adding a fun touch to your own shelves.
I have been wanting to design a crochet bookworm for ages. In fact, I fully intended to include one in my book, but I just couldn’t get the body segments quite right.
I guess this a classic example of everything in it’s own time and coming back to it now, it finally clicked.
About the Pattern
This crochet bookworm is worked in a spiral using basic stitches with minimal sewing.
You’ll be joining new yarn for each body segment and working off a round of leftover front loops.
The details are what really bring this bookworm to life. If you can’t find doll glasses or you need a custom size, I’ve included instructions to make your own.
Recommended Yarn
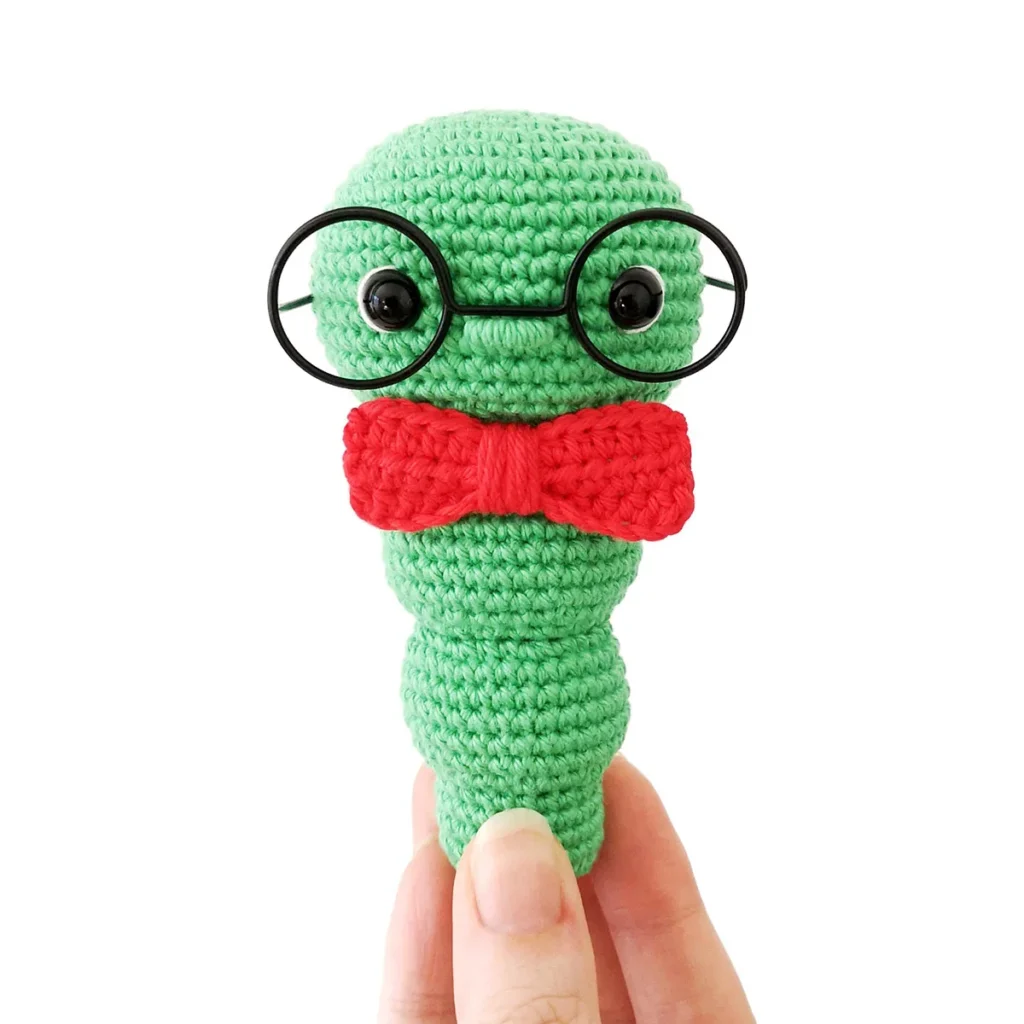
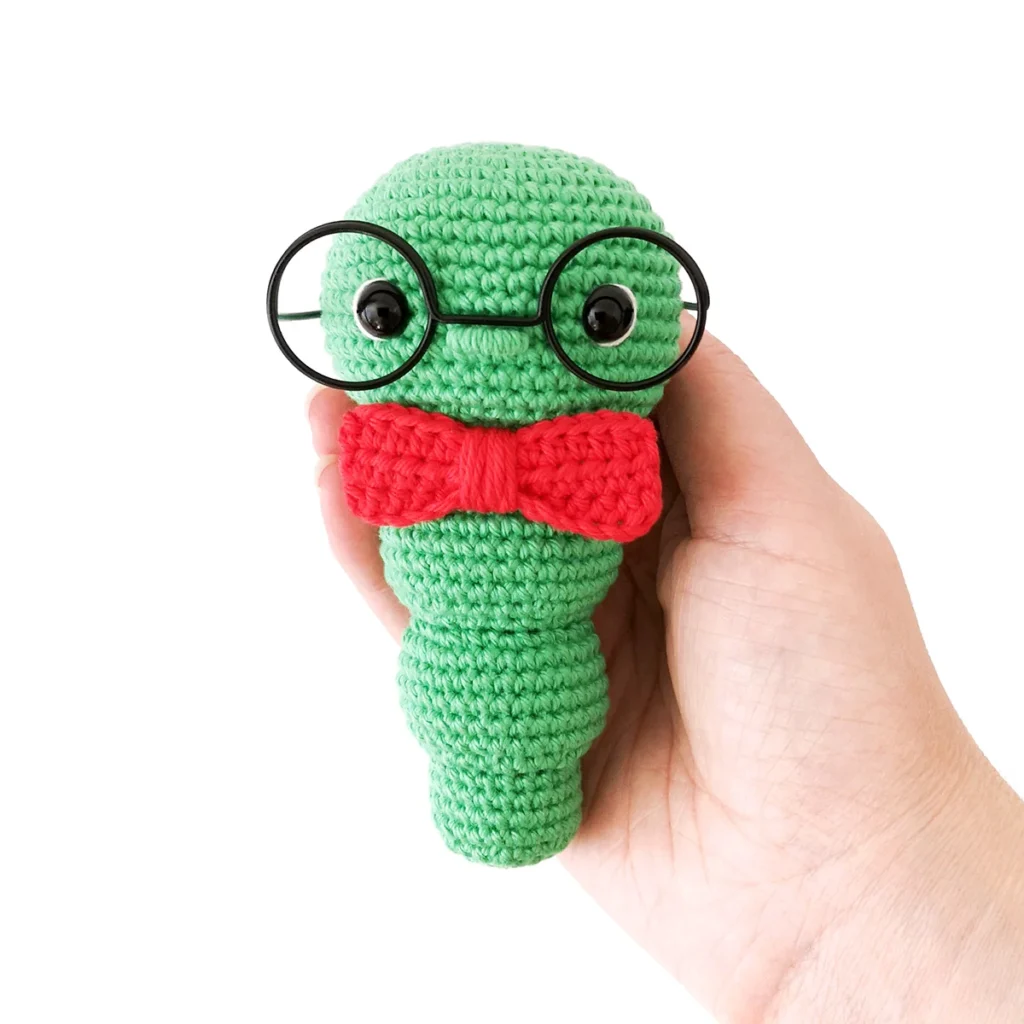
I used Paintbox Yarns Cotton DK with a 2.5mm hook for my crochet bookworm. For the purpose of this blog post, I’m sticking with the classic green with a red bow tie but you can use whatever colours you like.
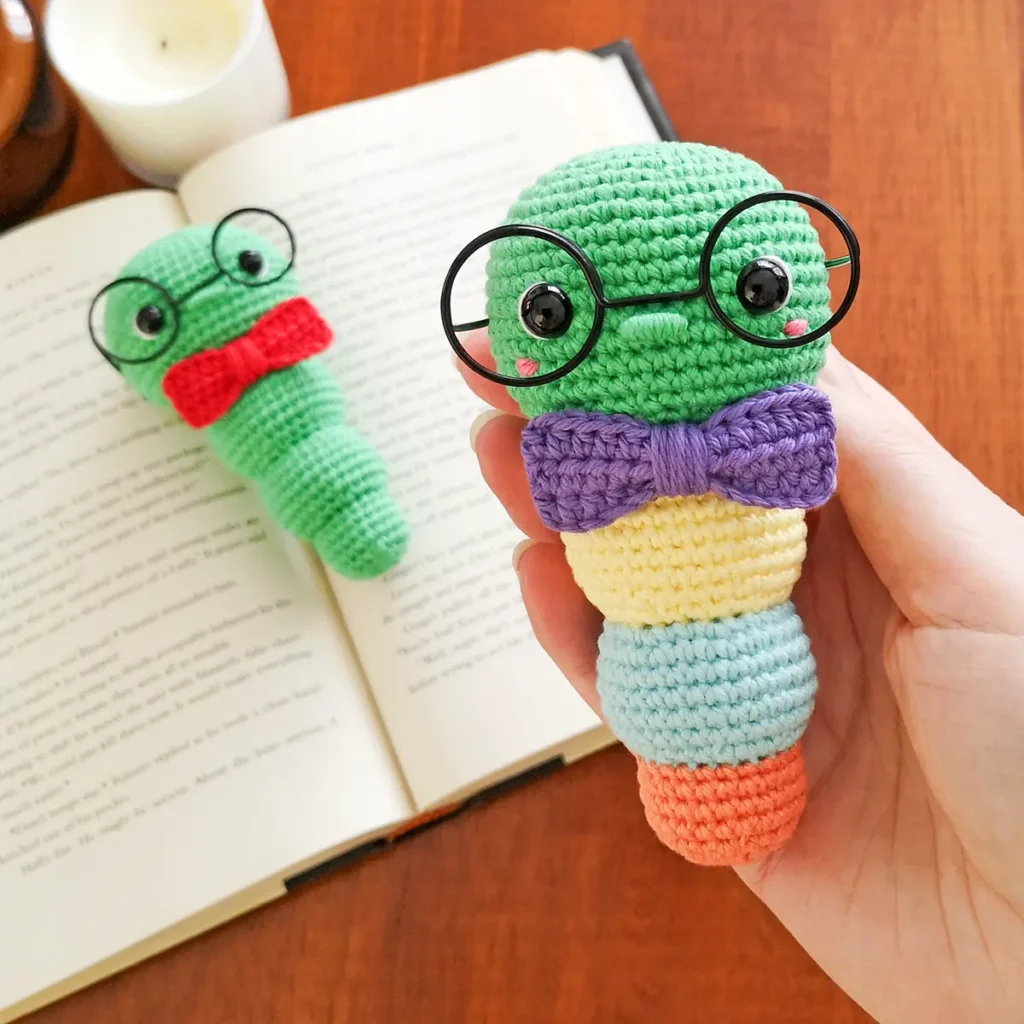
For the bookworm below, I made each segment a different colour using Paintbox Yarns Cotton DK in Spearmint Green, Daffodil Yellow, Washed Teal, Bright Peach and Dusty Lilac for the bow tie. I also used a small amount of Bubblegum Pink to give it little cheeks for extra cuteness.
Wrap Knots
I used a 10-wrap knot for the nose (meaning I passed the end of the yarn through the loop 10 times). Do not pull the knot too tight as you want the wraps to lie next to each other. You can gently shape the nose by rolling it between your fingers.
- Cut a length of yarn (approximately 6″/15cm) and cross one end over the other to make a loop.
- Pass one end of the yarn through the loop as if tying a knot.
- Repeat step 2 a further 9 times.
- Slowly pull both ends of the yarn. The loops will start to align – avoid pulling too tight.
- Use the yarn ends to secure the knot to your amigurumi.
The video below shows me making a 4-wrap knot, but the process is the same.
Why You’ll Love This Crochet Bookworm Pattern
More Crochet Patterns
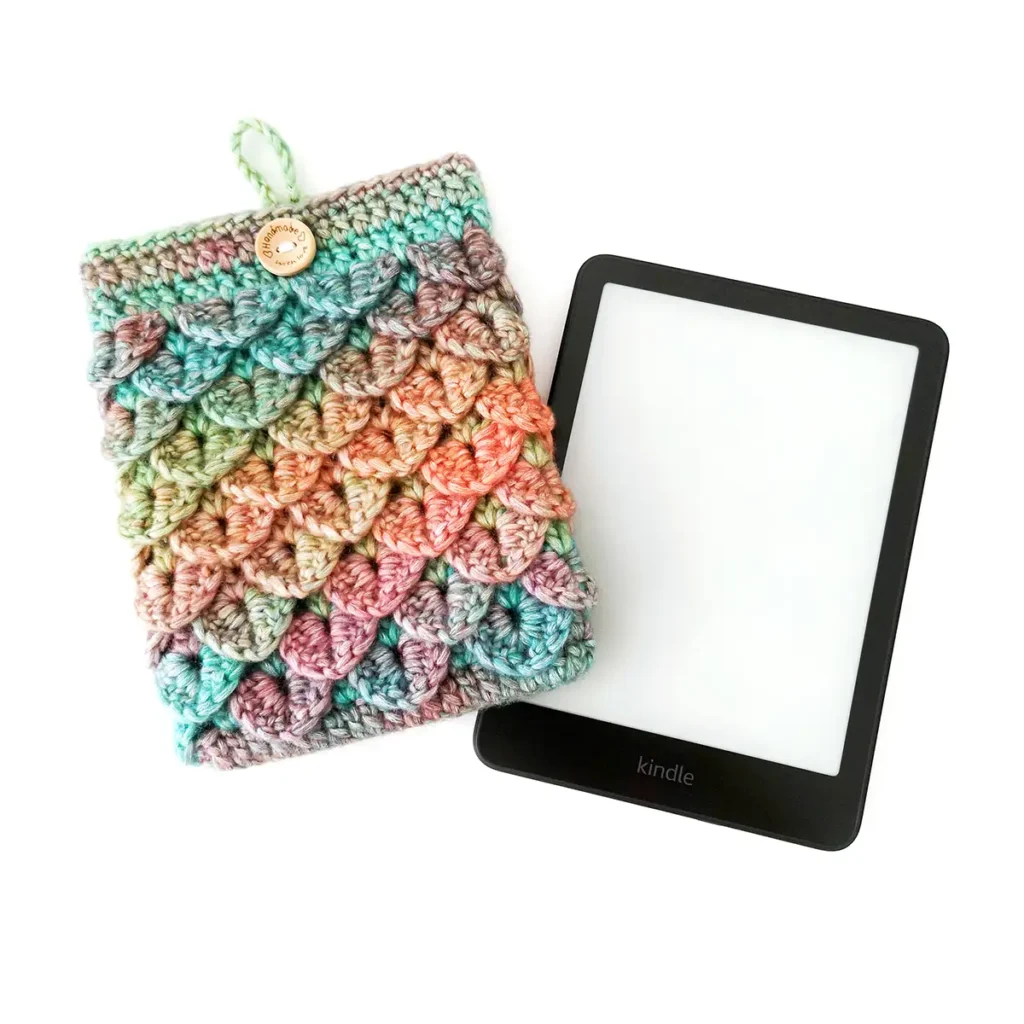
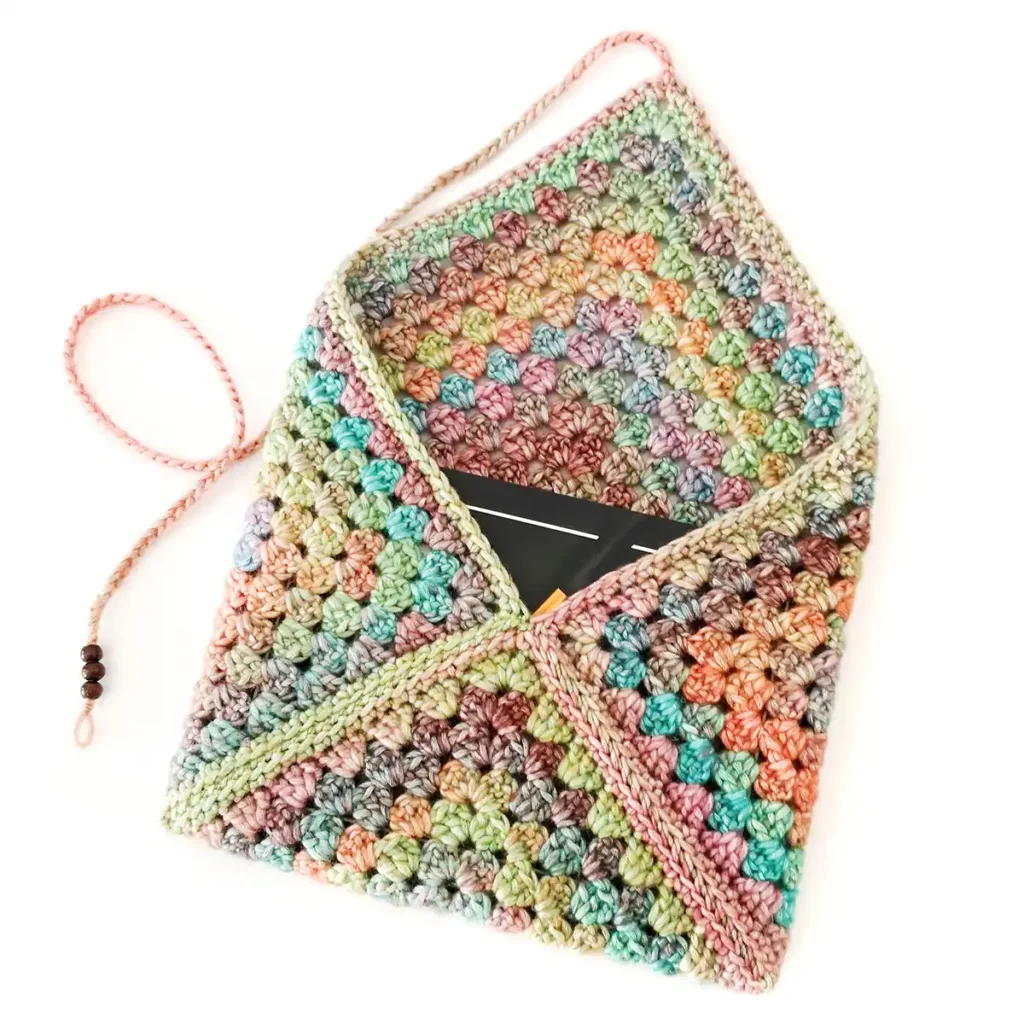
If you love this crochet bookworm pattern, you might also like to check out these other bookish patterns:

Crochet Bookworm Pattern
Materials
- DK weight yarn in green and red (I used Paintbox Yarns Cotton DK in Spearmint Green and Pillar Red)
- 2.5mm crochet hook
- 9mm safety eyes
- 4 ply white yarn or white embroidery floss
- Polyester fiberfill
- 6cm diameter wire glasses (I got mine from Spotlight NZ)
- Stitch marker, yarn needle, scissors
Abbreviations (US Terms)
- ch – chain
- BLO – back loop only
- dec – single crochet decrease
- hdc – half double crochet
- inc – increase
- invdec – invisible decrease
- sc – single crochet
- sl st – slip stitch
- st/s – stitch/es
- […] – repeat the instructions in brackets
- (…) – indicates stitch count at end of round
Useful Links
Finished Size
The finished bookworm measures approximately 4.75″ (12cm) long. Size may vary depending on tension and materials used.
Gauge
Gauge is not important in this pattern. Use a hook size to match your chosen yarn. Make sure that your stitches are tight enough to prevent stuffing showing through and adjust hook size if necessary.
Notes
- Pieces are worked in a continuous spiral using the traditional YO (yarn over) method. Mark the first stitch of each round with a removable stitch marker.
- The body segments are worked off a round of leftover front loops. The ch 1 does not count as a st, start the first round in the same space.
Pattern Instructions
Head (green)
R1: 6 sc in magic ring (6)
R2: [Inc] x6 (12)
R3: [Sc, inc] x6 (18)
R4: Sc, inc, [2 sc, inc] x5, sc (24)
R5: [3 sc, inc] x6 (30)
R6: 2 sc, inc, [4 sc, inc] x5, 2 sc (36)
R7: [5 sc, inc] x6 (42)
R8: 3 sc, inc, [6 sc, inc] x5, 3 sc (48)
R9-17: [Sc] x48 (48) 9 rounds
R18: 3 sc, invdec, [6 sc, invdec] x5, 3 sc (42)
R19: [5 sc, invdec] x6 (36)
Insert safety eyes between R13 and R14, 8 sts apart.
R20: 2 sc, invdec, [4 sc, invdec] x5, 2 sc (30)
Start stuffing and continue to stuff as you go.
R21: [3 sc, invdec] x6 (24)
R22: Work the entire round in the back loop only – BLO sc, dec, [2 sc, dec] x5, sc (24)
R23: [Sc, invdec] x6 (12)
R24: [Invdec] x6 (6)
Cut the yarn leaving a tail and pull through the last stitch. Weave the yarn tail through the front loops only of the final round and pull gently to close. Hide the end inside the head.
Body Segment 1
Join green yarn in the first leftover front loop from R22 of the head by inserting your hook and pulling up a loop of yarn. Ch 1 and start R1 in the same front loop.
R1: [Sc, inc] x12 (36)
R2-7: [Sc] x36 (36) 6 rounds
R8: 2 sc, invdec, [4 sc, invdec] x5, 2 sc (30)
R9: [3 sc, invdec] x6 (24)
Start stuffing and continue to stuff as you go.
R10: Work the entire round in the back loop only – sc, dec, [2 sc, dec] x5, sc (18)
R11: [Sc, invdec] x6 (12)
R12: [Invdec] x6 (6)
Cut the yarn leaving a tail and pull through the last stitch. Weave the yarn tail through the front loops only of the final round and pull gently to close. Hide the end inside the segment.
Body Segment 2
Join green yarn in the first leftover front loop from R10 of body segment 1 by inserting your hook and pulling up a loop of yarn. Ch 1 and start R1 in the same front loop.
R1: Sc, inc, [2 sc, inc] x7, sc (32)
R2-6: [Sc] x32 (32) 5 rounds
R7: Sc, invdec, [2 sc, invdec] x7, sc (24)
Start stuffing and continue to stuff as you go.
R8: Work the entire round in the back loop only – [BLO sc, dec] x8 (16)
R9: [Invdec] x8 (8)
Cut the yarn leaving a tail and pull through the last stitch. Weave the yarn tail through the front loops only of the final round and pull gently to close. Hide the end inside the segment.
Body Segment 3
Join green yarn in the first leftover front loop from R8 of body segment 2 by inserting your hook and pulling up a loop of yarn. Ch 1 and start R1 in the same front loop.
R1-4: [Sc] x24 (24) 4 rounds
R5: Sc, invdec, [2 sc, invdec] x5, sc (18)
Start stuffing and continue to stuff as you go.
R6: [Sc, invdec] x6 (12)
R7: [Sc, invdec] x4 (8)
Cut the yarn leaving a tail and pull through the last stitch. Weave the yarn tail through the front loops only of the final round and pull gently to close. Hide the end inside the segment.
Bow Tie (Red)
R1: Ch 14, hdc in third ch from hook and in each ch across (12)
R2-3: Ch 1, turn. [Hdc] x12 (12) 2 rows
Fasten off and weave in ends.
Pinch together in the centre. Using a long length of yarn in the same colour (approximately 18″), tie it around the middle to hold the shape.
Wrap the tails around the middle to form the centre of the bow (approximately 8-10 times) and tie the ends in a knot at the back. Leave the tails long for sewing.
Finishing Details
- Using green yarn, add a nose centred between the eyes between R14 and R15. You can do this a number of ways.
- Make 2 horizontal sts and wrap yarn evenly along the length by going over and under the 2 sts.
- Make a number of straight horizontal sts until you have your desired look.
- Make a 10-wrap knot which is what I did.
note
If you’re not adding glasses, you may want to sew the nose between R13 and R14 instead.
- Using 4 ply white yarn or white embroidery floss, add a white accent to the outer edge of each eye.
- Sew the bow to the bookworm between the head and the first body segment.
- Place glasses on the bookworm so that the bridge sits just above the nose. Gently bend the arms inward so that they hug the sides of the head if needed.
Glasses for Amigurumi
If you can’t find doll glasses at your local craft store or you need a custom size, here’s a guide for making your own. Bear in mind that it may require some trial and error to get the correct size for your amigurumi. Try the glasses on as you go and make adjustments as needed.
Materials List
- 18-gauge wire (you can use thicker or thinner wire depending on the look you’re going for)
- A pair of pliers with wire cutters
- A cylindrical object with your desired diameter (I used a 6cm piece of wooden dowel but you could use a spool of thread, small jar, whiteboard marker, etc)
Instructions
Start by cutting a 14” (36cm) length of wire.
note
You can work with it right off the spool, but I find it’s easier to cut the wire first.
- Leaving approximately 7cm of wire at the end, wrap the long end of the wire around the cylinder.
- Remove from the cylinder and flip the wire so that the circle is positioned on the right-hand side.
- Place the long end of the wire over the top of your cylinder approximately 3cm over from the first circle and wrap the wire around again to form the second circle.
- Remove from the cylinder and twist the second circle so that it’s facing the same way as the first circle.
- Press the wire down in the centre between the two circles. Try and bend it down at the edges, where it meets the two circles, so it’s somewhat straight in the middle.
- Bend the end pieces back and away to form the arms.
- Trim the ends to your desired length leaving approximately 1 cm in extra length.
- Bend the ends inwards approximately 1cm. Place the glasses on your amigurumi and insert the ends into the head to hold them in place. Make any adjustments until you’re happy with how the glasses are sitting.
Optional: Add a dab of glue to the ends before pushing them into the head for extra security.
not ready to make this yet?
Pin this post for later
Explore More Crochet Patterns
After you crochet this bookworm, here are some more crochet patterns to try:
What’s Next?
Have questions? Join the Facebook group!
We hope you enjoyed this pattern. Come and hang out with me in the Stitch by Fay Community Facebook group. We created this space for you to share pictures, ask questions and support each other.

This pattern is for personal use only and may not be copied, reproduced, altered, published or distributed in any format (including video). If you wish to share this pattern, you may link to this pattern but please do not reprint it on your site.
You can sell finished products made from this pattern in small quantities. Do NOT use our photos as your sale photos.