

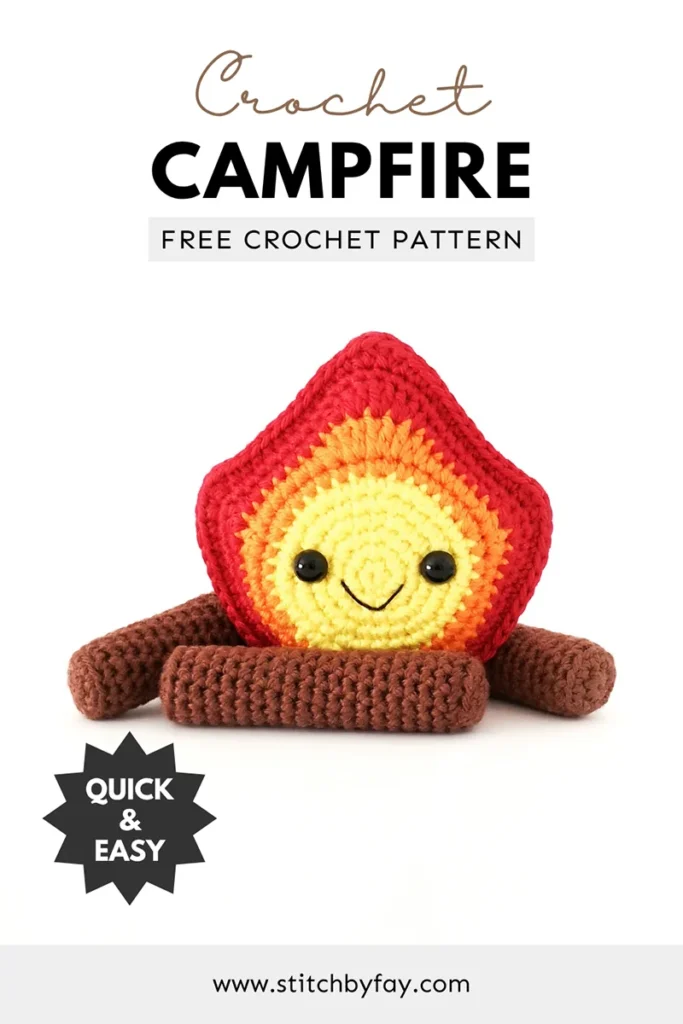
Crochet Campfire Pattern
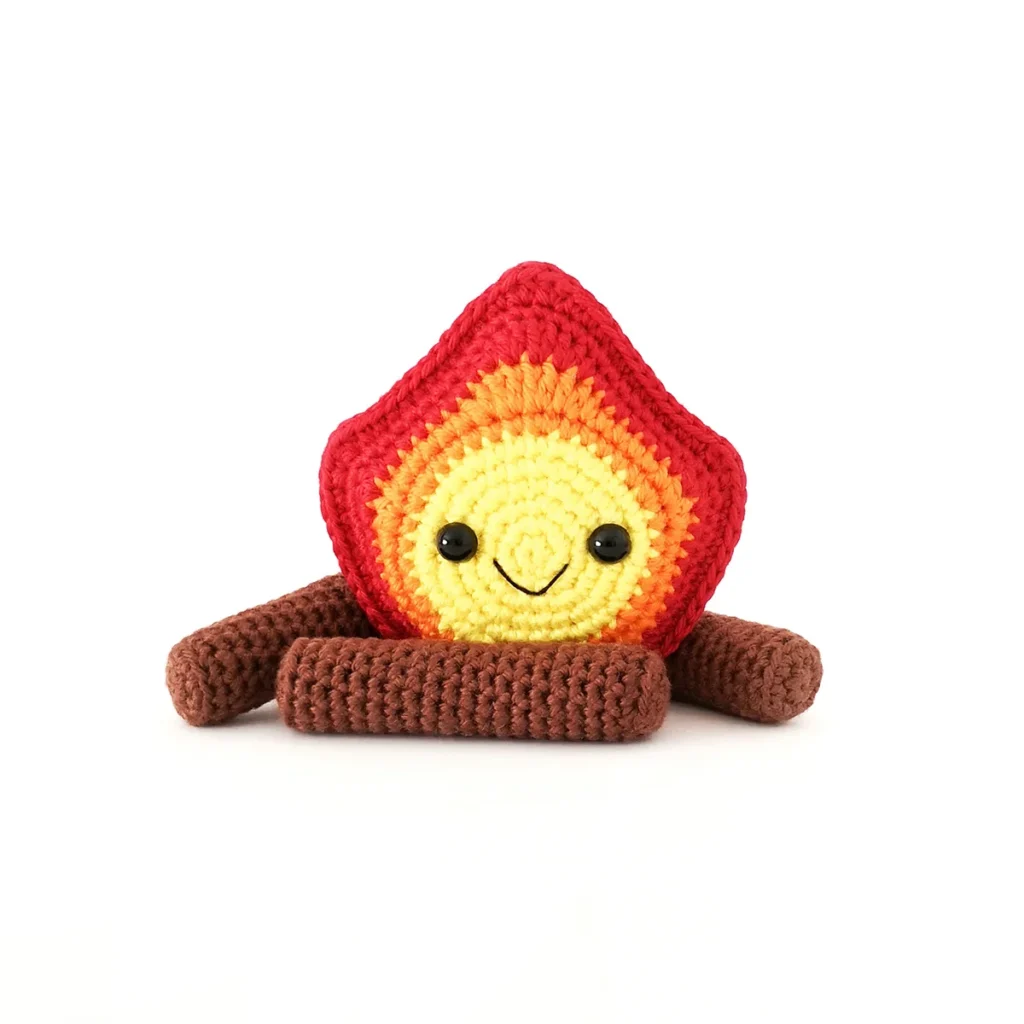
This crochet campfire pattern is a cute and cosy project full of nostalgic charm, perfect for gifts, playsets and themed decor.
This little crochet campfire has previously only been available as a paid pattern so I’m excited to finally bring it over to the blog and share it with you for free.
It’s a fun pattern that pairs perfectly with my Leo the Lion Boy pattern to make a cute amigurumi scene complete with mini marshmallow.
Pattern Bundle
The Lion Boy Camp Set includes:
- Leo the Lion Boy pattern
- Campfire Pattern
- Mini Marshmallow pattern
where to buy
About the Pattern
This crochet campfire pattern is worked in a spiral using basic stitches with optional sewing.
The campfire itself and the logs are all crocheted separately. The logs act as support for our little fire and can be left loose or sewn in place.
Recommended Yarn
I used Hobbii Friends Cotton 8/4 with a 2mm hook for my crochet campfire but you can use any yarn weight and fiber.

Why You’ll Love This Crochet Campfire Pattern
More Crochet Patterns
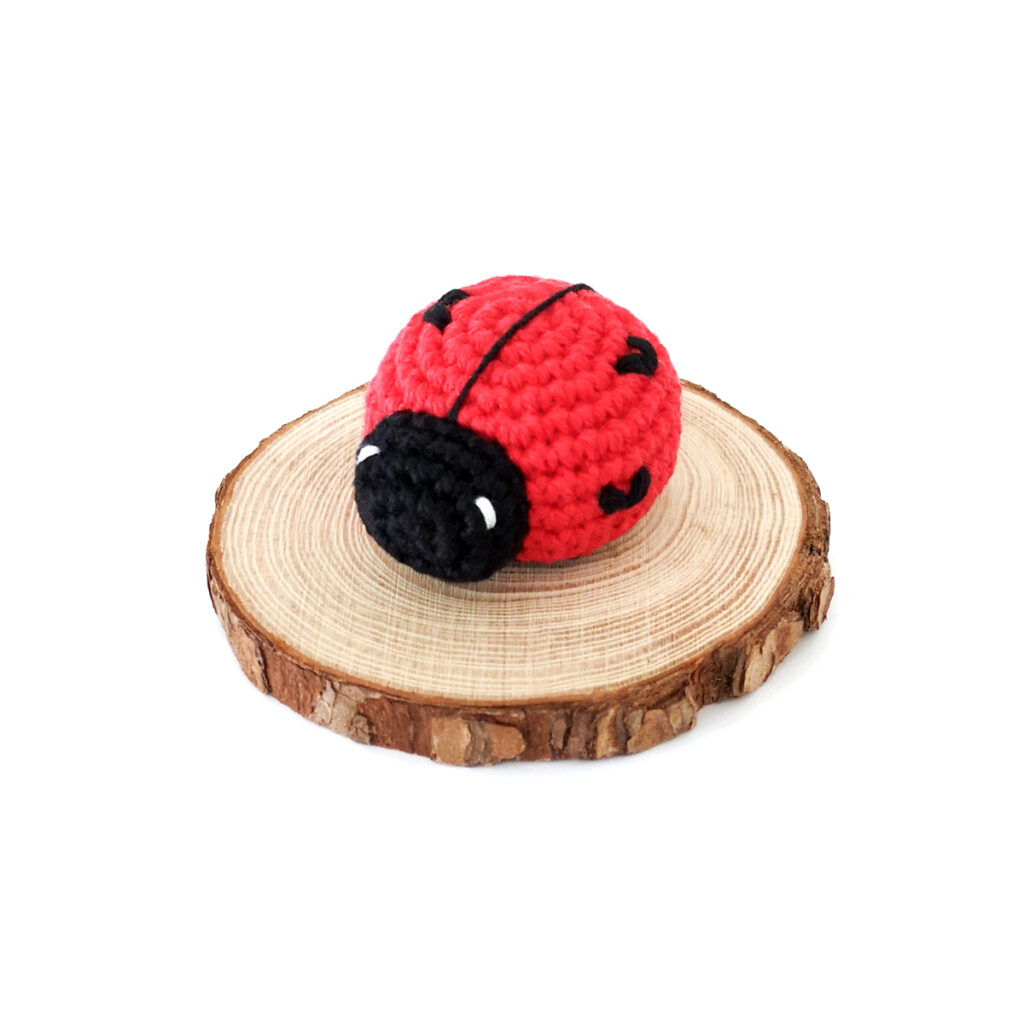
If you love this crochet campfire pattern, you might also like to check out these other amigurumi patterns:


Crochet Campfire Pattern
Prefer the PDF version?
where to buy
The ad-free PDF includes detailed instructions and photos as well as easy print pages.
Materials
- Fingering weight yarn in yellow, orange, red and brown (I used Hobbii Friends Cotton 8/4 in Lemon, Orange, Pomegranate and Chestnut)
- 2mm crochet hook
- 6mm safety eyes
- Black embroidery floss
- Polyester fiberfill
- Stitch marker, yarn needle, scissors
Abbreviations (US Terms)
- ch – chain
- BLO – back loop only
- dc – double crochet
- dc-inc – double crochet increase
- dec – single crochet decrease
- hdc – half double crochet
- hdc-inc – half double crochet increase
- inc – increase
- sc – single crochet
- sl st – slip stitch
- st/s – stitch/es
- […] – repeat the instructions in brackets
- (…) – indicates stitch count at end of round
Useful Links
Finished Size
The finished campfire measures approximately 2.75″ (7cm) tall x 4″ (10cm) wide. Size may vary depending on tension and materials used.
Gauge
Gauge is not important in this pattern. Use a hook size to match your chosen yarn. Make sure that your stitches are tight enough to prevent stuffing showing through and adjust hook size if necessary.
Notes
- Pieces are worked in a continuous spiral using the traditional YO (yarn over) method. Mark the first stitch of each round with a removable stitch marker.
Pattern Instructions
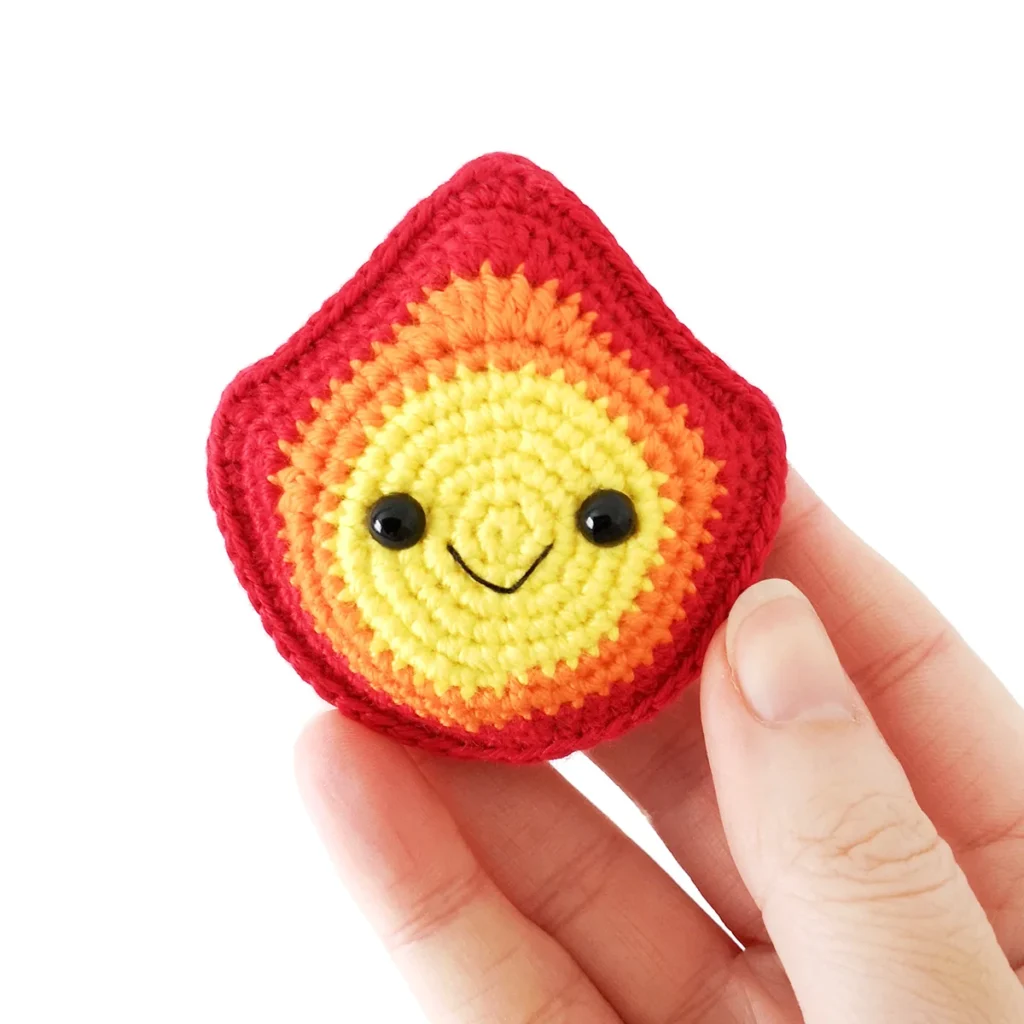
Fire (make 2, starting with yellow)
tip
You can minimise the colour changes by making the first st in the new colour a slip stitch or by using an alternative colour change method.
R1: 6 sc in magic ring (6)
R2: [Inc] x6 (12)
R3: [Sc, inc] x6 (18)
R4: Sc, inc, [2 sc, inc] x5, sc (24)
R5: [3 sc, inc] x6 (30)
R6: 2 sc, inc, [4 sc, inc] x5, 2 sc (36) – change colour to orange in last st
R7: [5 sc, inc] x6 (42)
R8: 11 sc, inc, hdc-inc, 6 sc, hdc-inc, [dc-inc] x2, hdc-inc, 6 sc, hdc-inc, inc, 11 sc (50) – change colour to red in last st
R9: 13 sc, inc, hdc-inc, 8 sc, hdc-inc, [dc-inc] x2, hdc-inc, 8 sc, hdc-inc, inc, 13 sc (58)
R10: [Sc] x58 (58)
Sl st in next st. Fasten off invisibly and weave in ends.
Insert safety eyes between R4 and R5 approximately 1 st up from the magic ring. Make sure that the eyes are in line with each other. Trim stems off the back of the eyes.
Using 2 strands of black embroidery floss, sew a mouth between R2 and R3 centred between the eyes.
Joining
Place both pieces wrong sides together with the front piece facing up. Join red yarn with a standing single crochet in the slip stitch before the invisible fasten off on the front piece and the last st of R10 on the back piece.
14 sc, inc, hdc-inc, 11 sc, (hdc, dc) in next st, (dc, hdc) in next st, 11 sc, hdc-inc, inc, 15 sc (64)
Start stuffing when you’re 3/4 of the way around and continue to stuff as you go. Avoid overstuffing.
Fasten off invisibly to first sc and weave in ends.
Small Log
R1: 8 sc in magic ring (8)
R2: [Sc, inc] x4 (12)
R3: Work the entire round in the back loop only – [BLO sc] x12 (12)
R4-22: [Sc] x12 (12) 19 rounds – start stuffing after a couple of rounds and continue to stuff as you go.
R23: Work the entire round in the back loop only – [BLO sc, dec] x4 (8)
Cut the yarn leaving a tail and pull through the last stitch. Weave the yarn tail through the front loops only of the final round and pull gently to close. Hide the end inside the log.
Medium Log
R1: 8 sc in magic ring (8)
R2: [Sc, inc] x4 (12)
R3: Work the entire round in the back loop only – [BLO sc] x12 (12)
R4-28: [Sc] x12 (12) 25 rounds – start stuffing after a couple of rounds and continue to stuff as you go.
R29: Work the entire round in the back loop only – [BLO sc, dec] x4 (8)
Cut the yarn leaving a tail and pull through the last stitch. Weave the yarn tail through the front loops only of the final round and pull gently to close. Hide the end inside the log.
Large Log
R1: 8 sc in magic ring (8)
R2: [Sc, inc] x4 (12)
R3: Work the entire round in the back loop only – [BLO sc] x12 (12)
R4-32: [Sc] x12 (12) 29 rounds – start stuffing after a couple of rounds and continue to stuff as you go.
R33: Work the entire round in the back loop only – [BLO sc, dec] x4 (8)
Cut the yarn leaving a tail and pull through the last stitch. Weave the yarn tail through the front loops only of the final round and pull gently to close. Hide the end inside the log.
Build your campfire by arranging the large and medium logs in a wide ‘V’ shape with the small log in front. Your fire should sit upright in the centre supported by the logs. Sew the logs in place if desired.
not ready to make this yet?
Pin this post for later
Explore More Crochet Patterns
After you crochet this campfire, here are some more crochet patterns to try:
What’s Next?
Have questions? Join the Facebook group!
We hope you enjoyed this pattern. Come and hang out with me in the Stitch by Fay Community Facebook group. We created this space for you to share pictures, ask questions and support each other.

This pattern is for personal use only and may not be copied, reproduced, altered, published or distributed in any format (including video). If you wish to share this pattern, you may link to this pattern but please do not reprint it on your site.
You can sell finished products made from this pattern in small quantities. Do NOT use our photos as your sale photos.