

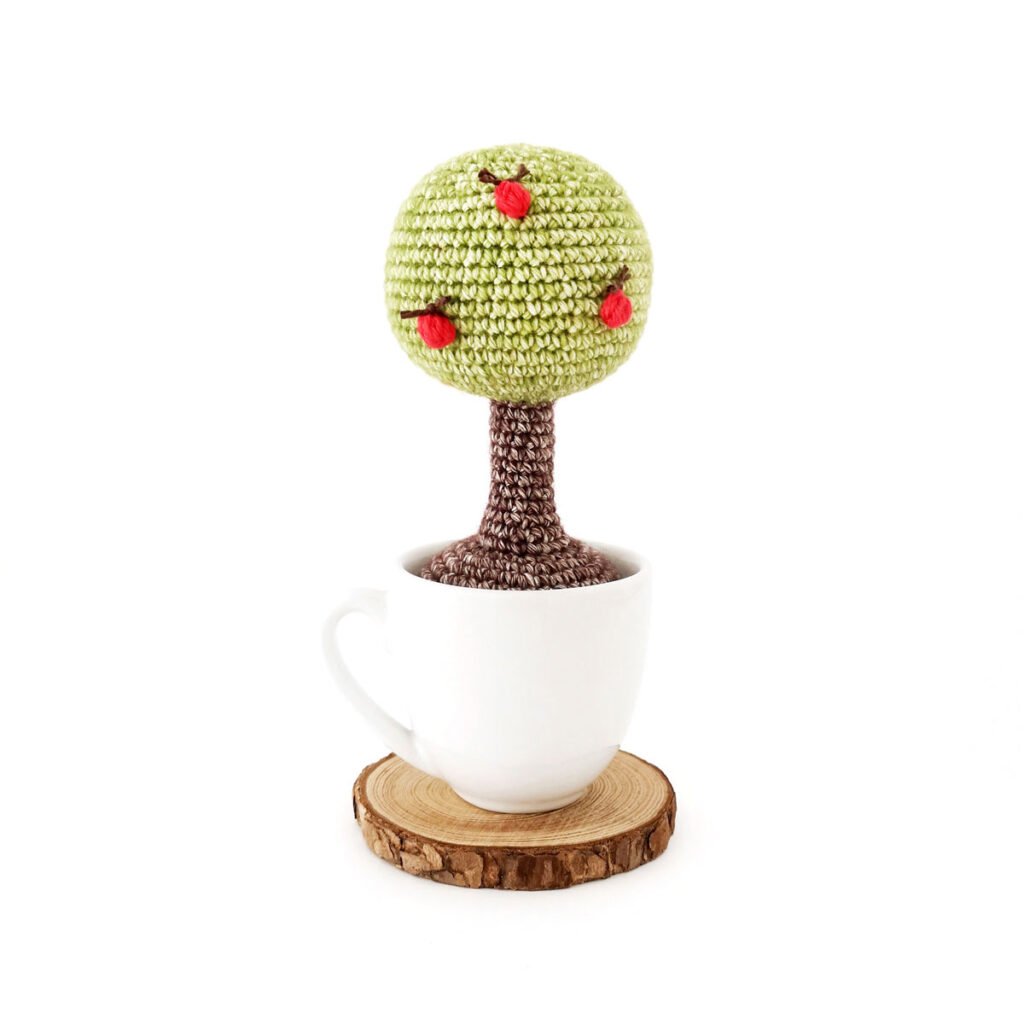
No-Sew Crochet Flower Pot Pattern
Do you have a black thumb? Then this is the plant for you! This crochet flower pot is a fun, low maintenance plant that’s perfect for adding some colour to your home decor.

Flowers are good for all sorts of occasions and with Mother’s Day coming up, this crochet flower pot would make a lovely gift.
It’s the perfect size to sit on a desk or shelf and doesn’t require any watering. Make it in your mum’s favourite colour and add some twine and a charm for an extra special touch.
I can also see it being a big hit at Spring markets. I mean, who doesn’t love a plant that they can’t kill?!
How to Crochet a Plant
You can crochet a plant as long as you’re comfortable with basic stitches and amigurumi techniques. Sometimes extra materials are required such as a small pot, wire, glue or other embellishments.

About the Pattern
This crochet flower pot pattern is no-sew (yay!) and works up fairly quickly. You’ll need to be familiar with front loops and back loops as we’ll be using them to create detail and join new colours.
I used both a piece of card and toy pellets in the base for extra stability as well as wire in the stem to make the flower posable.
A lot of crochet plants require a small pot to put them in and it can be tricky to find a pot in the correct size plus you’ll need to be aware of your gauge to make sure that your plant will fit. Well… not this plant. I wanted to make it as easy as possible for you.
Yarn Choice
I love cotton yarn for amigurumi so it’s no surprise that it’s what I used here. You’ll want to choose a yarn that will give your flower pot good structure and stitch definition as the stem is quite thin and this will help it hold it’s shape. Also look for a variety of colours so you can make all the pretties!

Why You’ll Love This Crochet Flower Pot Pattern
More Patterns
If you love this crochet flower pot pattern, you might also like to check out these other plant inspired patterns:


Crochet Flower Pot Pattern
Prefer the PDF version?
where to buy
The ad-free PDF includes detailed instructions and photos as well as easy print pages.
Materials
- DK weight yarn in pot colour, brown, green, yellow and flower colour (I used Paintbox Yarns Cotton DK in Vintage Pink, Coffee Bean, Spearmint Green, Mustard Yellow, Pale Lilac/Bubblegum Pink)
- 2.5mm crochet hook
- Card (tissue box, cereal box, etc)
- 16 gauge floral wire
- Jewellery pliers
- Polyester fiberfill
- Optional: toy pellets, twine and a charm
- Stitch marker
- Yarn needle
- Scissors
Abbreviations (US Terms)
- ch – chain
- sc – single crochet
- inc – increase
- BLO – back loop only
- FLO – front loop only
- invdec – invisible decrease
- hdc – half double crochet
- dc – double crochet
- sl st – slip stitch
- st/s – stitch/es
- […] – repeat the instructions in brackets
- (…) – indicates stitch count at end of round
Useful Links
Finished Size
The finished flower pot measures approximately 5″ (13cm) tall. Size may vary depending on tension and materials used.
Gauge
Gauge is not important in this pattern. Use a hook size to match your chosen yarn. Make sure that your stitches are tight enough to prevent stuffing showing through and adjust hook size if necessary.
Notes
- Pieces are worked in a continuous spiral, starting with a magic ring and using the traditional YO (yarn over) method, unless otherwise specified. Mark the first stitch of each round with a removable stitch marker.
Pattern Instructions
Pot (pot colour)
R1: 6 sc in magic ring (6)
R2: [Inc] x6 (12)
R3: [Sc, inc] x6 (18)
R4: Sc, inc, [2 sc, inc] x5, sc (24)
R5: [3 sc, inc] x6 (30)
R6: BLO [sc] x30 (30)
R7: [9 sc, inc] x3 (33)
R8-9: [Sc] x33 (33) 2 rounds
R10: 5 sc, inc, [10 sc,inc] x2, 5 sc (36)
R11-12: [Sc] x36 (36) 2 rounds
R13: [11 sc, inc] x3 (39)
R14-15: [Sc] x39 (39) 2 rounds
R16: 6 sc, inc, [12 sc, inc] x2, 6 sc (42)
R17: FLO [sc] x42 (42)
R18: [Sc] x42 (42)
Note: Work the entire round of R19 in the back loop only.
R19: Ch 1, turn. BLO hdc in first st, [dc] x41 (42)
Fold down the rim of the pot to the round of leftover back loops from R17.
Fasten off invisibly to first hdc. Weave in ends.
Measure the base of the flower pot and cut a circle out of card. Place in bottom of pot.
Soil (brown)
Join brown yarn in the first leftover back loop from R17 of the flower pot.
R1: Ch 1, sc in same st and in each st around (42)
R2: [5 sc, invdec] x6 (36)
R3: Sc, invdec, [2 sc, invdec] x8, sc (27)
R4: [Sc, invdec] x9 (18)
If using, fill 1/4 of the pot with toy pellets. Start stuffing and continue to stuff as you go.
Tip: Focus stuffing towards the outer edges to create a flatter top.
R5: [Sc, invdec] x6 (12)
R6: [Invdec] x6 (6)
Cut the yarn leaving a tail and pull through last st. Weave the yarn tail through the back loops only of the final round and pull to close. Hide the end inside the pot.
Stem (green)
Note: My stem did not require stuffing but if you’re using different materials, you may want to stuff the stem lightly as you go.
Join green yarn in the first leftover front loop from R6.
R1: Ch 1, sc in same st and in each st around (6)
R2-12: [Sc] x6 (6) 11 rounds
R13: FLO [inc] x6 (12)
Fasten off invisibly and weave in ends.
Measure the stem and cut a piece of floral wire that is approximately 1 cm longer. Use pliers to bend over the tip of one end. Insert into the stem with the rounded end facing up and embedding the sharp end into the pot. It should not protrude from the stem, trim if necessary.
Flower Centre (yellow)
R1: 6 sc in magic ring (6)
R2: [Inc] x6 (12)
R3: [Sc] x12 (12)
Fasten off invisibly and weave in ends.
Flower Petals (flower colour)
Place the flower center wrong sides together with the top of the stem. You will be crocheting the petals using both loops of the flower centre and the back loops only of the stem. Add stuffing when you’re 3/4 of the way around.
Join yarn in any st.
R1: [Ch 7, hdc in second ch from hook and next 4 chs, sc in last ch, sl st in next st] x11, ch 7, hdc in second ch from hook and next 4chs, sc in last ch (12 petals)
Cut the yarn leaving a tail and pull through last st. Bring the yarn tail down through the same st as starting. Weave in ends.
Bend the stem slightly so that the flower is facing forwards.
Optional: Tie twine around the pot and thread on a charm before tying in a bow. Trim ends.
not ready to make this yet?
Pin this post for later

Explore More Crochet Patterns
After you crochet this flower pot, here are some more crochet patterns to try:
What’s Next?
Have questions? Join the Facebook group!
We hope you enjoyed this pattern. Come and hang out with me in the Stitch by Fay Community Facebook group. We created this space for you to share pictures, ask questions and support each other.

This pattern is for personal use only and may not be copied, reproduced, altered, published or distributed in any format (including video). If you wish to share this pattern, you may link to this pattern but please do not reprint it on your site.
You can sell finished products made from this pattern in small quantities. Do NOT use our photos as your sale photos.
Can you clarify how to connect the flower center with the stem? The center has 12 stitches and the stem has 6, how do we connect them?
Hi, you’ve missed the final round on the stem (R13) which brings the stitch count to 12.
When you say turn in the row 19 of the pot, do you mean turn it around or inside out? If I don’t turn it inside out, I can’t use the BLO for the soil, or I did something wrong. Also, do I stitch the rim to the pot or will it just stay down? Thank you!
Turn so that you’re working in the opposite direction, the right side of your work should be facing outwards. You’ll have a round of leftover back loops from R17 to work the soil into. I find that the rim stays in place but you can sew it down if you wish.
Should the flower center be made two times? Thank you. Really cute pattern
No, you only need one as it attaches to the top of the stem.
I have lots of worsted weight yarn, could that be used instead of DK weight, with a 3.5 hook? Or will it end up too big?
You can use worsted weight yarn. I’ve not tried it myself so I’m not sure how much bigger it will be.
loved the daisy pattern. Loved that it is all one piece and no sewing required. Thank you so much for sharing your pattern. Very easy to make. Sincerely
Thank you for this wonderful pattern! Easy to follow and my flower and pot turned out so cute! I really like how there was no sewing involved.
Thank you for the amazing pattern! It was super easy to follow, and now I have a cute little flower on my windowsill.