

How to Close Amigurumi Tutorial
Learning how to close amigurumi is an essential skill for anyone who loves crocheting stuffed toys.
In this tutorial, I’ll show you how to close amigurumi using a simple drawstring method. Whether you’re making your first amigurumi or looking to improve your finishing techniques, you’ll find everything you need to know below.
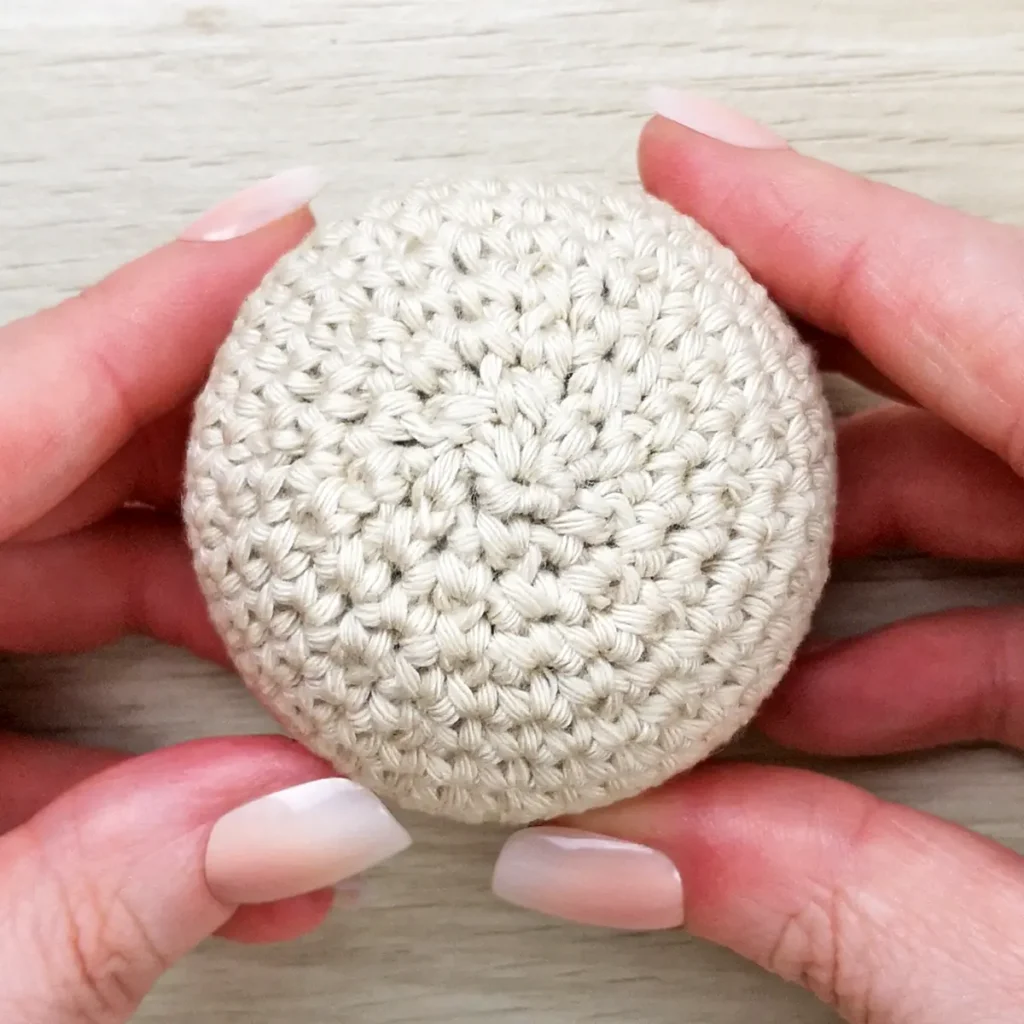
What Does it Mean to Close Amigurumi?
Most amigurumi projects are crocheted in the round, usually starting with a magic ring and working in a continuous spiral. As you crochet, the stitches form a three-dimensional shape that you fill with stuffing.
When you reach the end of the pattern, you’ll usually have a small hole left after the final round. Closing amigurumi involves gathering the remaining stitches together to close the opening and keep the stuffing securely inside.
Many patterns simply instruct you to fasten off without explaining how to close the opening. There are a few ways to do this, but the most common method uses a yarn needle to draw the yarn through the remaining stitches before pulling it tight.
How to Close Amigurumi
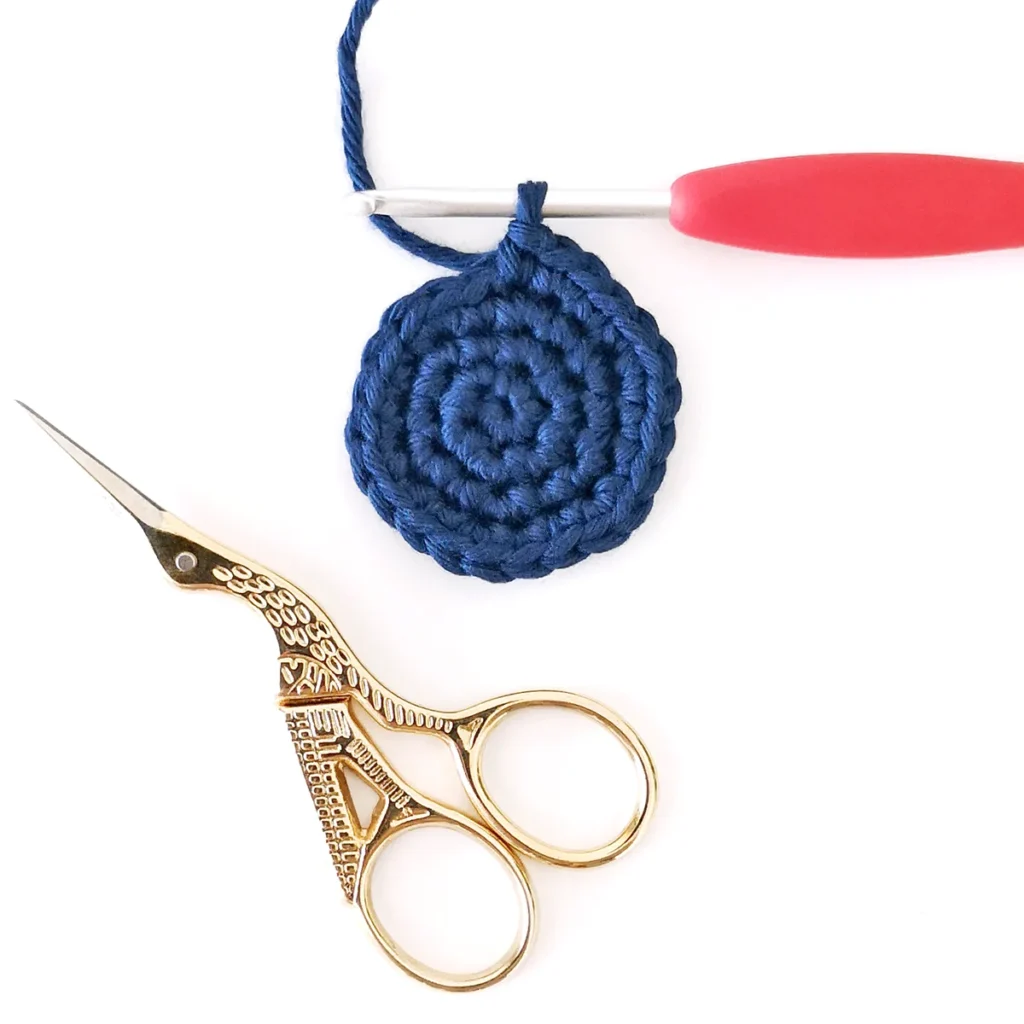
To close amigurumi, all you need is a yarn needle and a sharp pair of scissors.
Here’s a quick written breakdown:
- Cut the working yarn, leaving a tail of about 6 inches (15 cm) long enough to close the opening and secure the end. Pull the cut end through the last stitch and thread it onto a yarn needle.
- Insert your tapestry needle under the front loops only of the first stitch, from outside to inside, and pull the yarn through.
- Continue around the opening, working in the same direction, passing the needle under the front loop only of each remaining stitch.
- Place your thumb over the opening and gently pull on the yarn tail to close the hole.
- Once the opening is closed, insert your needle through the centre of the closed hole and bring it out at a different point on the piece. Repeat this a couple of times to secure the yarn.
- Pull the yarn tail taut and cut it close to the surface, the end should shrink back inside the piece.
More Tutorials
If you love this how to close amigurumi tutorial, you might also like to check out these other tutorials:
Step-by-Step Instructions
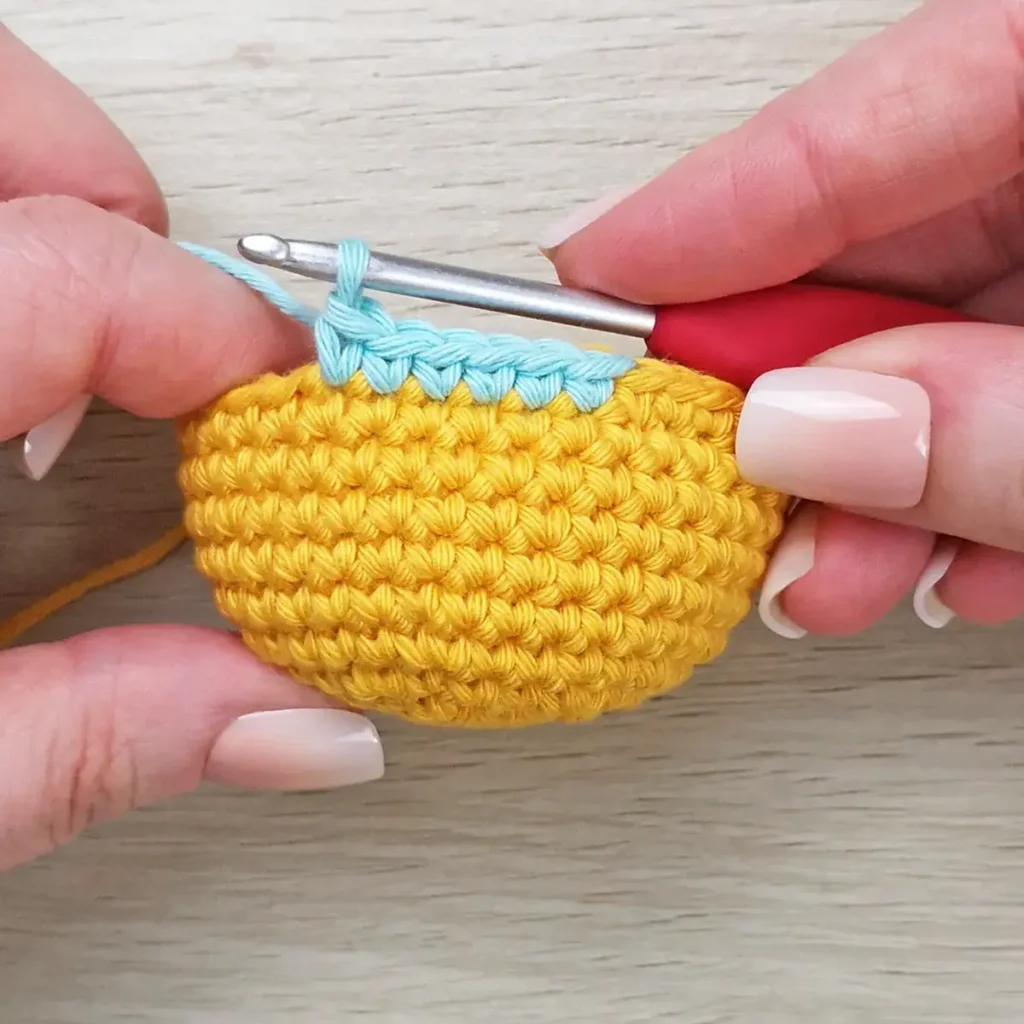
Complete the final round of your crochet pattern.
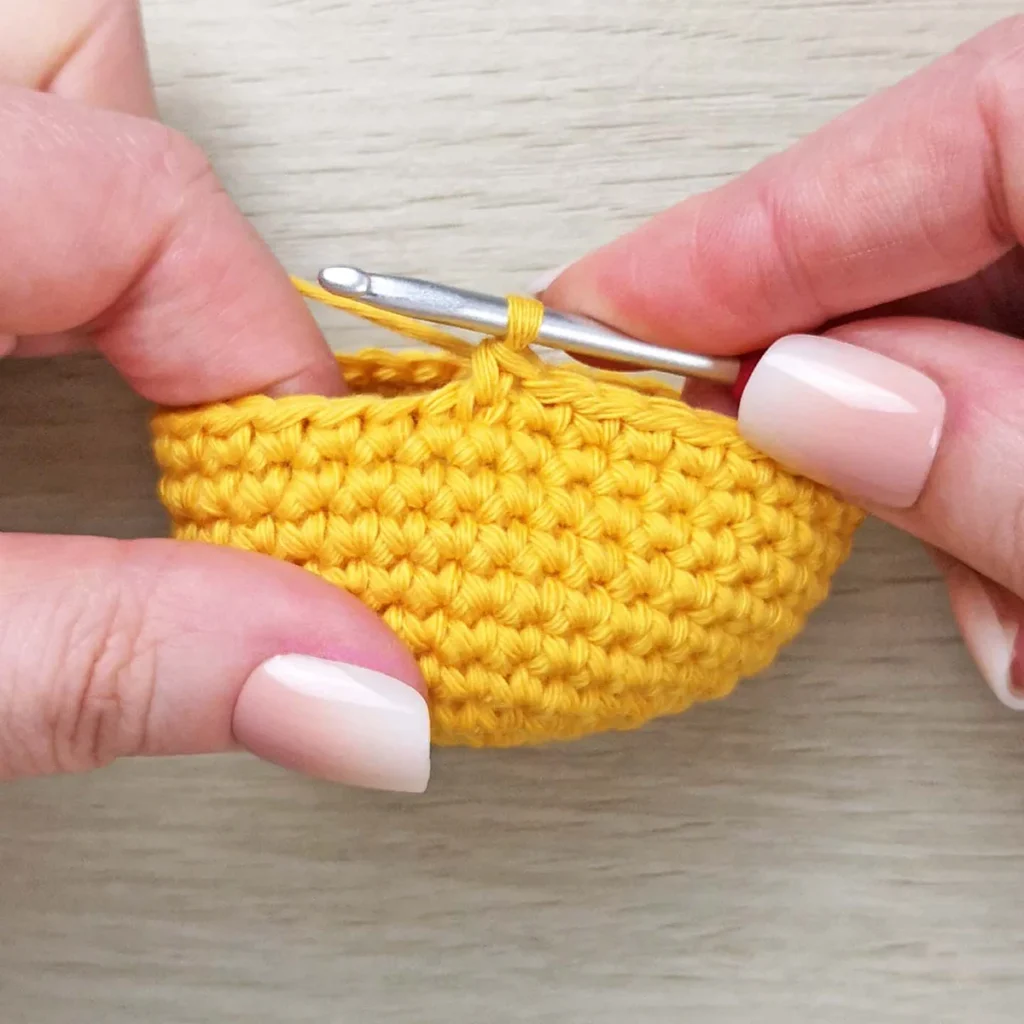
1. Cut the working yarn, leaving a tail of about 6 inches (15 cm) long enough to close the opening and secure the end. Pull the cut end through the last stitch and thread it onto a yarn needle.
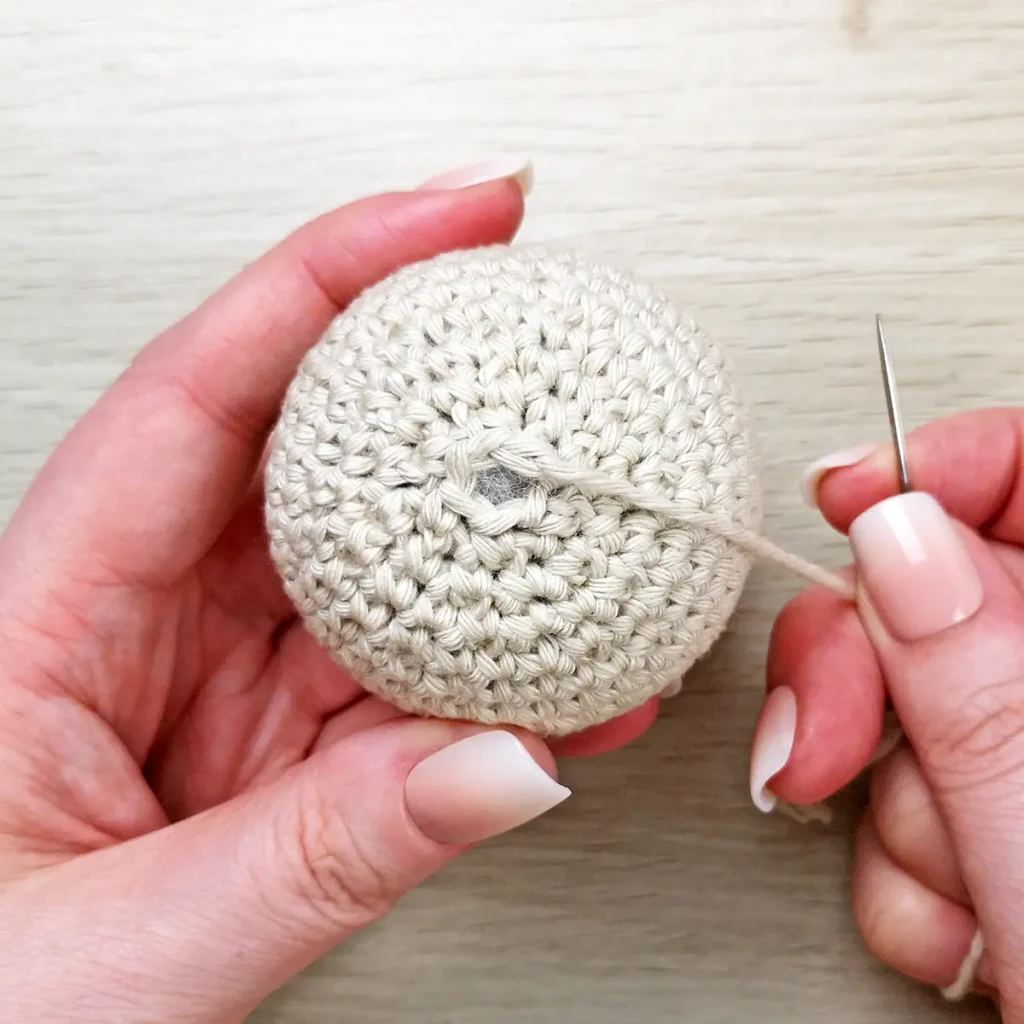
2. Look at the stitches around the opening. Each crochet stitch has two loops: a front loop and a back loop.
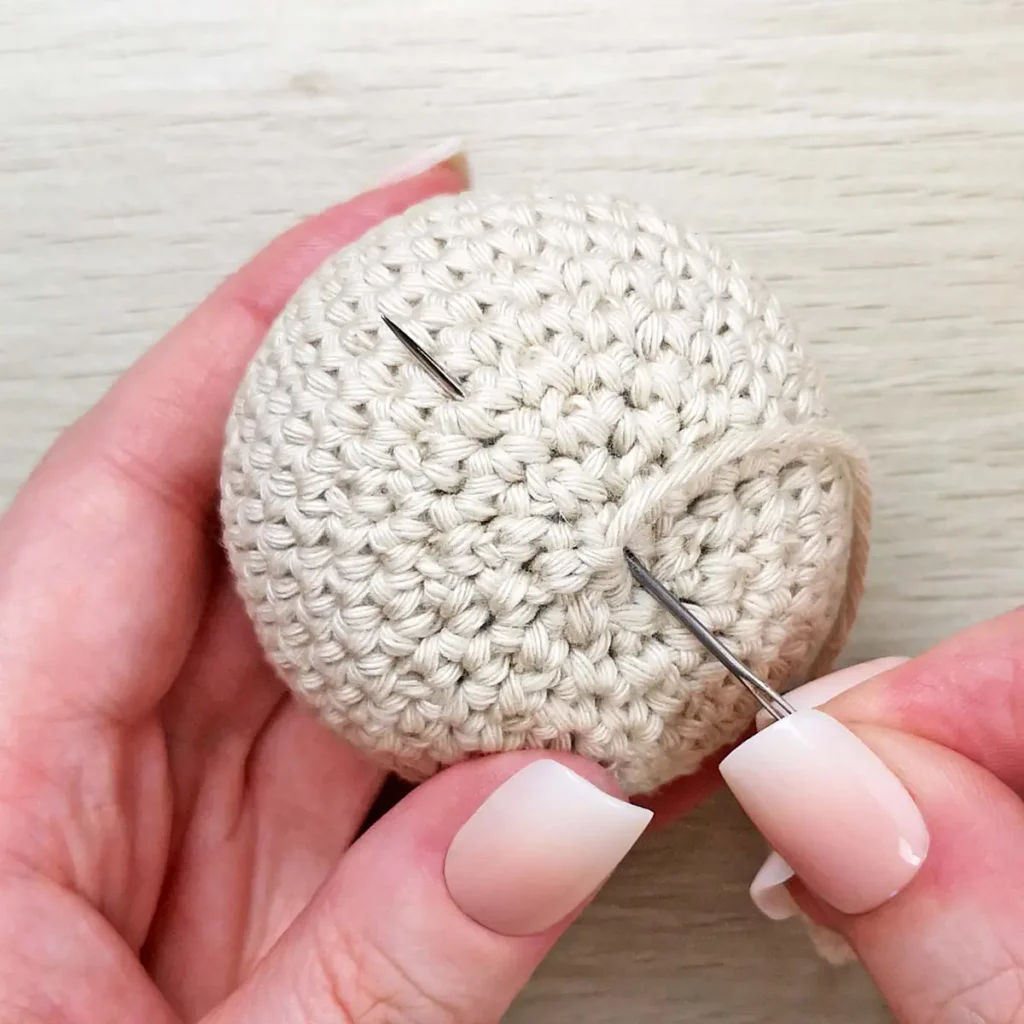
Insert your tapestry needle under the front loop only of the first stitch, from outside to inside, and pull the yarn through.
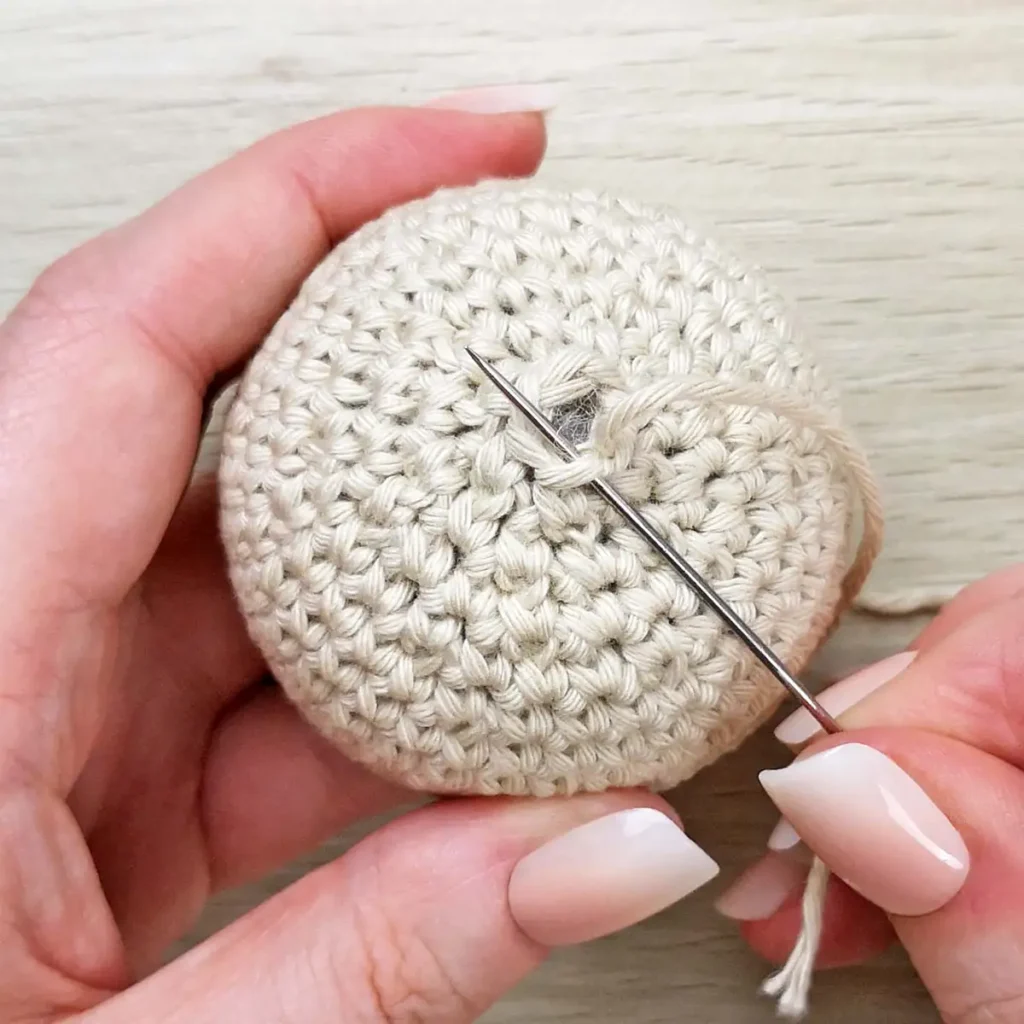
3. Continue around the opening, working in the same direction, pass the needle under the front loop only of each remaining stitch.
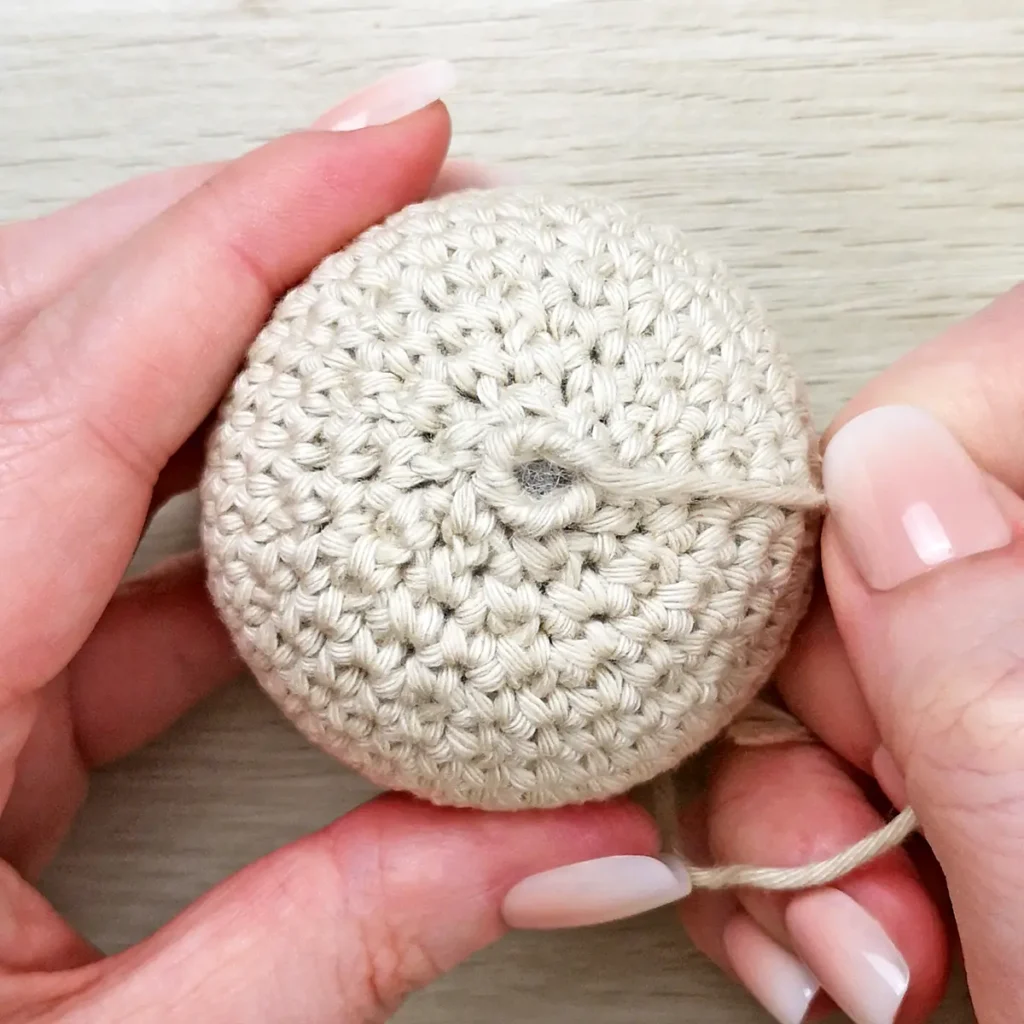
4. Place your thumb over the opening and gently pull on the yarn tail to close the hole.
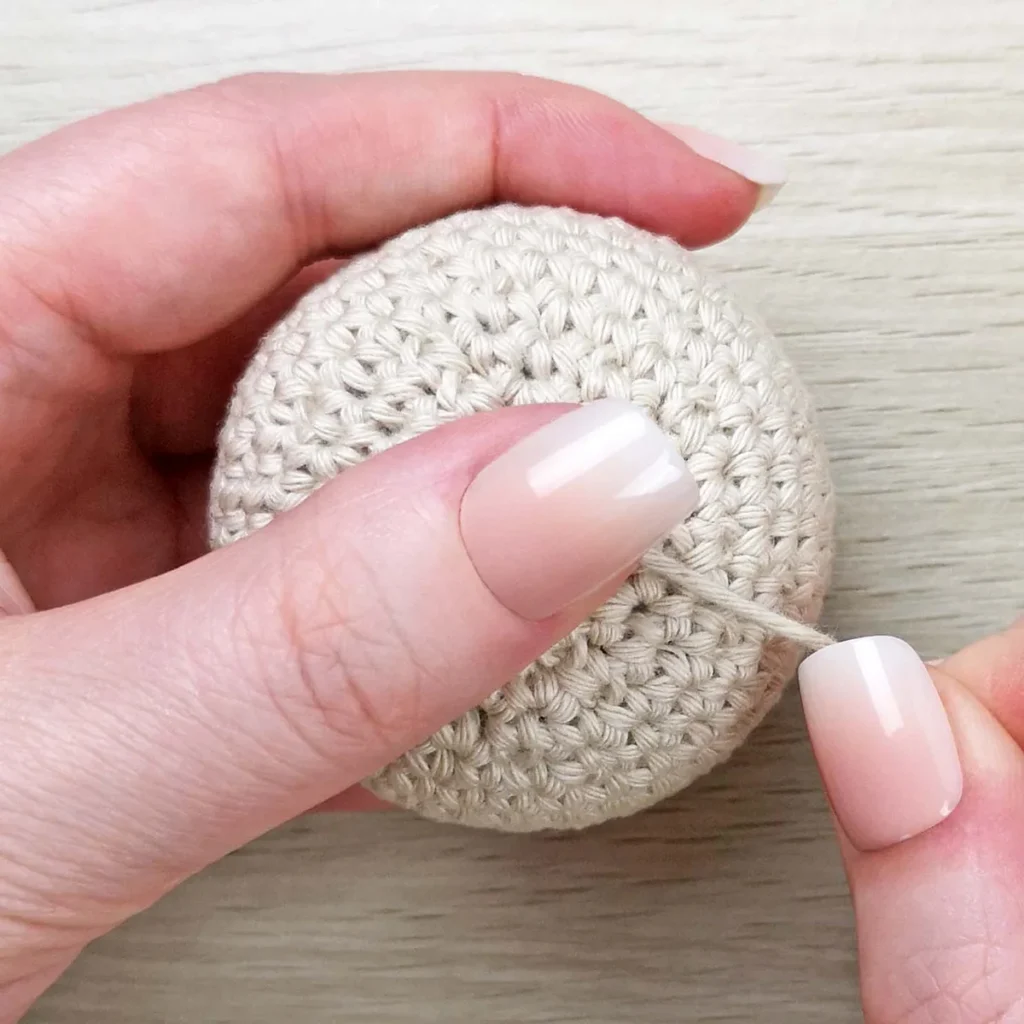
5. Once the opening is closed, insert your needle through the centre of the closed hole and bring it out at a different point on the piece. Repeat this a couple of times to secure the yarn.
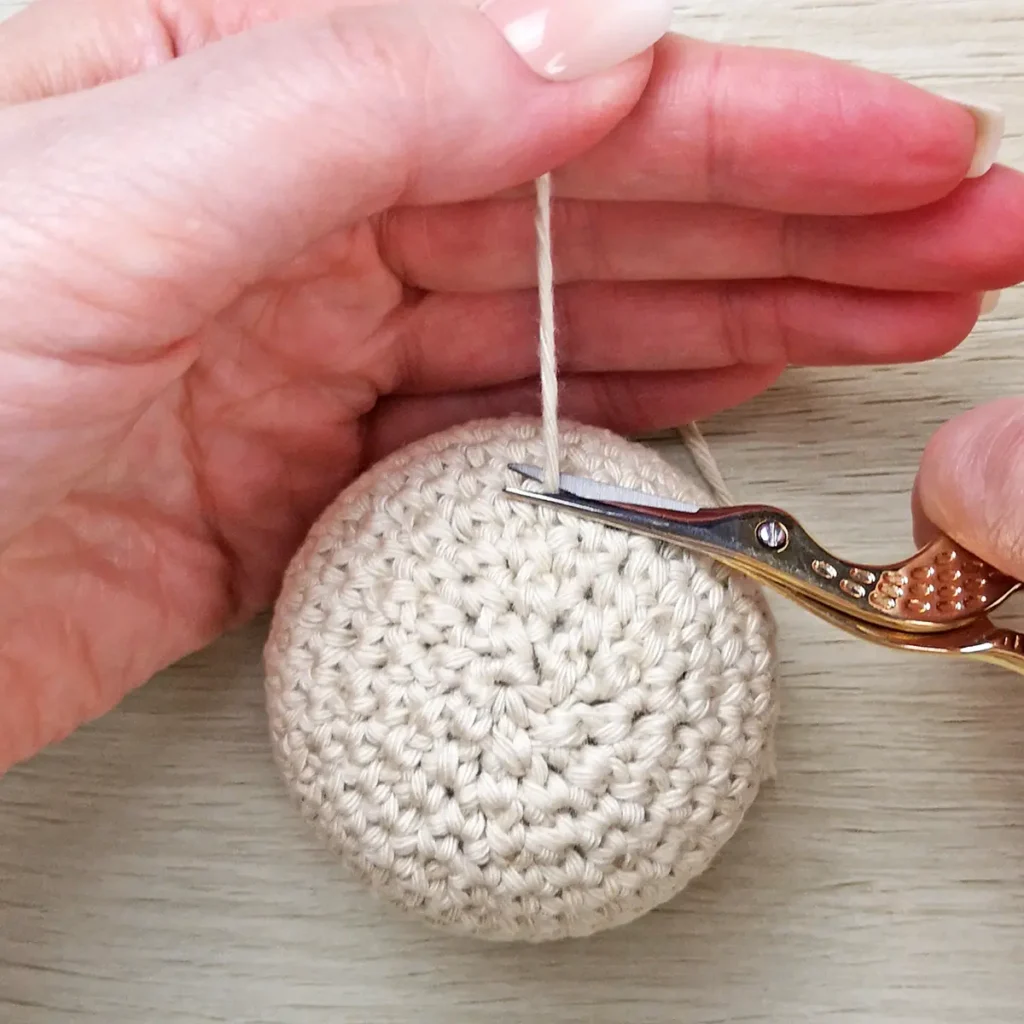
6. Pull the yarn tail taut and cut it close to the surface, the end should shrink back inside the piece.
Common Mistakes When Closing Amigurumi
- Cutting the yarn too short. If you leave too little yarn, you may struggle to close the opening and secure the tail.
- Skipping stitches. Sometimes it can be hard to see all the stitches. Double-check that you’ve picked up all the front loops before pulling the yarn to close the opening.
- Pulling the yarn too hard. Excessive tension can distort the fabric, create puckering or even break the yarn. Pull gently and slowly.
- Overstuffing. Too much stuffing can stretch the stitches and put extra pressure on the closed opening. Add stuffing gradually and check the shape as you go.
not ready to try this yet?
Pin this post for later
Invitation to our Private Community
We hope you enjoyed this crochet tutorial. Come and hang out in our Stitch by Fay Community. We created this space for you to share pictures, ask questions and support each other.

This is an original crochet tutorial written for Stitch by Fay. Please don’t claim this tutorial as your own. If you wish to share this crochet tutorial, you may link to this post but please do not reprint it on your site.