

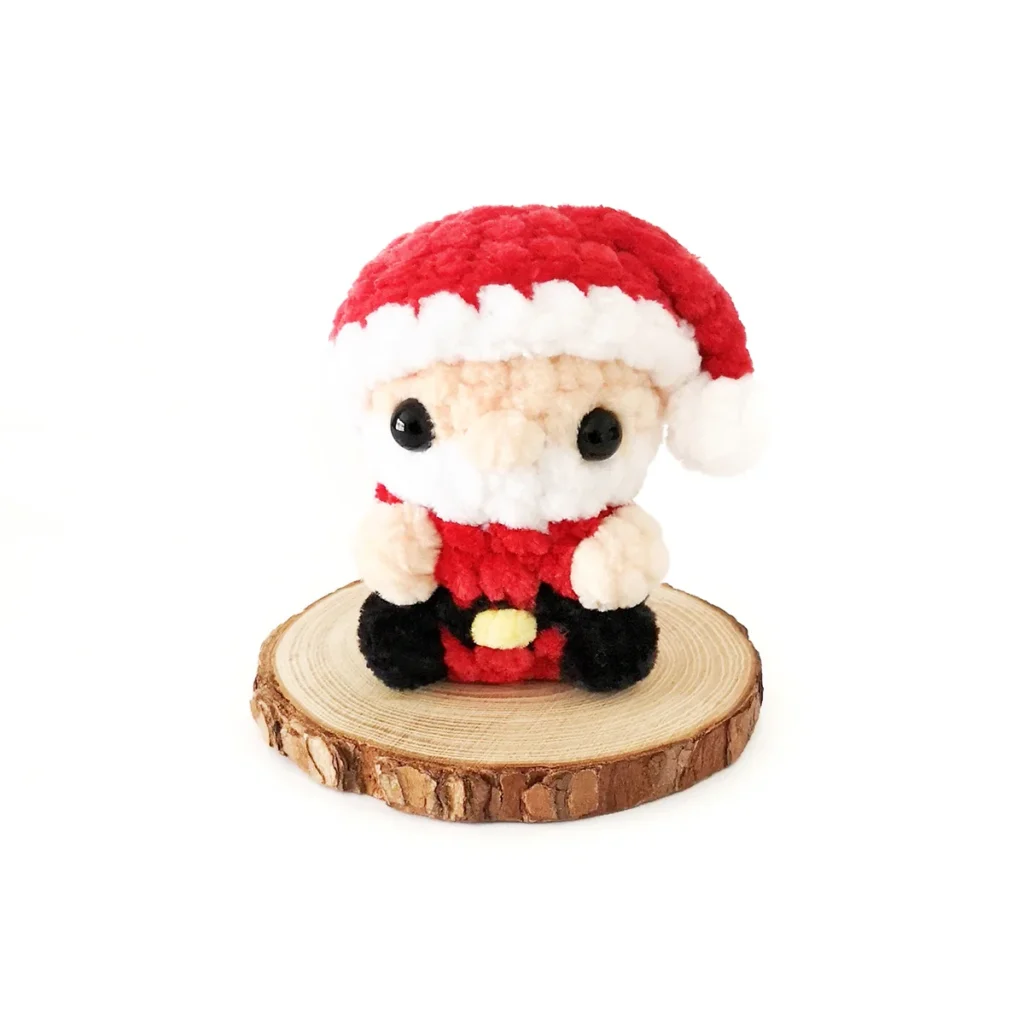
No-Sew Crochet Santa Pattern
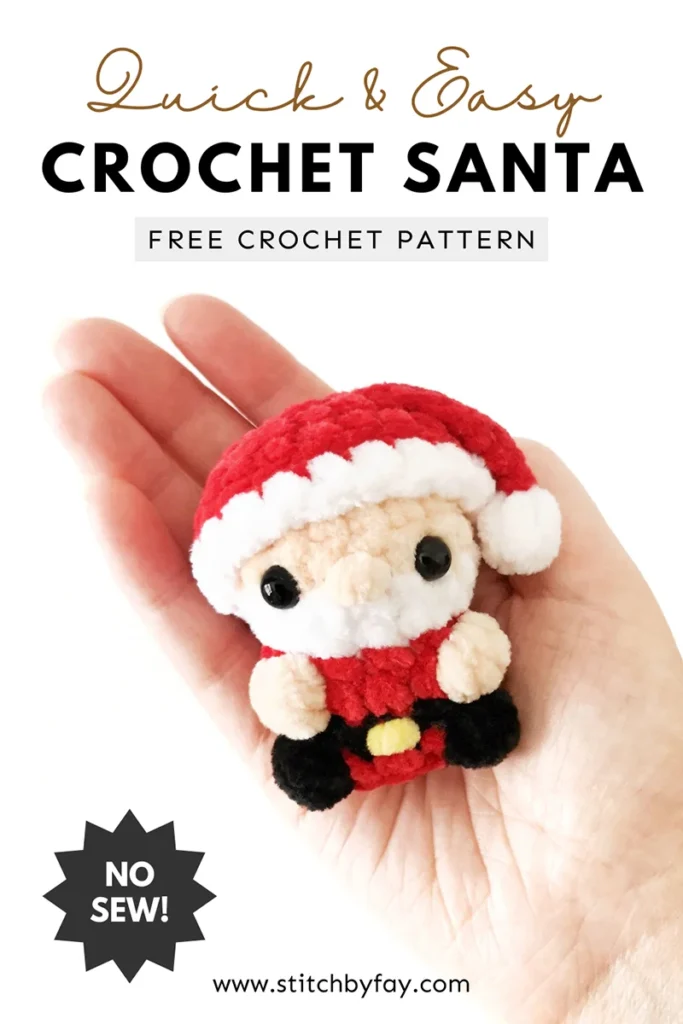
This no-sew crochet Santa pattern is quick and easy making it ideal for Christmas craft fairs/markets and last minute gifts.

This no-sew gingerbread cutie needed a friend and who better to keep him company than the jolly man himself!
It’s been while since my last no-sew pattern in this style and I’d forgotten how quickly they come together with plush yarn.
Easy Crochet Santa
This crochet Santa is worked in a spiral from the top down with semi-regular colour changes for his beard and clothing.
We’ll begin by chaining 2 and working 6 single crochet into the second chain from hook. This is my preferred starting method when using plush yarn.
A few simple increase and decrease rounds will give our Santa shape and the arms and legs are bobble stitches worked in the front loop only.
We’ll finish with his floppy little Santa hat, which is constructed a little bit differently so as not to add too much extra bulk, and a couple of wrap knots for his nose and belt buckle (if you’re better at embroidery than me, you’re more than welcome to sew those details instead).
Wrap Knots
I used a 4-wrap knot for Santa’s nose and a 3-wrap knot for his belt buckle. (this just means that I passed the end of the yarn through the loop 4 times for the nose and 3 times for the buckle).
The following instructions are for a 4-wrap knot.
TIP
The more wraps you make, the bigger the knot and vice versa.
- Cut a length of yarn (approximately 6″/15cm) and cross one end over the other to make a loop.
- Pass one end of the yarn through the loop as if tying a knot.
- Repeat step 2 a further 3 times.
- Slowly pull both ends of the yarn. The loops will start to align and shrink down into a knot – avoid pulling the knot too tight.
- Use the yarn ends to secure the knot to your amigurumi.
Check out the short video below to see this process in action.
Why You’ll Love This Crochet Santa Pattern
More Patterns
If you love this crochet Santa pattern, you might also like to check out these other Christmas patterns:


No-Sew Crochet Santa Pattern
Materials
- Super bulky yarn in skin colour, white, red, black and a small amount of yellow (I used Premier Yarns Parfait Chunky in Shell, White, Cardinal, Black and Sunshine)
- 4.5mm crochet hook
- 8mm safety eyes
- Polyester fiberfill
- Stitch marker, yarn needle, scissors
Abbreviations (US Terms)
- ch – chain
- sc – single crochet
- inc – increase
- invdec – invisible decrease
- dec – decrease
- FLO – front loop only
- BLO – back loop only
- bo – 4 double crochet bobble stitch
- 3dc-bo – 3 double crochet bobble stitch
- sl st – slip stitch
- st/s – stitch/es
- […] – repeat the instructions in brackets
- (…) – indicates stitch count at end of round
Special Stitches
4 Double Crochet Bobble Stitch (bo)
- Yarn over.
- Insert your hook into the indicated stitch.
- Yarn over and pull up a loop (3 loops on hook).
- Yarn over and pull through first 2 loops (2 loops on hook).
- Repeat steps 1-4 three more times in the same stitch (5 loops on hook).
- Yarn over and pull though all 5 loops on the hook.
- Push bobble to the right side of the fabric.
3 Double Crochet Bobble Stitch (3dc-bo)
- Yarn over.
- Insert your hook into the indicated stitch.
- Yarn over and pull up a loop (3 loops on hook).
- Yarn over and pull through first 2 loops (2 loops on hook).
- Repeat steps 1-4 two more times in the same stitch (4 loops on hook).
- Yarn over and pull though all 4 loops on the hook.
- Push bobble to the right side of the fabric.
Useful Links
- Invisible Decrease
- How to Close Amigurumi
- How to Change Colours in Amigurumi
- Invisible Fasten Off
- Bobble Stitch
Finished Size
The finished Santa measures approximately 2.5″ (6.5cm) tall. Size may vary depending on tension and materials used.
Gauge
Gauge is not important in this pattern. Use a hook size to match your chosen yarn. Make sure that your stitches are tight enough to prevent stuffing showing through and adjust hook size if necessary.
Notes
- Pieces are worked in a continuous spiral. Mark the first stitch of each round with a removable stitch marker.
- Colour changes take place in the last yarn over of the previous colour.
- The invisible decrease is used for Santa and regular decreases are used on the hat flap.
- The hat flap is worked in turned rows.
- The bobble stitch on the hat flap is a 3 double crochet bobble.
Pattern Instructions
Santa (starting with skin colour)
R1: Ch 2, 6 sc in second ch from hook (6)
R2: [Inc] x6 (12)
R3: [Sc, inc] x6 (18)
R4-5: [Sc] x18 (18) 2 rounds – change colour to white in last st
R6: [Sc] x18 (18)
R7: [Sc, invdec] x6 (12) – change colour to red in last st
R8: [FLO sc] x12 (12)
The bobble stitches in the next round are worked in skin colour as indicated in bold. All colour changes take place in the last yarn over of the previous colour. Cut the skin colour yarn after each bobble and knot the ends together inside the piece to secure.
R9: 4 sc, FLO bo, 3 sc, FLO bo, 3 sc (12) – change colour to black in last st
Insert safety eyes between R5 and R6, 3 sts apart.
Stuff the head and continue to stuff as you go.
R10: [Sc] x12 (12) – change colour to red in last st
The bobble stitches in the next round are worked in black as indicated in bold.
R11: 4 sc, FLO bo, 3 sc, FLO bo, 3 sc (12)
R12: [Sc, invdec] x4 (8)
Cut the yarn leaving a tail and pull through the last stitch. Weave the yarn tail through the front loops only of the final round and pull gently to close. Hide the end inside Santa.
Santa’s Hat (starting with red)
R1: Ch 2, 6 sc in second ch from hook (6)
R2: [Inc] x6 (12)
R3: [Sc, inc] x6 (18)
R4: [5 sc, inc] x3 (21)
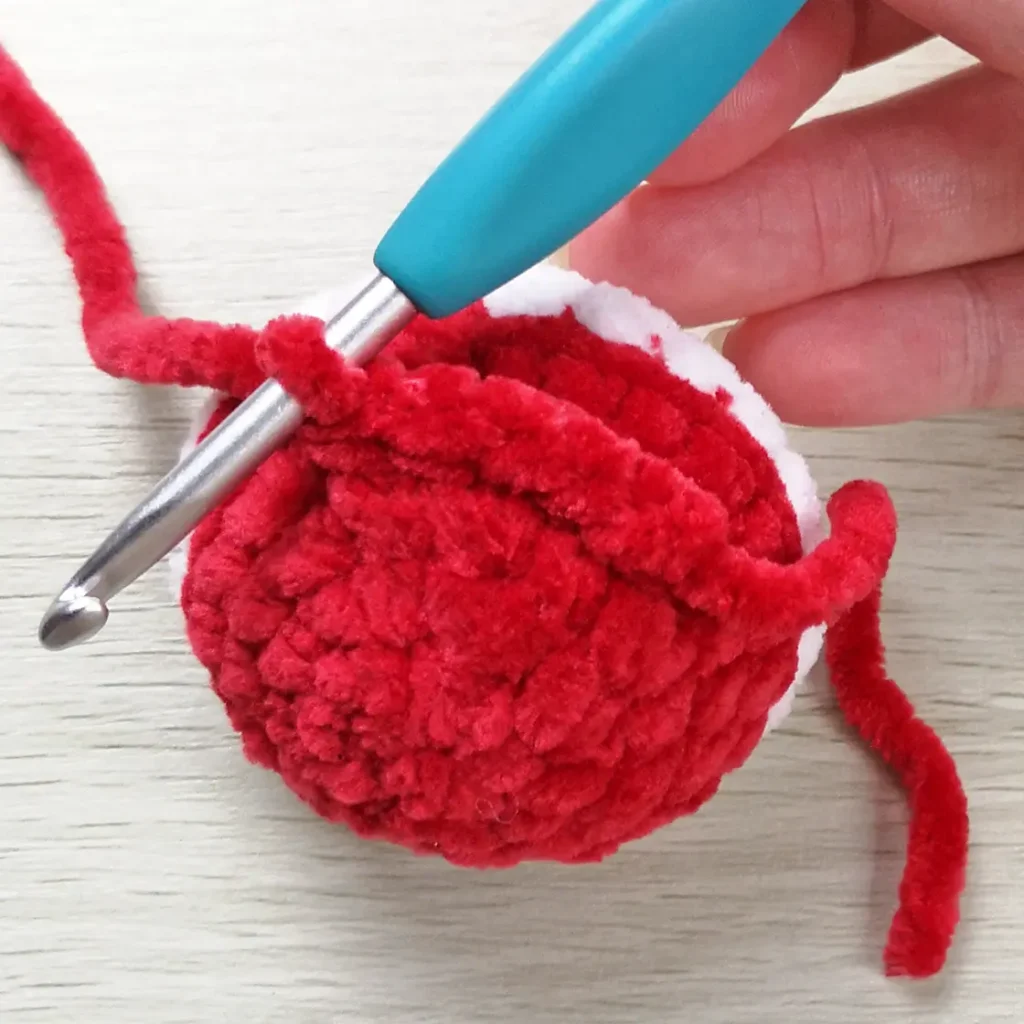
R5: [Sc] x21 (21) – change colour to white in last st
R6: [BLO sc] x21 (21)
Fasten off invisibly and weave in ends.
Hat Flap (red)
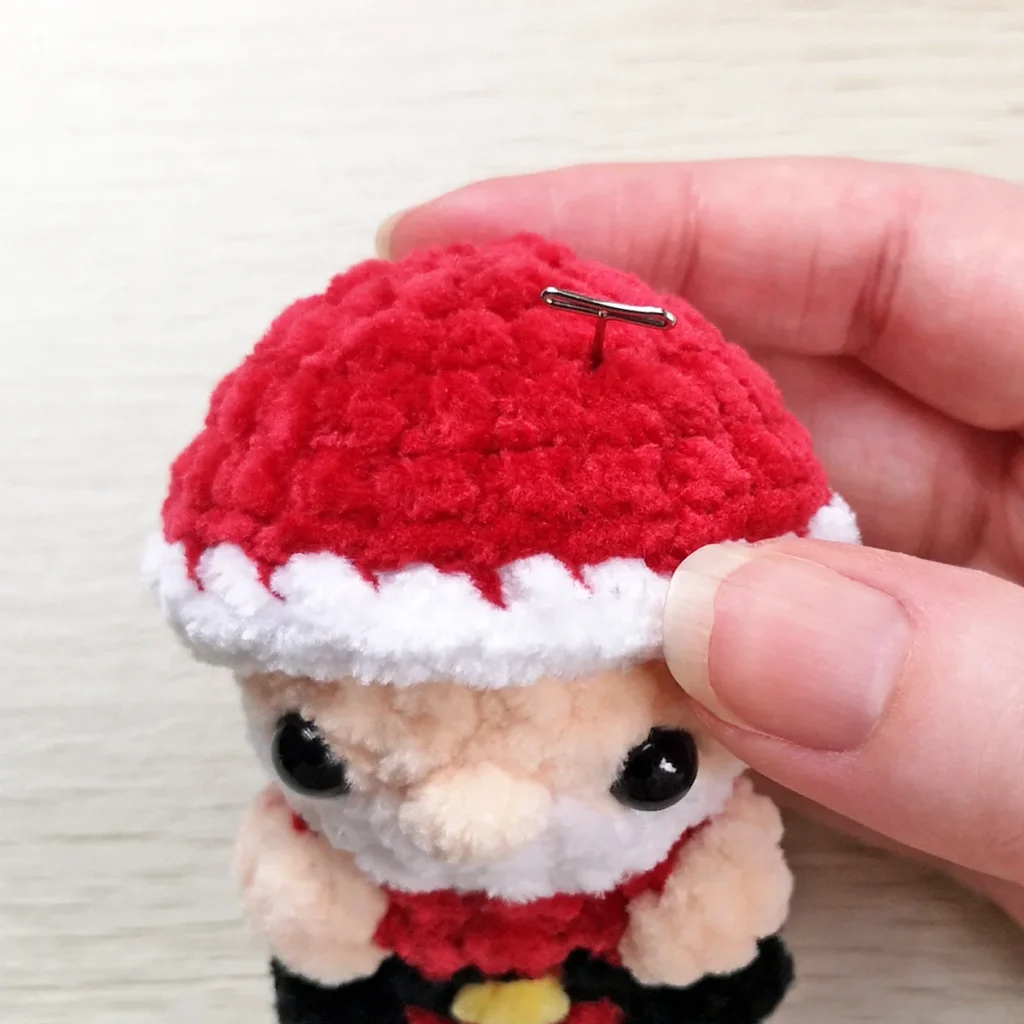
Place the hat on Santa’s head with the colour change centred at the back.
Use a pin to mark a stitch between R3 and R4, where the front edge of the hat flap will start – it should be approximately inline with the right eye.
R1: With a slip knot on your hook, insert your hook through the marked st between R3 and R4, and make a sc. Repeat across the round until you have 5 sc in total (5)

R2: Ch 1, turn. [Sc] x5 (5)
R3: Ch 1, turn. Dec, sc, dec (3)
R4: Ch 1, turn. Sc, dec (2)
R5: Ch 1, turn. Dec (1) – change colour to white in last st
Ch 1, turn. 3dc-bo, sl st from front to back
Fasten off and weave in ends.

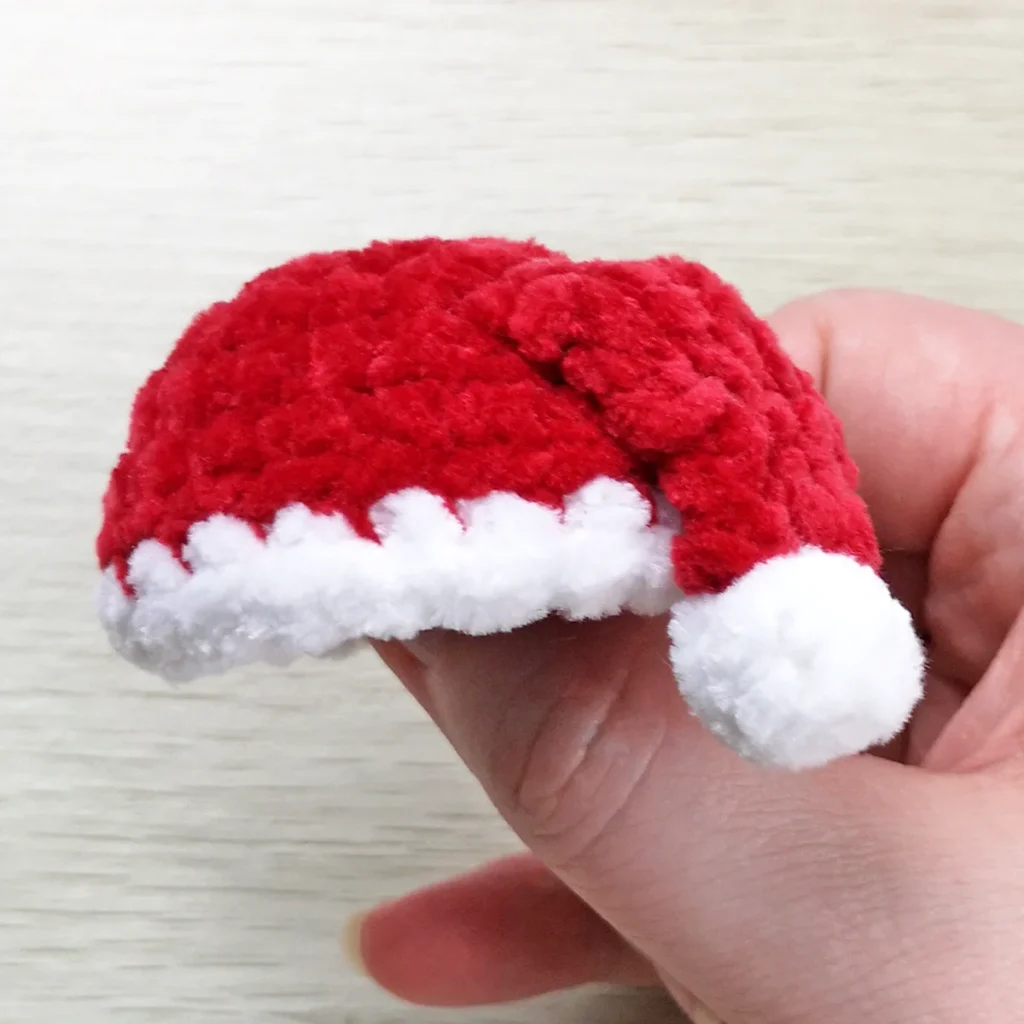
Place the hat on Santa’s head in your desired position.
Finishing
- Using skin colour yarn, make a 4-wrap knot for Santa’s nose. Use the ends to secure it centred between the eyes, between R5 and R6.
- Using yellow yarn, make a 3-wrap knot for the belt buckle. Use the ends to secure it centred over R10.
NOTE
Alternatively, sew the nose and belt buckle using horizontal stitches.
not ready to make this yet?
Pin this post for later
Explore More Crochet Patterns
After you crochet this no-sew Santa, here are some more crochet patterns to try:
What’s Next?
Have questions? Join the Facebook group!
We hope you enjoyed this pattern. Come and hang out with me in the Stitch by Fay Community Facebook group. We created this space for you to share pictures, ask questions and support each other.

This pattern is for personal use only and may not be copied, reproduced, altered, published or distributed in any format (including video). If you wish to share this pattern, you may link to this pattern but please do not reprint it on your site.
You can sell finished products made from this pattern in small quantities. Do NOT use our photos as your sale photos.