

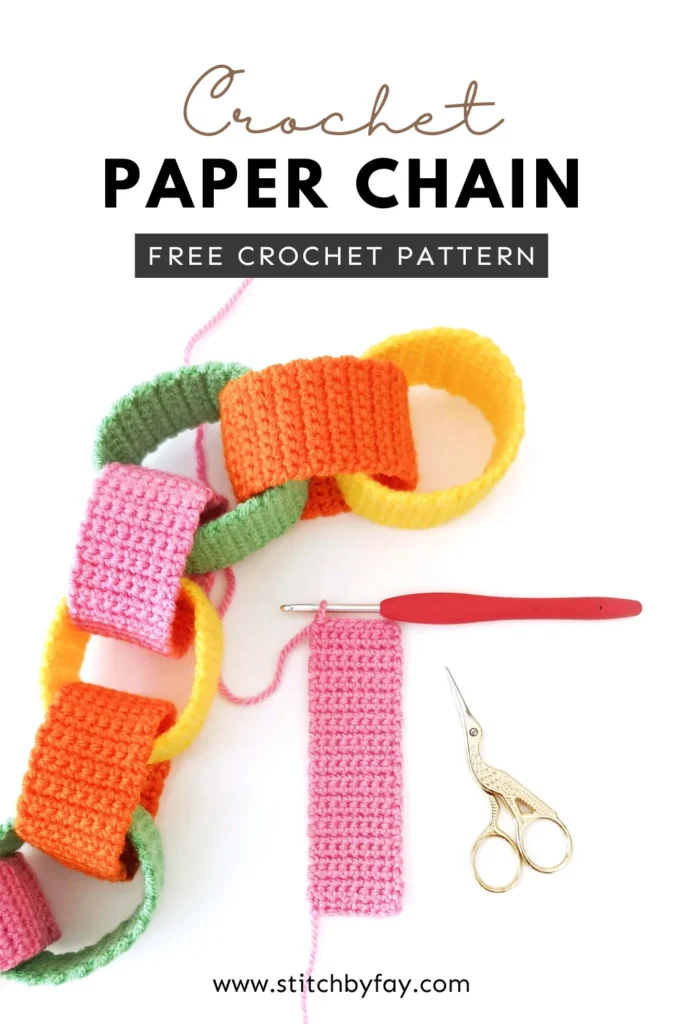
Easy Crochet Paper Chain Pattern
Did you make paper chains as a child? This easy crochet paper chain pattern combines nostalgia with the cosiness of yarn, by turning a familiar decoration into something you can use year after year.
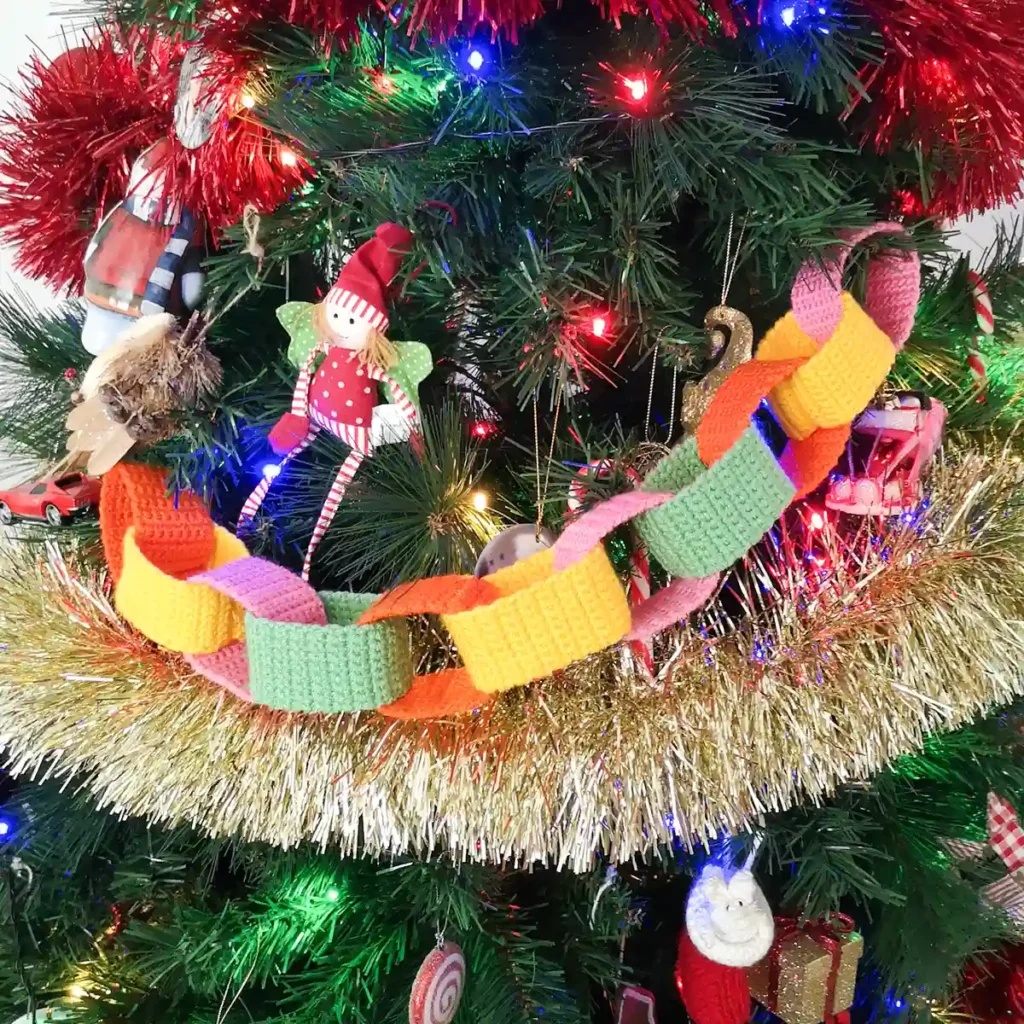
I had every intention of getting this pattern out before Christmas but life happens. Either way this is a fun project for any occasion or simply to add some handmade charm to your space.
I still have a long way to go before my crochet paper chain is finished, but you get the idea. I plan on using it to decorate my office/craft room and have chosen some fun colours from my yarn stash.

This is a great project for an evening in front of the TV as it doesn’t require much focus and the repetitiveness of working back and forth in rows is a nice way to relax after a long day.
Crochet Temperature Project
Looking for an easy year long project?
This crochet paper chain garland would be a fun take on the traditional temperature blanket.
Each link can represent a temperature range and by the end of the year, you’ll have a colourful paper chain garland to decorate with that tells the story of your temperature year.
In New Zealand we operate in Celsius, so for example:
- 5°C or below = purple
- 6-10°C = light blue
- 11-15°C = pink
- 16-20°C = light green
- 21-25°C = yellow
- 26-30°C = orange
- 31°C or above = red
tip
The more colours you use, the more variations you’ll see in your finished paper chain.
If you think a chain link each day will make your paper chain way too long, try combining days or weeks into a single chain link, changing colours accordingly.
You’re not limited to just tracking daily temperatures either. I’ve seen projects tracking mood, sleep, books read, special events – use this crochet paper chain to record anything that you’d like to keep track of throughout the year.
About the Pattern
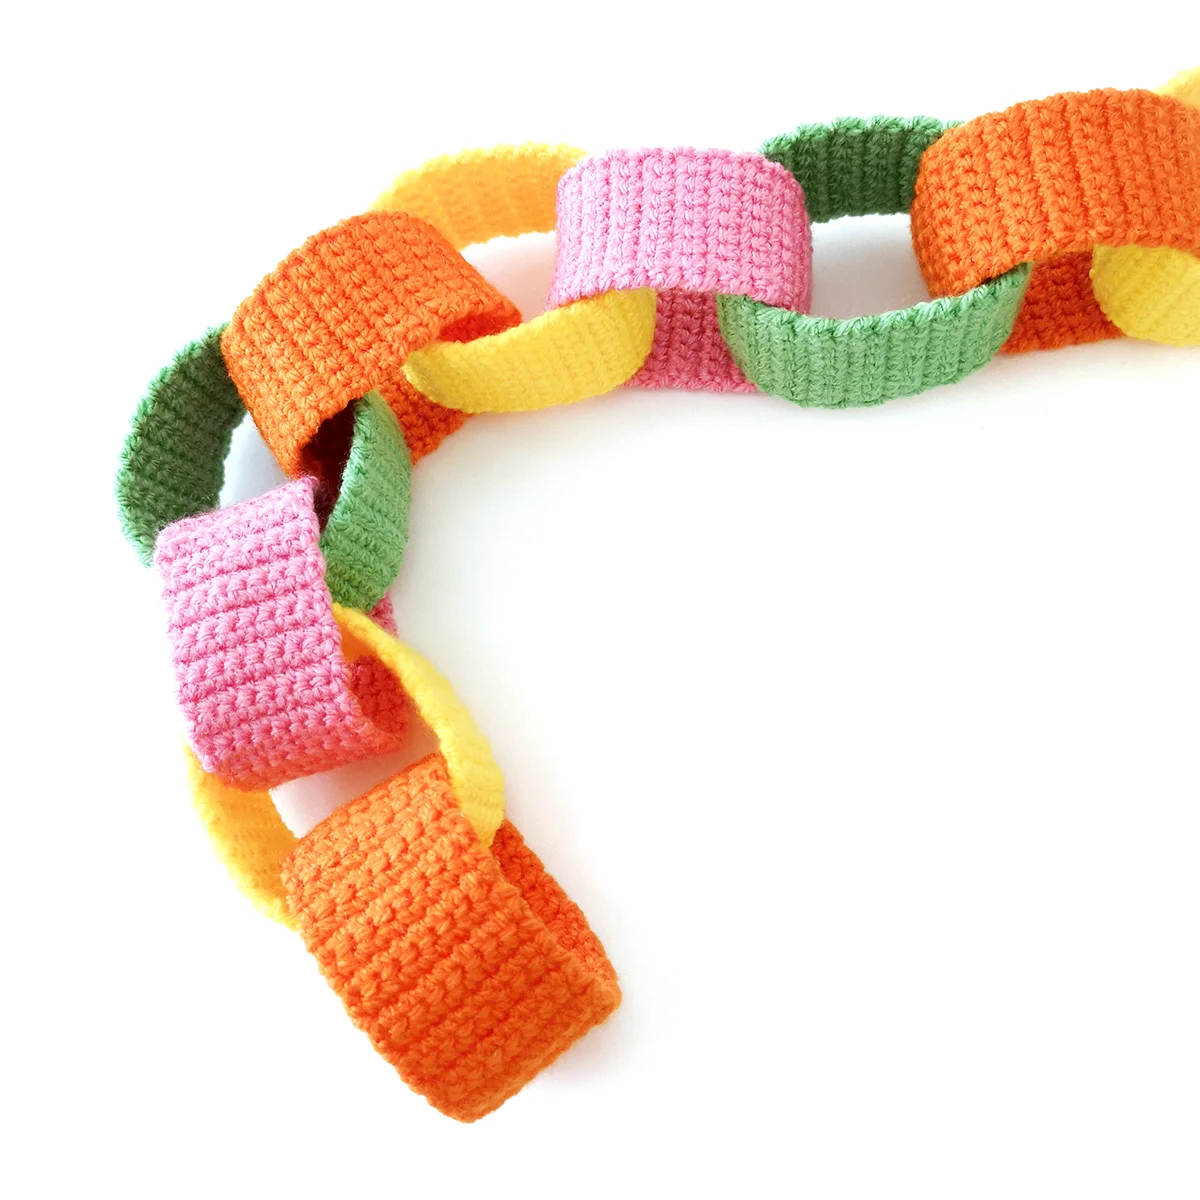
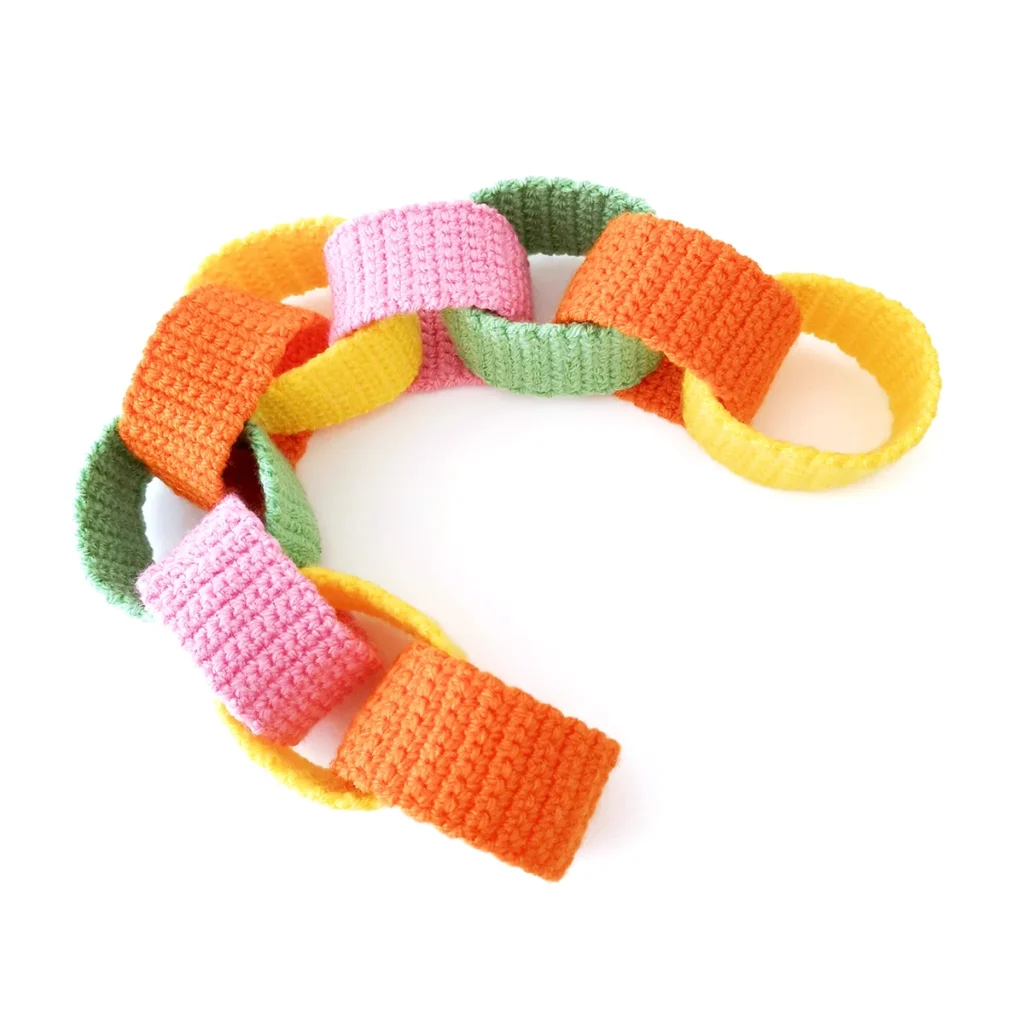
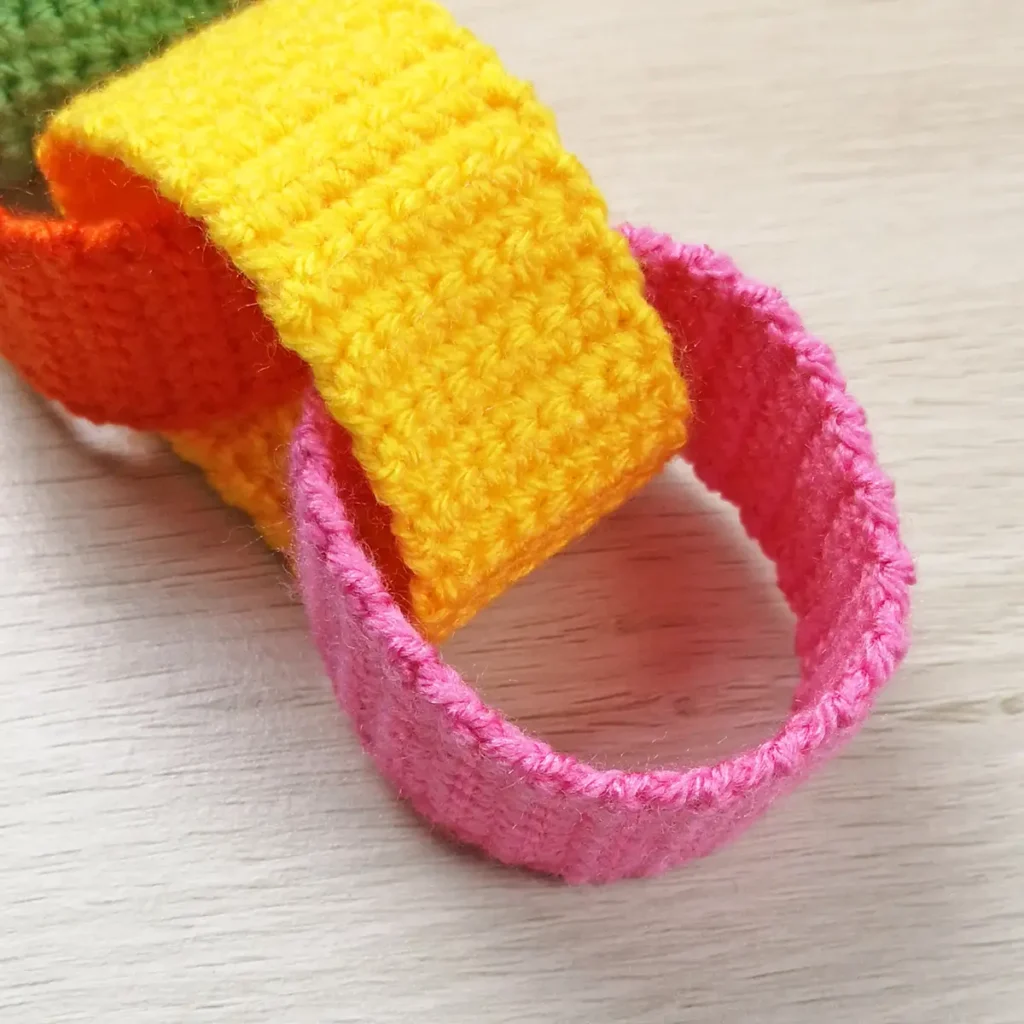
This crochet paper chain is made up of simple strips of crocheted fabric.
Each chain link is worked back and forth in turned rows of single crochet before being threaded through the previous chain link and slip stitched together across the ends. The chain link is then turned right side out so that the seam is on the inside.
There’s no sewing involved and I didn’t even bother weaving in my ends – I simply knotted them together and trimmed the excess (I won’t tell if you won’t).
Recommended Yarn
You can use any yarn weight and fiber to make your crochet paper chain. I wanted to use stash yarn for this project so I went with acrylic worsted weight yarn.
I love the chunkier look, however, you can easily adjust the size of your chain links to suit your style and yarn choice, by changing the number of starting chains and crocheting more or less rows.
And don’t forget to adjust your hook size accordingly! I used a 3.5mm hook which is the same size that I would use for making amigurumi when using worsted weight yarn. The smaller hook combined with the single crochet stitches helps to give the paper chain structure.
Why You’ll Love This Crochet Paper Chain Pattern
More Patterns
If you love this crochet paper chain pattern, you might like to check out these other home decor patterns:

Easy Crochet Paper Chain Pattern
Materials
- Worsted weight yarn in colours of your choice, each chain link uses approximately 5g (I used Paintbox Yarns Simply Aran in 4 colours – Buttercup Yellow, Blood Orange, Bubblegum Pink and Spearmint Green)
- 3.5mm crochet hook
- Yarn needle, scissors
Abbreviations (US Terms)
- ch – chain
- sc – single crochet
- sl st – slip stitch
- st/s – stitch/es
- […] – repeat the instructions in brackets
- (…) – indicates stitch count at end of round
Finished Size
Each chain link measures approximately 8″ long x 1.5″ wide (20cm x 4cm) before joining. Size may vary depending on tension and materials used.
Gauge
Gauge is not important in this pattern. However, using a different yarn and hook size will change the size of the finished item.
Notes
- Each chain link is worked in turned rows. The chain at the beginning of each round does not count as a stitch.
- Do not chain before slip stitching the chain link together.
Pattern Instructions
First Chain Link
R1: Ch 9, sc in second ch from hook and in each ch across (8)
R2-44: Ch 1, turn. [Sc] x8 (8) 43 rows
Do not chain, turn. Bring the two short ends together and sl st across through both sides (8)
Ch 1, fasten off and weave in ends (or knot them together and trim off the excess like I did).
Turn the chain link so that the right side is facing out and the seam is on the inside.
Subsequent Links
Repeat rows 1-44.
Do not chain, turn. Pass the starting end through the previous chain link and bring the two short ends together. Sl st across through both sides (8)
Ch 1, fasten off and weave in ends (or knot them together and trim off the excess like I did).
Turn the chain link so that the right side is facing out and the seam is hidden by the previous chain.


Repeat, adding as many chain links as you like until you reach your desired length.
not ready to make this yet?
Pin this post for later
Explore More Crochet Patterns
After you crochet this paper chain, here are some more crochet patterns to try:
What’s Next?
Have questions? Join the Facebook group!
We hope you enjoyed this pattern. Come and hang out with me in the Stitch by Fay Community Facebook group. We created this space for you to share pictures, ask questions and support each other.

This pattern is for personal use only and may not be copied, reproduced, altered, published or distributed in any format (including video). If you wish to share this pattern, you may link to this pattern but please do not reprint it on your site.
You can sell finished products quantities. Do NOT use ou