

Low-Sew Crochet Hedgehog Pattern
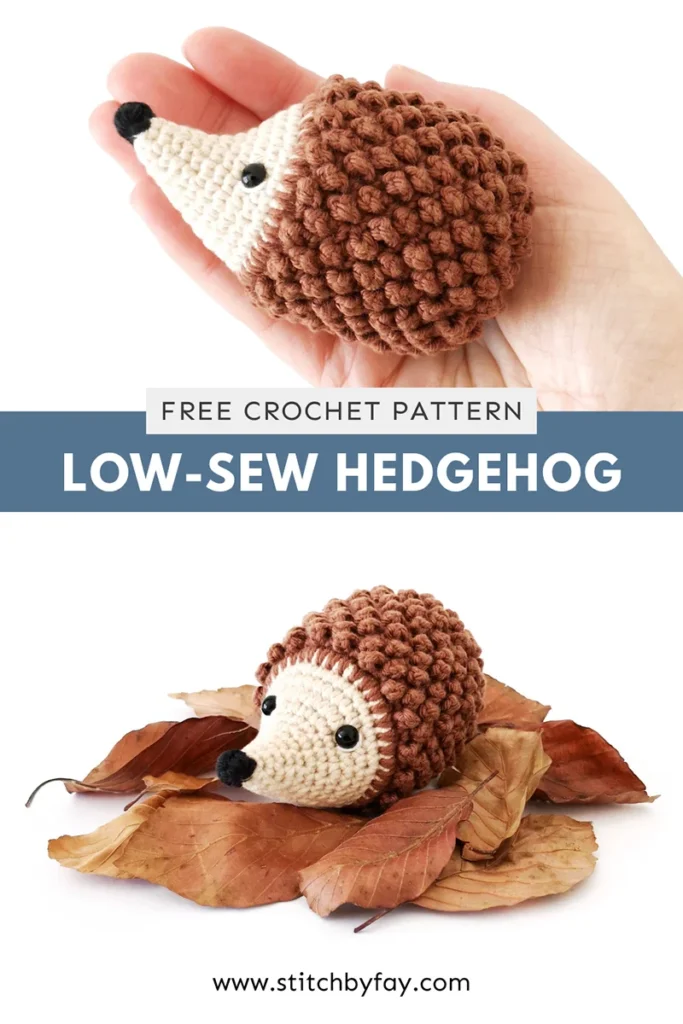
Meet your new favourite woodland friend! This crochet hedgehog pattern is a fun amigurumi project with loads of texture, thanks to the mini berry stitch, and minimal sewing.
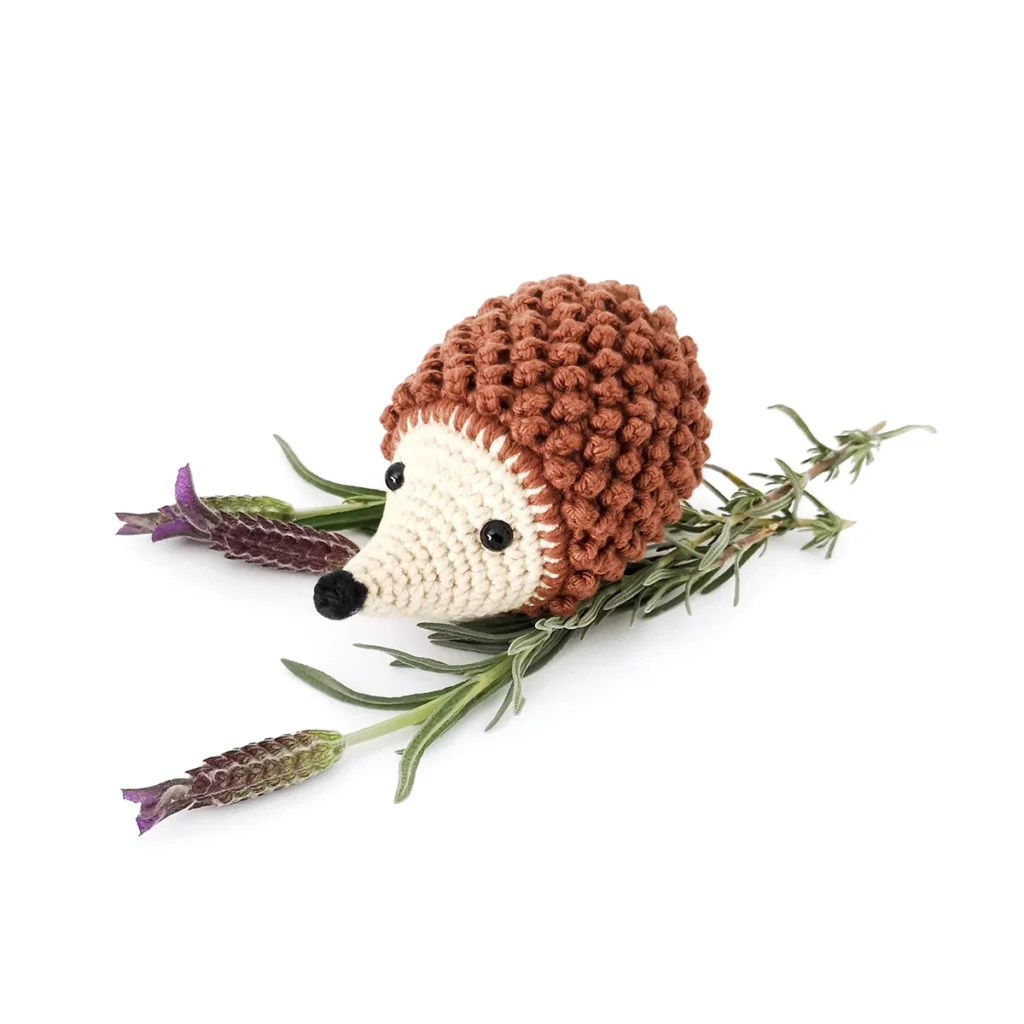
This crochet hedgehog pattern is an older design that I’m excited to finally bring to the blog.
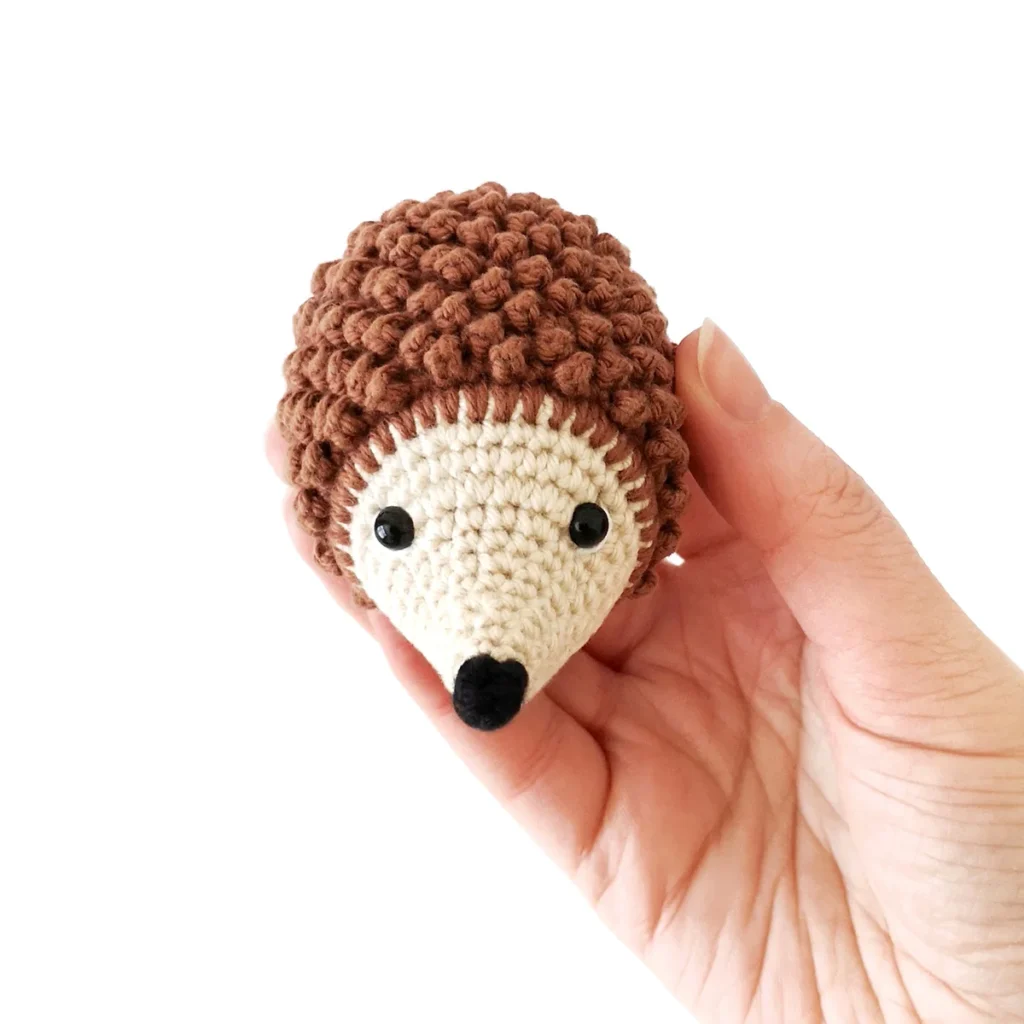
Unlike some of my older patterns, I’ve left this one unchanged because I’m still really happy with the way it turned out. The only slight change I made was adding some white detail to the eyes, but that’s completely optional.
About the Pattern
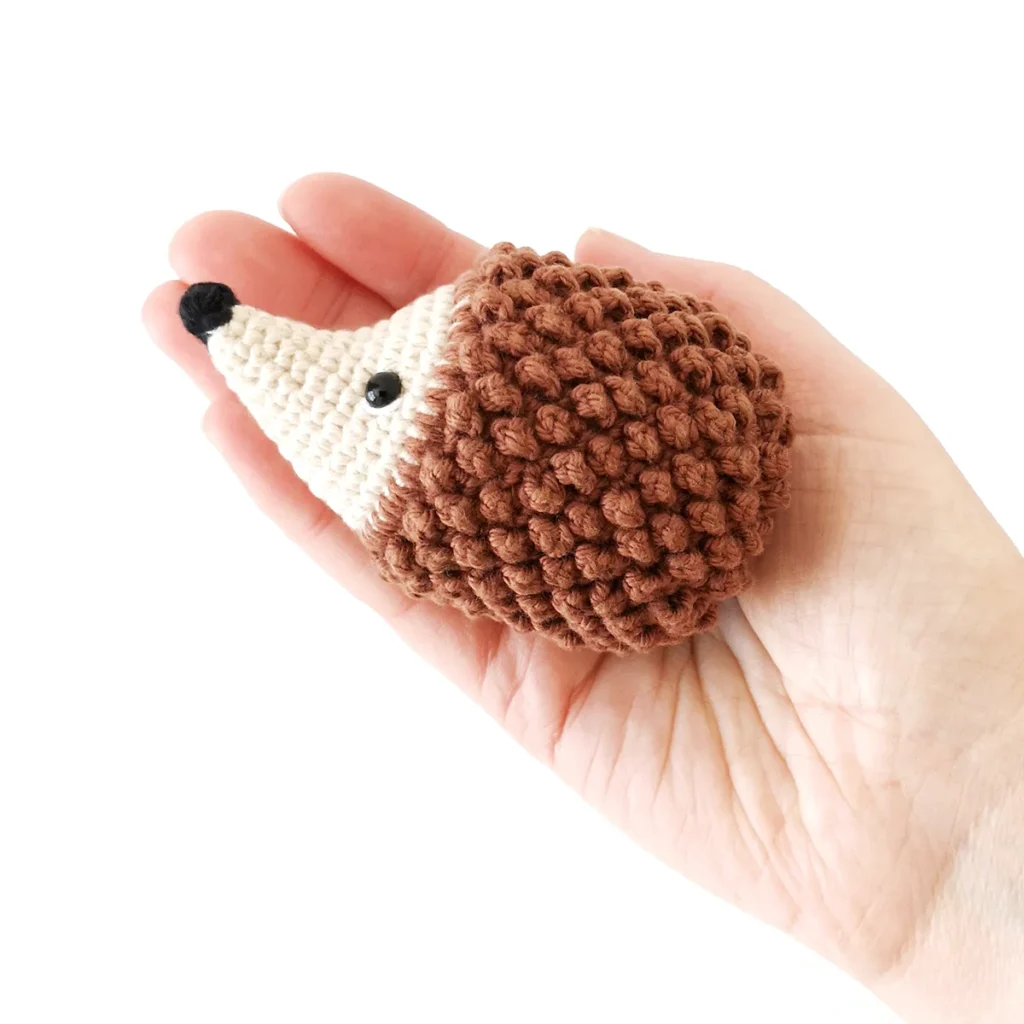
This crochet hedgehog pattern is worked in a spiral using single crochet stitches, with a round of spike stitches adding definition between the head and the body. The mini berry stitch adds texture, giving it that cute, spiky hedgehog look.
The nose is a simple 3 double crochet bobble stitch, which is sewn on part way through the pattern. Alternatively, you could embroider the nose for a different look.
Recommended Yarn
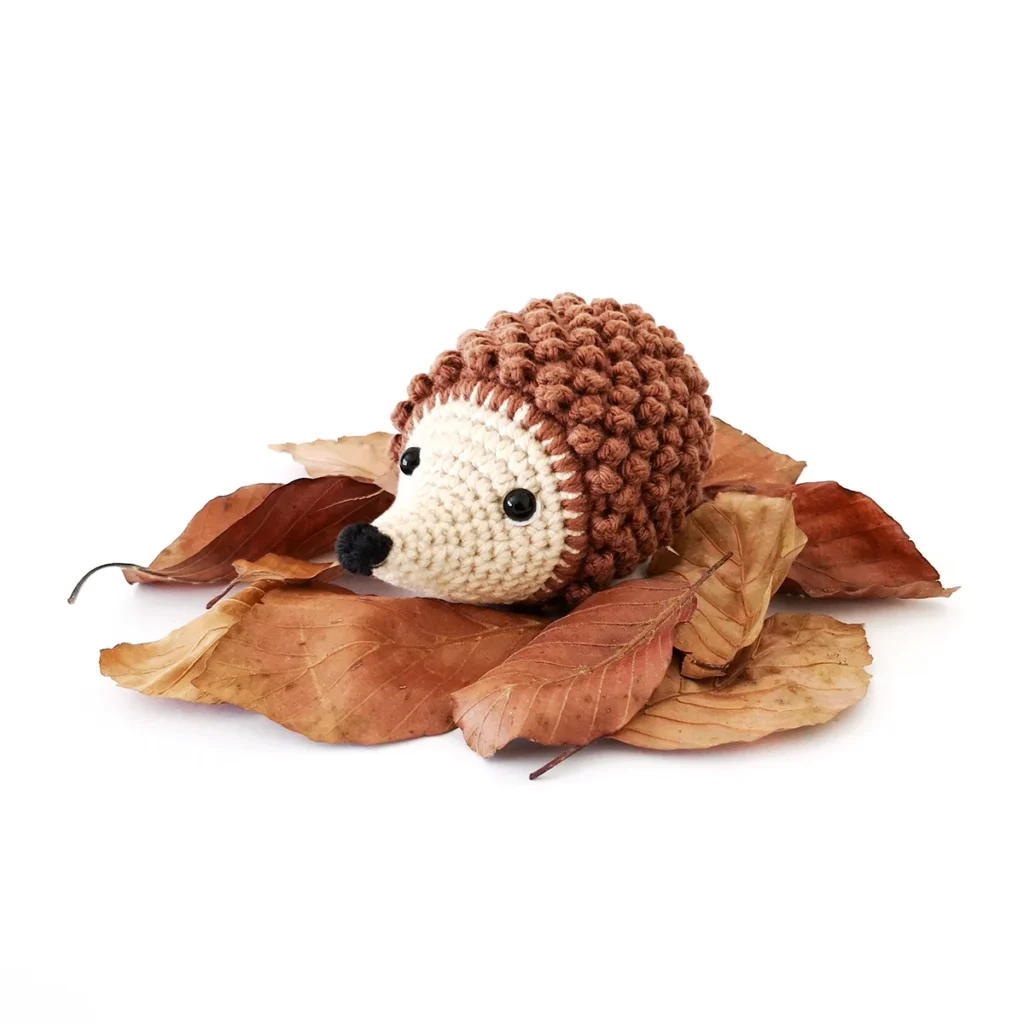
I used Paintbox Yarns Cotton DK with a 2.5mm hook for my crochet hedgehog.
I’m not sure how this pattern would work with thicker yarn as the alternating mini berry stitch doesn’t give as tight a weave as plain old single crochet.
Why You’ll Love This Crochet Hedgehog Pattern
More Crochet Patterns
If you love this crochet hedgehog pattern, you might also like to check out these other patterns:
Crochet Hedgehog Pattern
Materials
- DK weight yarn in beige, dark brown and a small amount of black (I used Paintbox Yarns Cotton DK in Light Caramel, Coffee Bean and Pure Black)
- 2.5mm crochet hook
- 6mm safety eyes
- Optional: 4 ply white yarn or white embroidery floss
- Polyester fiberfill
- Stitch marker, yarn needle, scissors
Abbreviations (US Terms)
- 3dc-bo – 3 double crochet bobble stitch
- ch – chain
- bst – mini berry stitch
- bst-dec – mini berry stitch decrease
- inc – increase
- sc – single crochet
- sl st – slip stitch
- SPsc – single crochet spike stitch
- st/s – stitch/es
- […] – repeat the instructions in brackets
- (…) – indicates stitch count at end of round
Special Stitches
3 Double Crochet Bobble Stitch (3dc-bo)
- Yarn over.
- Insert your hook into the indicated stitch.
- Yarn over and pull up a loop (3 loops on hook).
- Yarn over and pull through first 2 loops (2 loops on hook).
- Repeat steps 1-4 two more times in the same stitch (4 loops on hook).
- Yarn over and pull though all 4 loops on the hook.
Single Crochet Spike Stitch (SPsc)
- Insert hook in indicated stitch.
- Draw up a loop to the height of the stitches of the working round.
- Yarn over and pull through both loops on hook.
Mini Berry Stitch (bst)
- Insert hook in next stitch.
- Yarn over and pull up a loop.
- Yarn over and pull through first loop on hook.
- Repeat step 2 three more times for a total of 4 chains.
- Yarn over and pull through both loops on hook.
- Push chain to the right side of the fabric when working the next stitch.
Here’s a video demonstrating the single crochet spike stitch and mini berry stitch as used in this pattern: https://youtu.be/zZjVt9-mSsE
Mini Berry Stitch Decrease (bst-dec)
- Insert hook in next stitch.
- Yarn over and pull up a loop.
- Insert hook in next stitch.
- Yarn over and pull up a loop (3 loops on hook).
- Using the loop closest to the tip of your hook, make your berry stitch as normal for a total of 4 chains.
- Yarn over and pull through all 3 loops on hook.
Useful Links
Finished Size
The finished hedgehog measures approximately 4″ (10 cm) long. Size may vary depending on tension and materials used.
Gauge
Gauge is not important in this pattern. Use a hook size to match your chosen yarn. Make sure that your stitches are tight enough to prevent stuffing showing through and adjust hook size if necessary.
Notes
- Pieces are worked in a continuous spiral (unless otherwise specified) using the traditional YO (yarn over) method. Mark the first stitch of each round with a removable stitch marker.
Pattern Instructions
Nose (black)
Ch 3, 3dc-bo in 3rd ch from hook, sl st in same ch.
Fasten off, leaving a long tail for sewing.
Hedgehog (starting with beige)
R2: [Sc] x6 (6)
R3: [Sc, inc] x3 (9)
R4: [Sc] x9 (9)
R5: Sc, inc, [2 sc, inc] x2, sc (12)
R6: [Sc] x12 (12)
R7: [Sc, inc] x6 (18)
R8: [Sc] x18 (18)
R9: Sc, inc, [2 sc, inc] x5, sc (24)
R10: 9 sc, [inc] x6, 9 sc (30)
R11: [Sc] x30 (30)
R12: 2 sc, inc, [4 sc, inc] x5, 2 sc (36)
Sew on the nose over R1.
R13: [Sc] x36 (36) – change to dark brown in last st
R14: SPsc around working into R12 (36)
Insert eyes between R10 and R11. With the head facing you, place the left eye in the stitch before the increases in R10 and the right eye in the last increase, approximately 11 stitches apart.
R15: [Bst, sc] x18 (36)
R16: [Sc, bst] x18 (36)
R17-24: Repeat R15 and R16 8 rounds
R25: [Bst, sc, bst, sc, bst-dec] x6 (30)
R26: [Sc, bst, sc, bst-dec] x6 (24)
Start stuffing and continue to stuff as you go.
R27: [2 sc, bst-dec] x6 (18)
R28: [Bst-dec, sc] x6 (12)
R29: [Bst-dec] x6 (6)
Cut the yarn leaving a tail and pull through the last stitch. Weave the yarn tail through the front loop only of the final round and pull to close. Hide the end inside the hedgehog
Optional: Using 4 ply white yarn or white embroidery floss, add a white accent to the underside of each eye.
not ready to make this yet?
Pin this post for later
Explore More Crochet Patterns
After you crochet this hedgehog, here are some more crochet patterns to try:
What’s Next?
Invitation to our Private Community
We hope you enjoyed this pattern. Come and hang out in our Stitch by Fay Community. We created this space for you to share pictures, ask questions and support each other.

This pattern is for personal use only and may not be copied, reproduced, altered, published or distributed in any format (including video). If you wish to share this pattern, you may link to this pattern but please do not reprint it on your site.
You can sell finished products made from this pattern in small quantities. Do NOT use our photos as your sale photos.
Hi Fay…how are you… my name is Fran…I use to be a pattern tester for HHM….wasnt your hedgehog published in HHM? I’m almost 100% sure as I remember testing this cute little guy. In fact I have the little guy by me on my bed that’s how much I love him and your pattern. Love, Fran💜🧶💜
Hi Fran! It was indeed published in HHM. How cool that you were one of the testers, I’m so glad you love the pattern 🙂