

No-Sew Crochet Turtle Pattern
This no-sew crochet turtle pattern is quick, cute and fun making it perfect for market prep and gifting.
I know there are lots of turtle patterns out there already but what’s one more added to the mix??
This crochet turtle was giving me all the nostalgic vibes while I was working on it because it reminds me of a book called The Smallest Turtle by Lynley Dodd, which I used to read to my son when he was little (even though the turtle in the book and this one actually look nothing alike).
About the Pattern
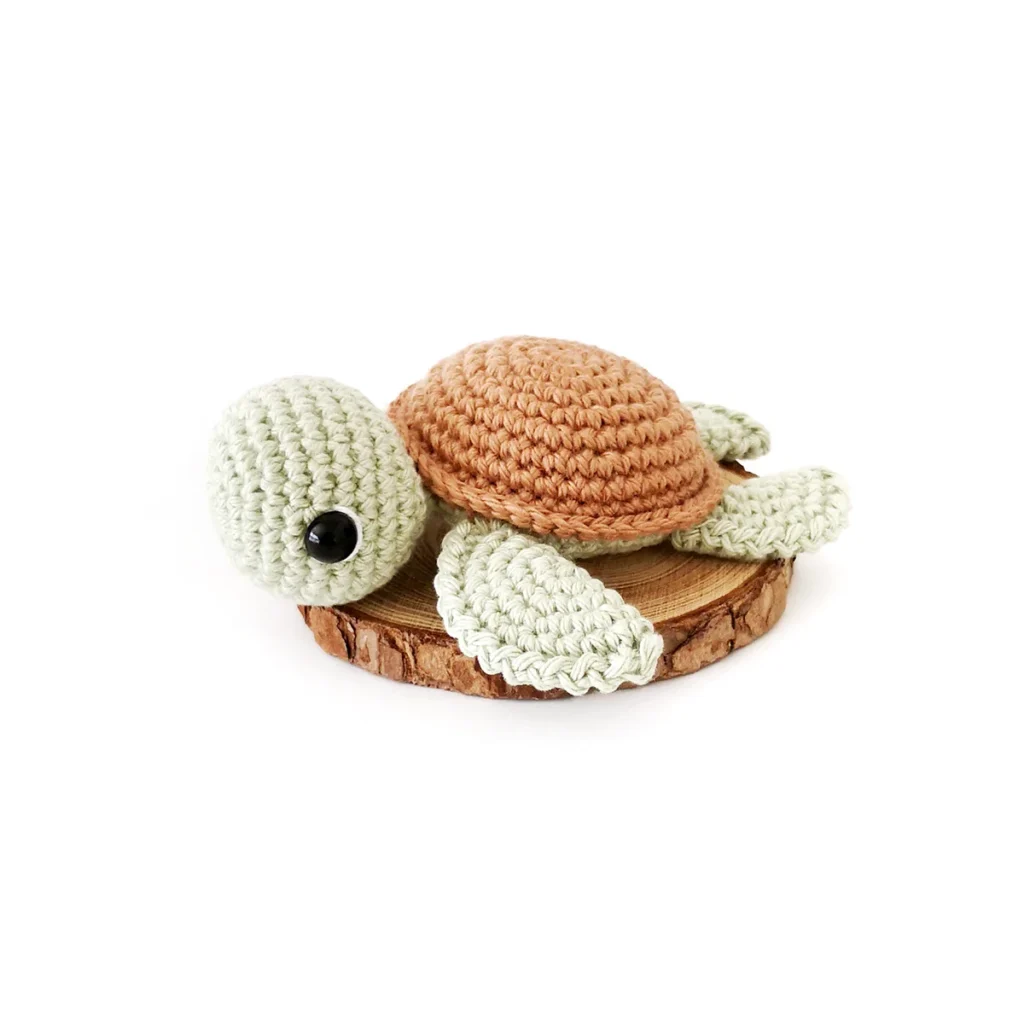
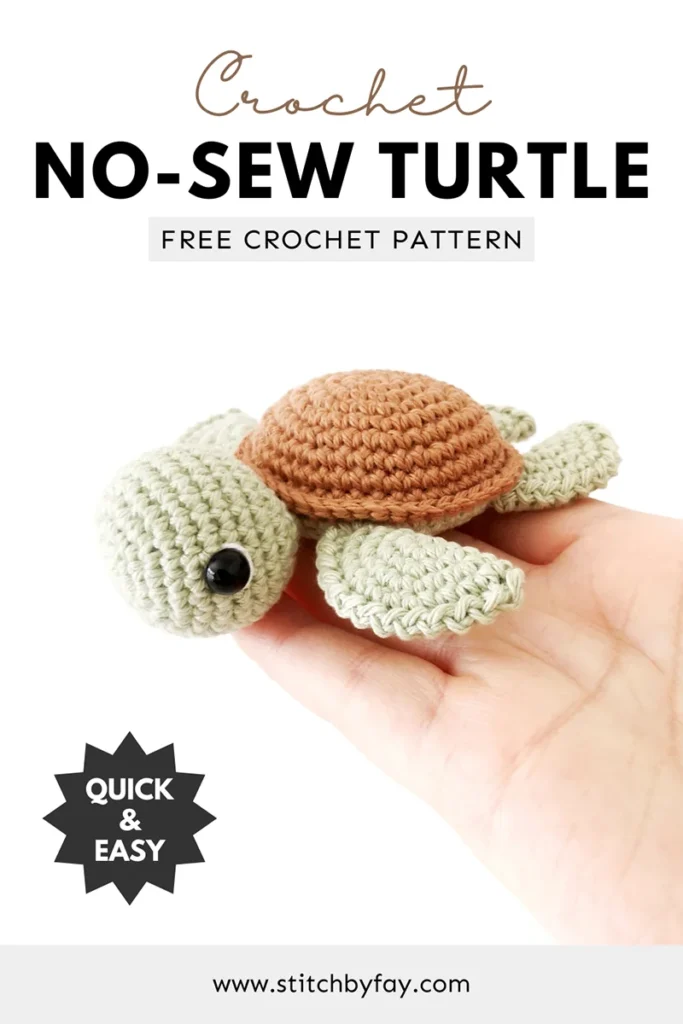
This crochet turtle is made up of 6 separate pieces which are then crocheted together as we work the body.
The pieces are worked in a spiral using basic stitches and I’ve broken up the joining round for easier reading.
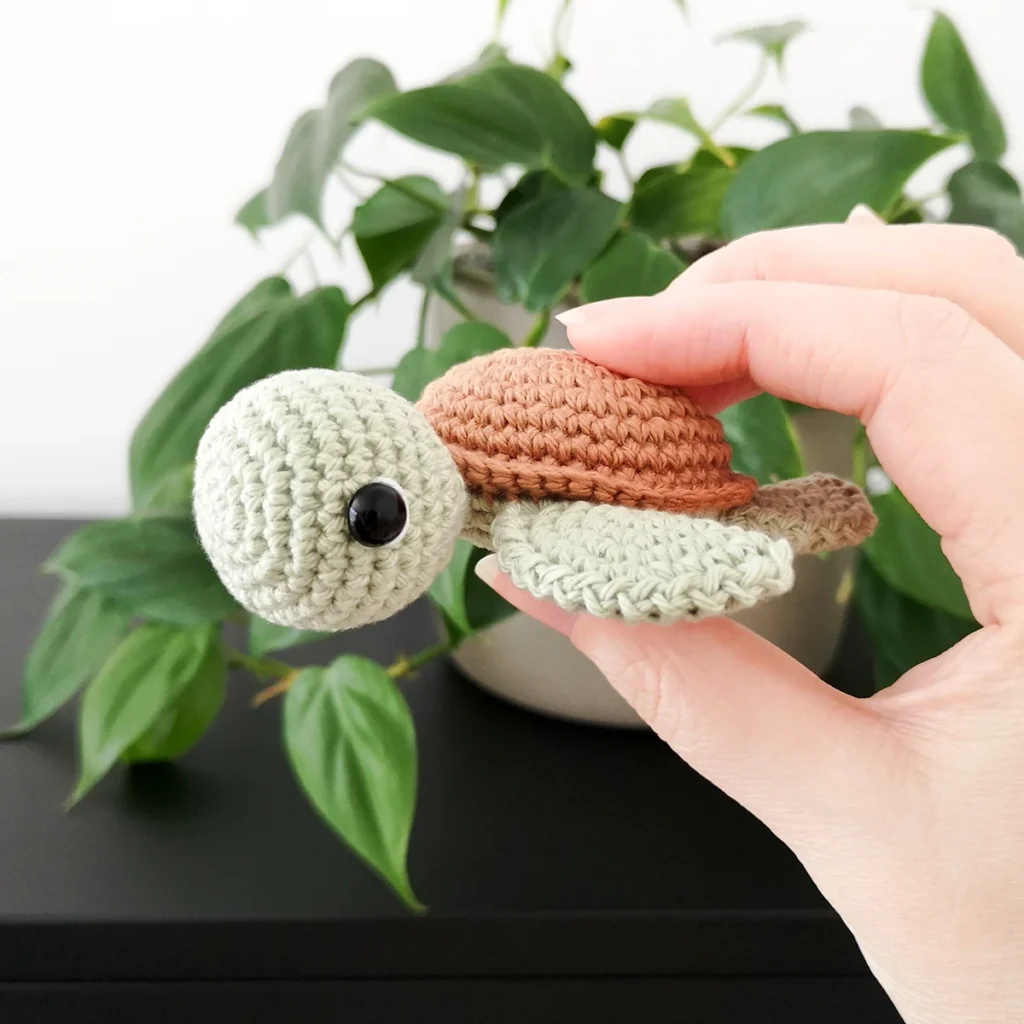
The flippers feature my favourite trim for a sweet additional detail and I finished the eyes with a bit of white along the outer edges to up the cute factor.
Recommended Yarn
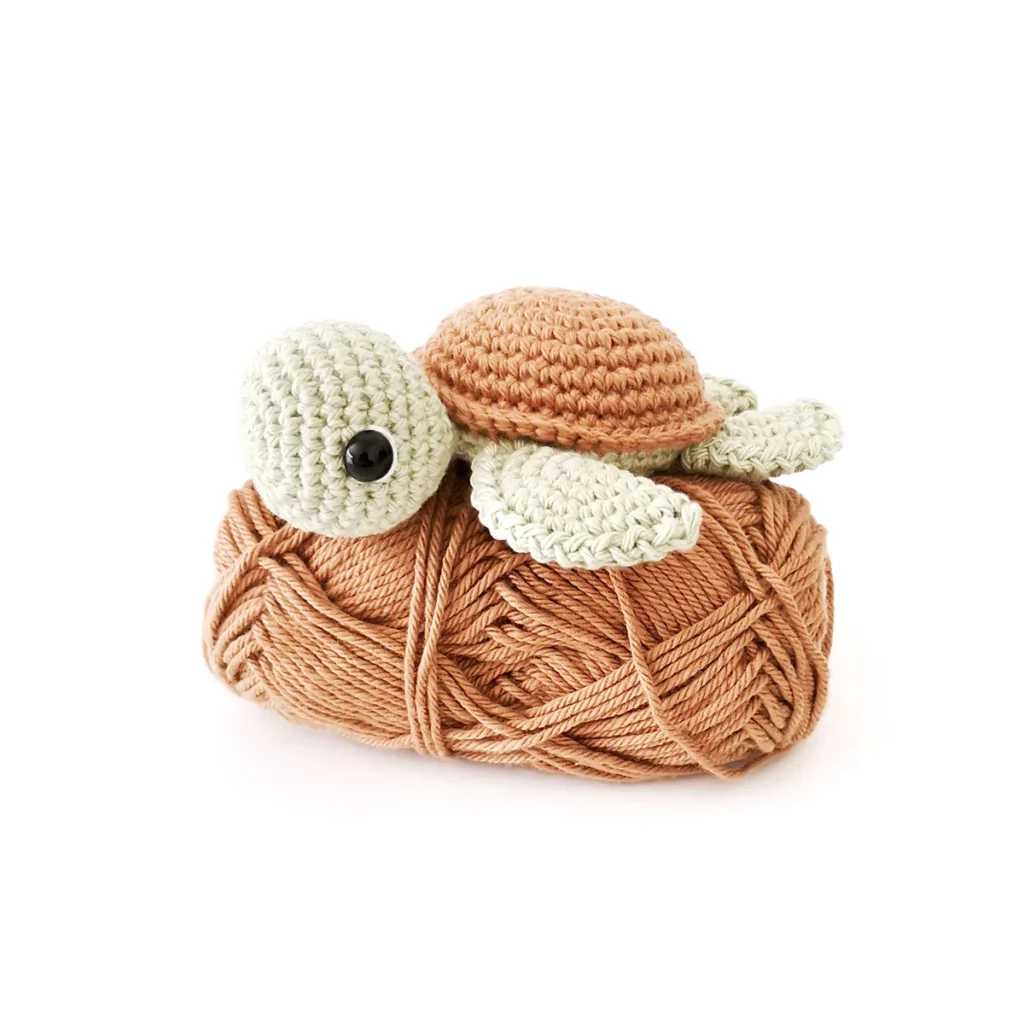
I used Paintbox Yarns Cotton DK in Pistachio Green and Soft Fudge with a 2.5mm hook for my crochet turtle. I wanted to stick with a more traditional colour palette but I encourage you to play with different colour combos.
I’ve not tested this pattern with plush yarn but I don’t see why it wouldn’t work, you may just need to make some adjustments to the starting number of stitches for the head and shell to prevent any coning.
Why You’ll Love This Crochet Turtle Pattern
More Crochet Patterns
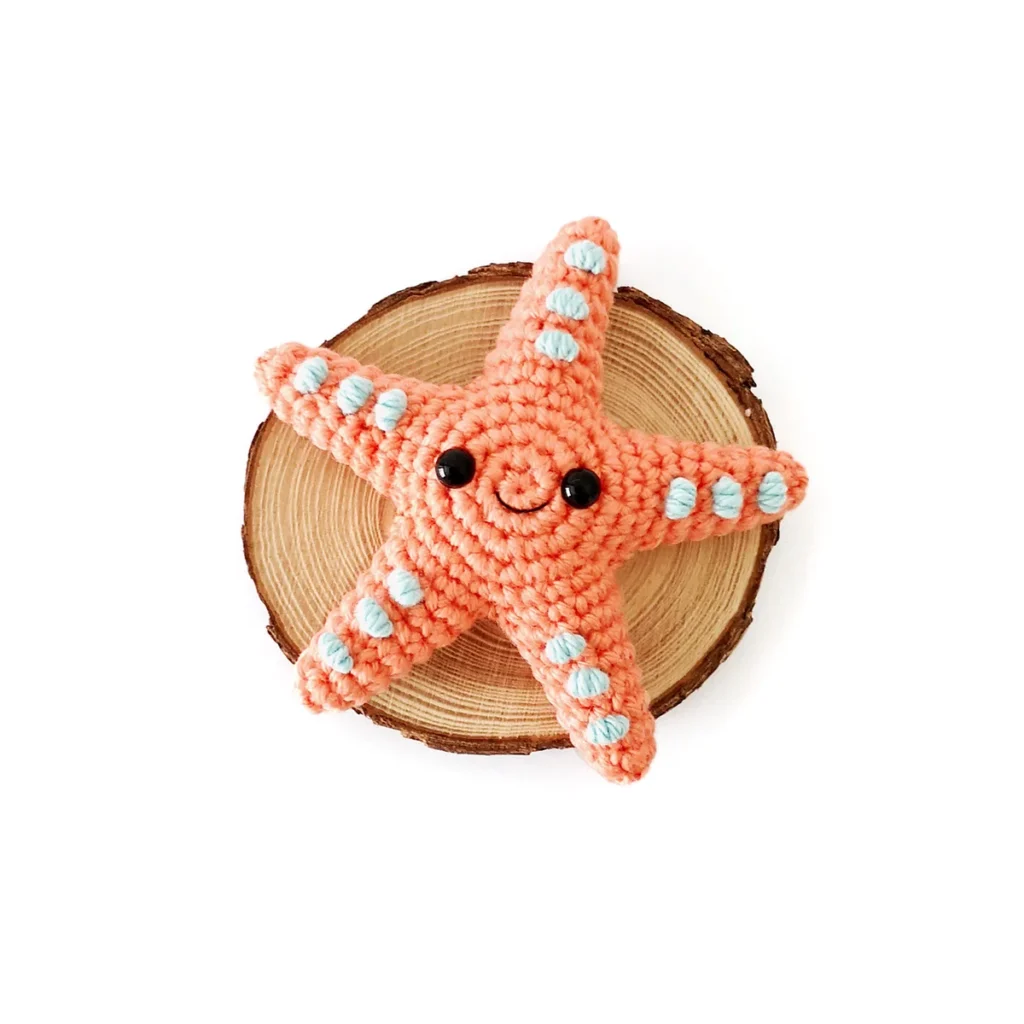
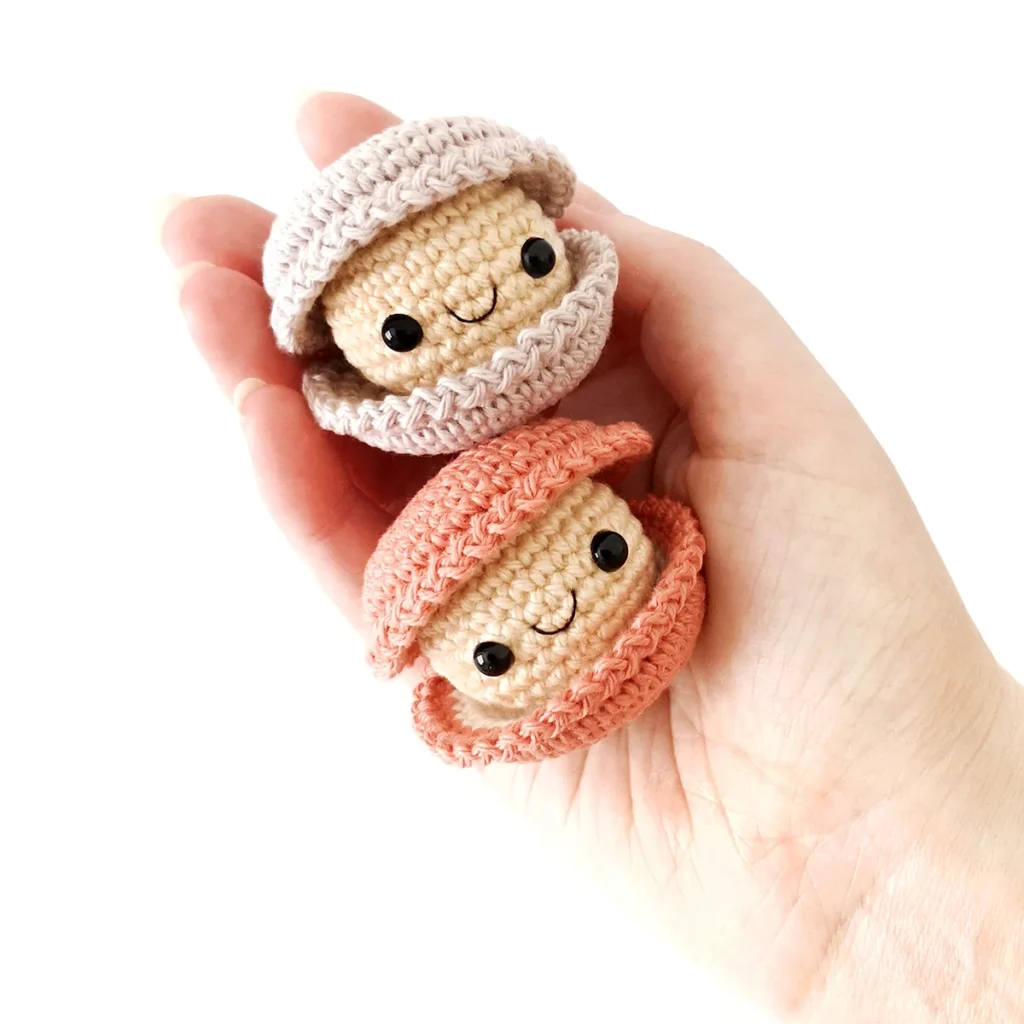
If you love this crochet turtle pattern, you might also like to check out these other ocean amigurumi patterns:

No-Sew Crochet Turtle Pattern
Prefer the PDF version?
where to buy
The ad-free PDF includes detailed instructions and photos as well as easy print pages.
Materials
- DK weight yarn in green and brown (I used Paintbox Yarns Cotton DK in Pistachio Green and Soft Fudge)
- 2.5mm crochet hook
- 8mm safety eyes
- Optional: 4 ply white yarn or white embroidery floss
- Polyester fiberfill
- Stitch marker, yarn needle, scissors
Abbreviations (US Terms)
- ch – chain
- FLO – front loop only
- inc – increase
- invdec – invisible decrease
- sc – single crochet
- sl st – slip stitch
- st/s – stitch/es
- […] – repeat the instructions in brackets
- (…) – indicates stitch count at end of round
Useful Links
Finished Size
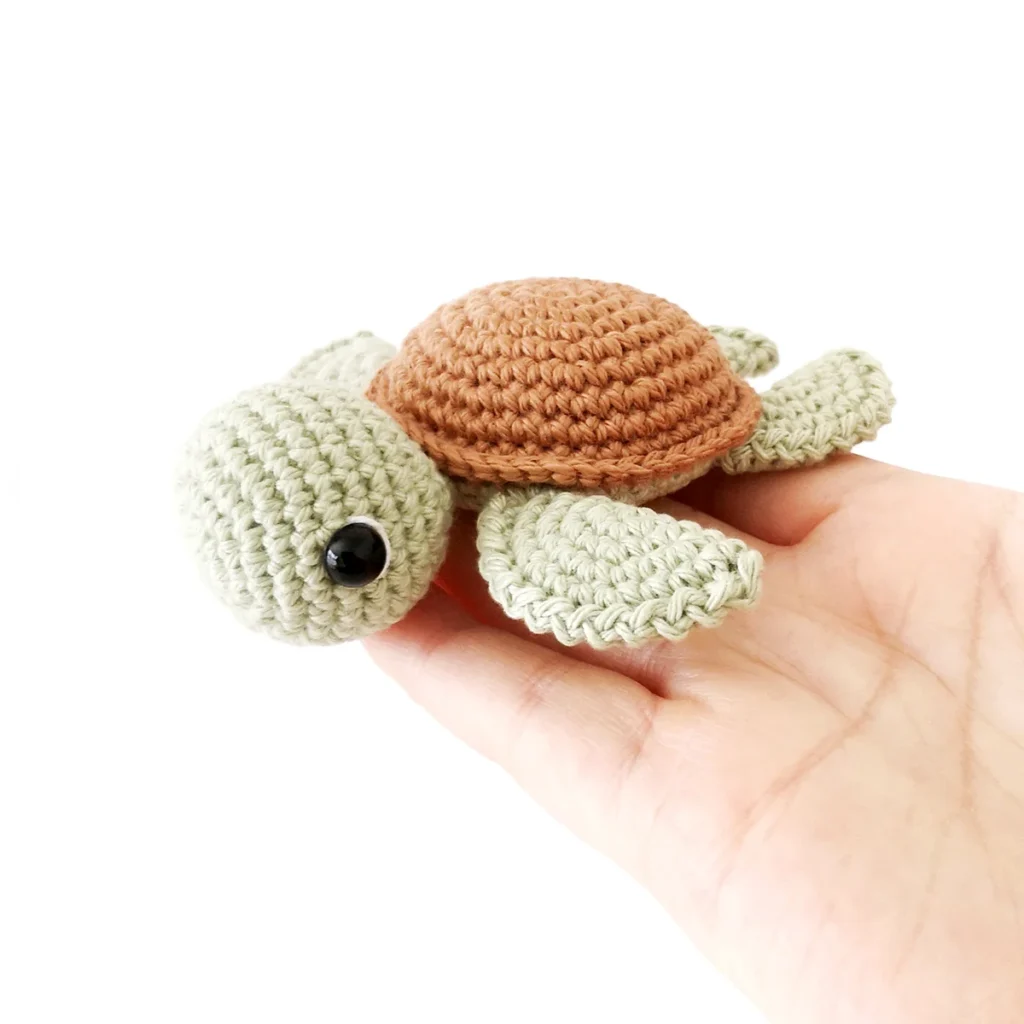
The finished turtle measures approximately 4″ x 4.25″ (10cm x 11cm). Size may vary depending on tension and materials used.
Gauge
Gauge is not important in this pattern. Use a hook size to match your chosen yarn. Make sure that your stitches are tight enough to prevent stuffing showing through and adjust hook size if necessary.
Notes
- Pieces are worked in a continuous spiral using the traditional YO (yarn over) method. Mark the first stitch of each round with a removable stitch marker.
- R10 of the shell is worked entirely in the front loop only.
- The head and flippers are crocheted in as you work the body.
- When joining the flippers on the left side, start with the stitch directly below the end stitch and on the right side, start with the end stitch first.
Pattern Instructions
Head (green)
R1: 6 sc in magic ring (6)
R2: [Inc] x6 (12)
R3: [Sc, inc] x6 (18)
R4: Sc, inc, [2 sc, inc] x5, sc (24)
R5: [3 sc, inc] x6 (30)
R6-10: [Sc] x30 (30) 5 rounds
R11: [3 sc, invdec] x6 (24)
R12: Sc, invdec, [2 sc, invdec] x5, sc (18)
Insert safety eyes between R7 and R8, 14 sts apart. They should be level with each other on each side when viewed from the front.
R13: [Sc, invdec] x6 (12)
Fasten off invisibly.
Weave in ends and stuff.
Find the centre of the head and pinch the opening closed, making sure that the eyes are aligned on each side. Use a stitch marker to hold in place.
Front Flippers (make 2, green)
R1: 6 sc in magic ring (6)
R2: [Inc] x6 (12)
R3: [Sc, inc] x6 (18)
R4: Sc, inc, [2 sc, inc] x5, sc (24)
R5: [7 sc, inc] x3 (27)
Fold the flipper in half, wrong sides together, with your hook in the corner, [sl st, ch 1 across] through both sides to close.
Fasten off and weave in ends.
Repeat the instructions for the second front flipper.
Back Flippers (make 2, green)
R1: 6 sc in magic ring (6)
R2: [Inc] x6 (12)
R3: [Sc, inc] x6 (18)
R4: [5 sc, inc] x3 (21)
Fold the flipper in half, wrong sides together, with your hook in the corner, [sl st, ch 1 across] through both sides to close.
Fasten off and weave in ends.
Repeat the instructions for the second back flipper.
Shell (brown)
R1: 6 sc in magic ring (6)
R2: [Inc] x6 (12)
R3: [Sc, inc] x6 (18)
R4: Sc, inc, [2 sc, inc] x5, sc (24)
R5: [3 sc, inc] x6 (30)
R6: 2 sc, inc, [4 sc, inc] x5, 2 sc (36)
R7: [5 sc, inc] x6 (42)
R8-9: [Sc] x42 (42) 2 rounds
R10: Work the entire round in the front loop only – FLO 3 sc, inc, [6 sc, inc] x5, 3 sc (48)
Sl st in the first stitch of the round. Fasten of invisibly and weave in ends.
Assembly/Body (green)
In this next round, we’ll be continuing on from the shell and crocheting in the head and flippers as we start the underside of the body.
The flippers are joined through the end stitch and the stitch below it with the decorative edge facing outwards.
note
When joining the flippers on the left side, start with the stitch directly below the end stitch and on the right side, start with the end stitch first.
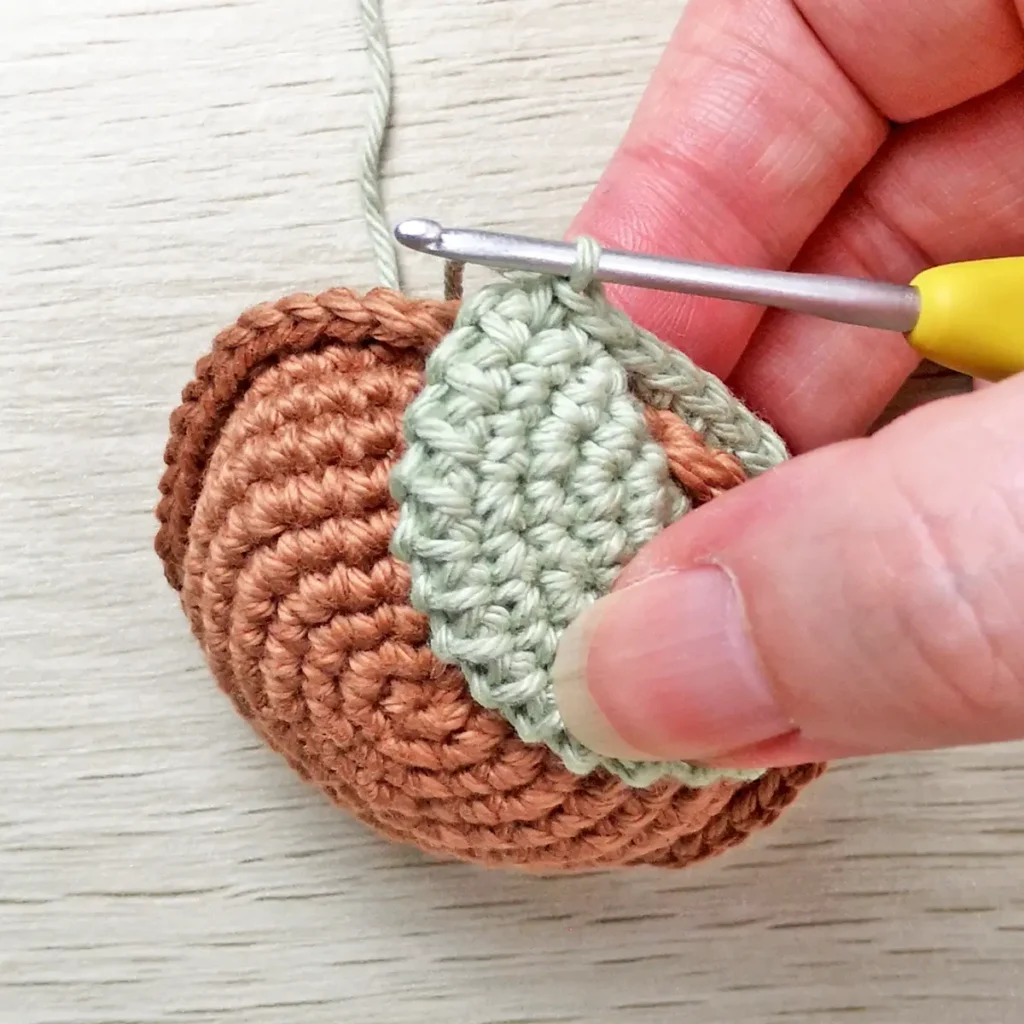
Join green yarn in the first leftover back loop from round 10 of the shell by inserting your hook and pulling up a loop of yarn.
R1: Ch 1, sc in same space and next 4 back loops.
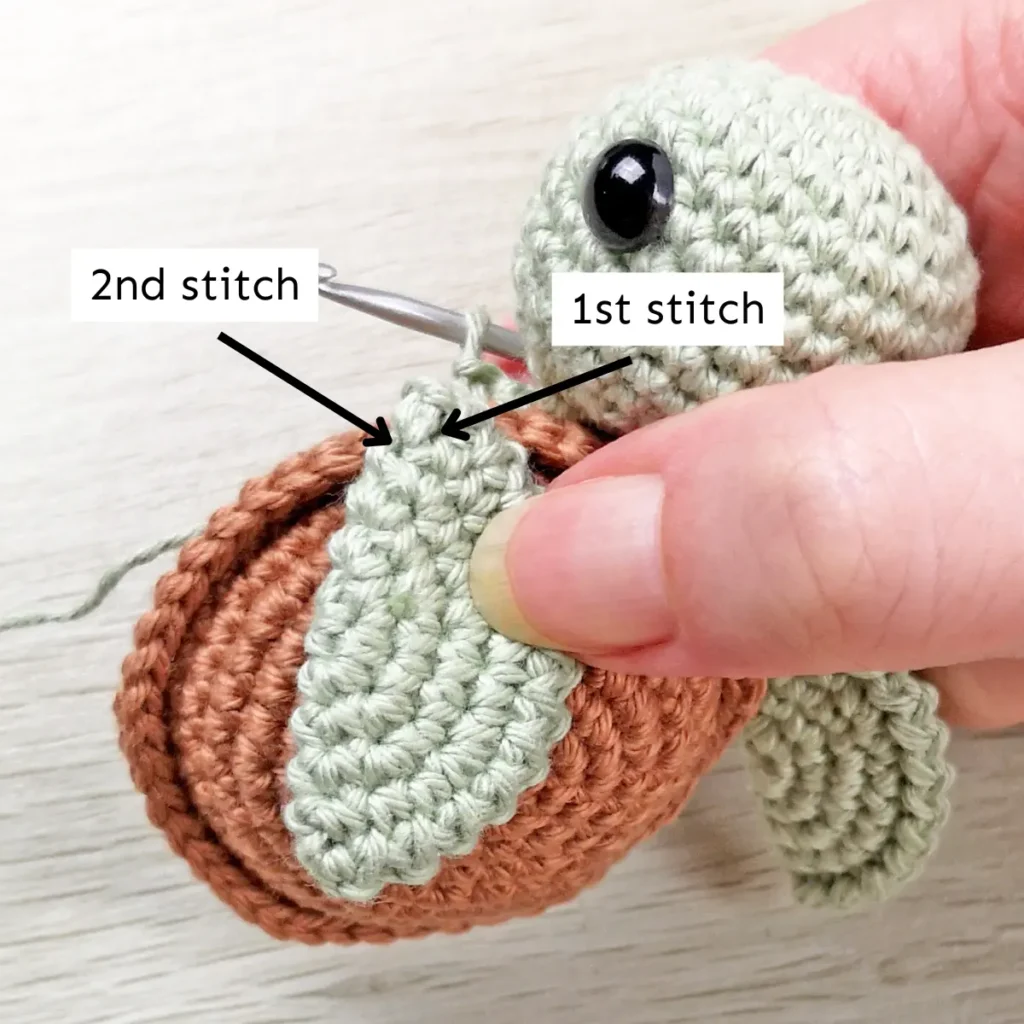
Attach the first front flipper in the next 2 back loops – place the flipper right side down against the shell as shown in the image below, you will be crocheting through the 2 marked stitches (the stitch directly below the end stitch and the end stitch itself). Insert your hook through the first stitch of the flipper and the corresponding back loop, sc as normal. Repeat for the second stitch.
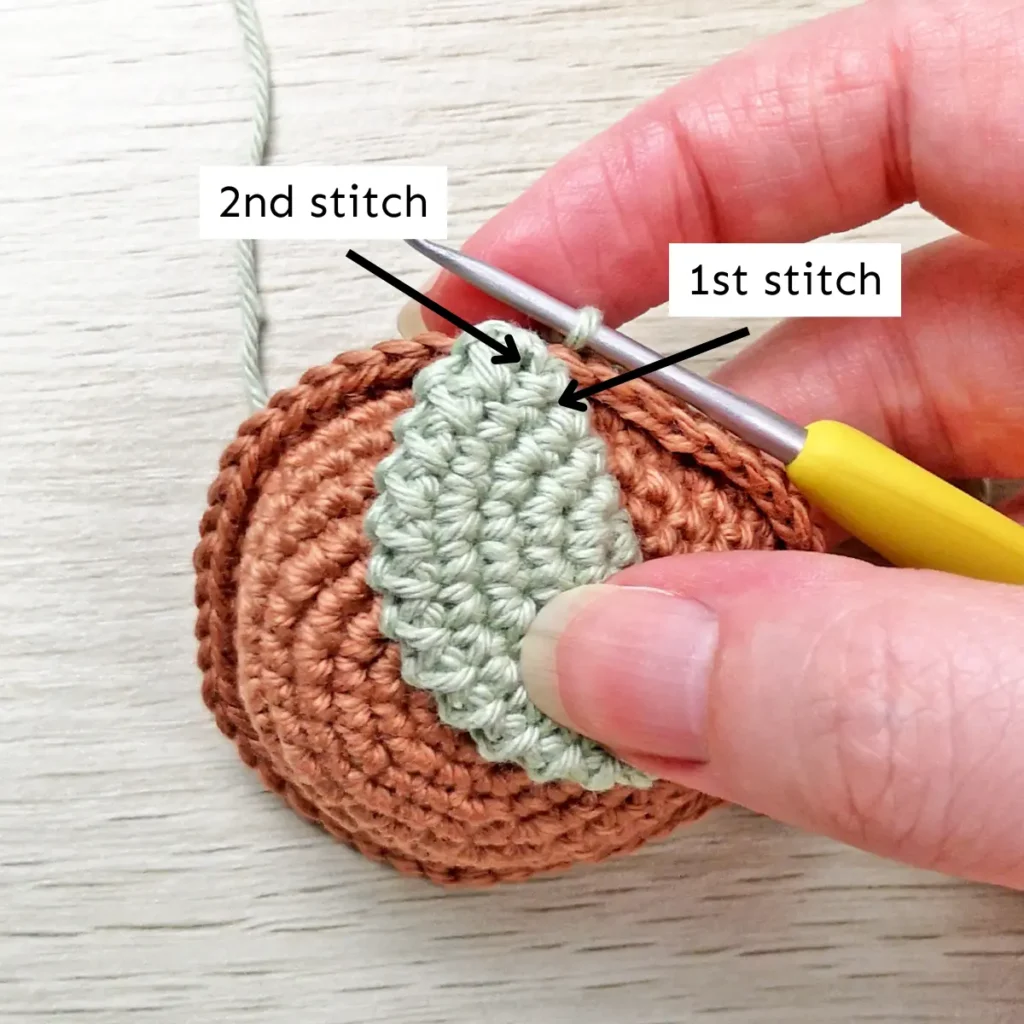
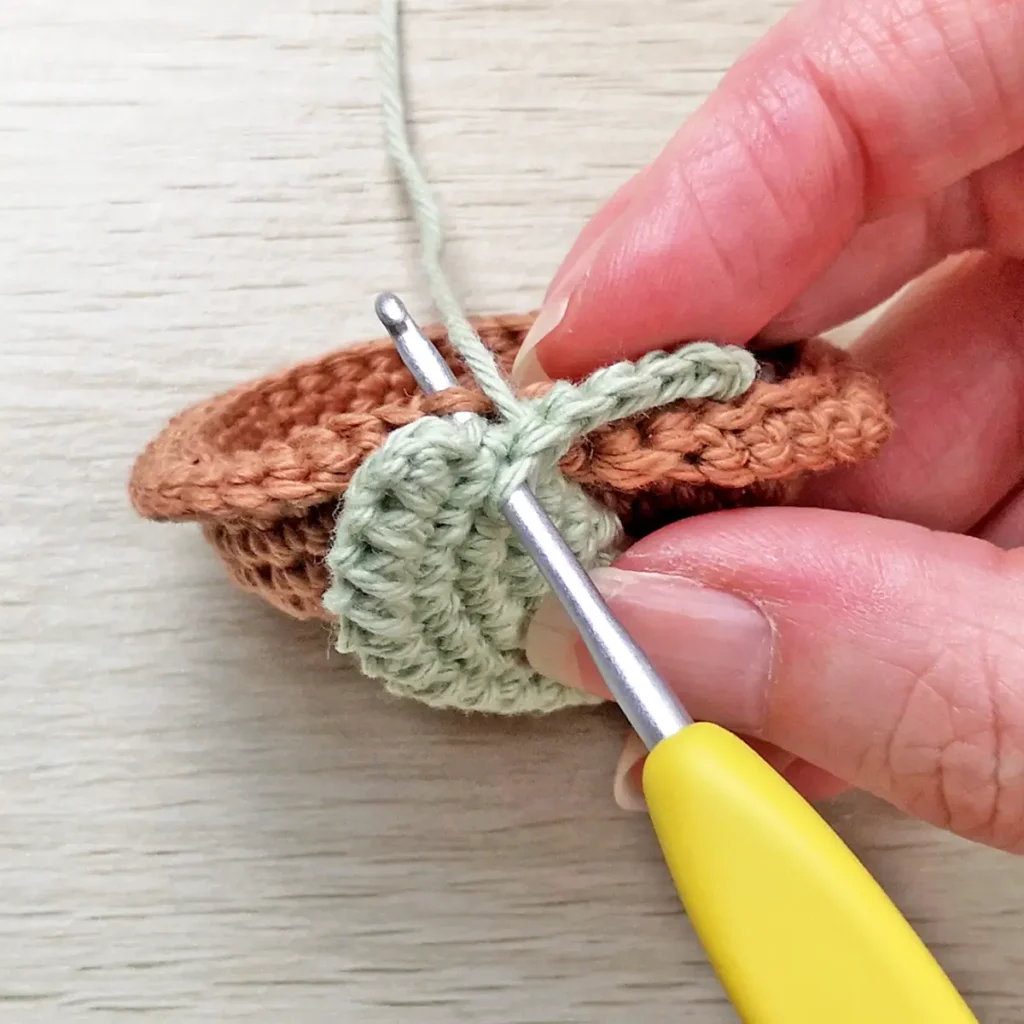
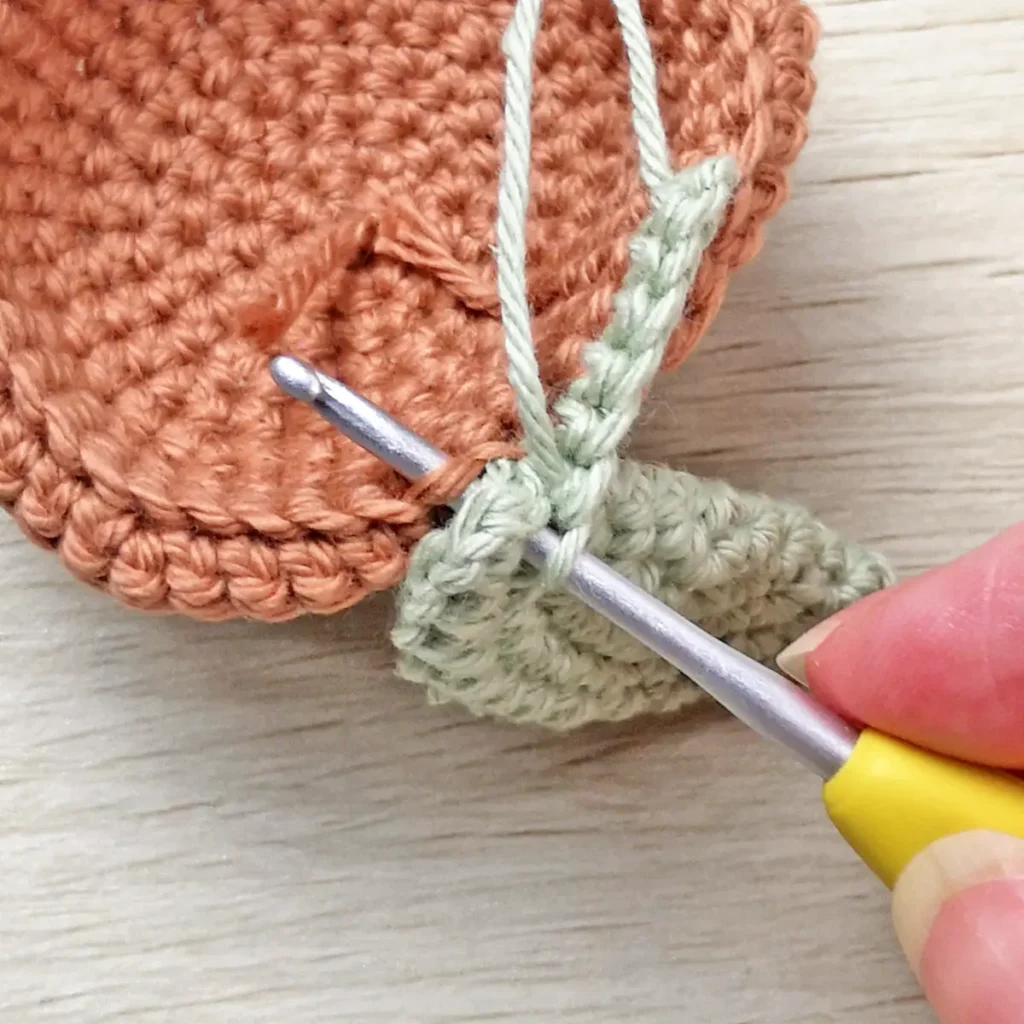
Sc in next 2 back loops.
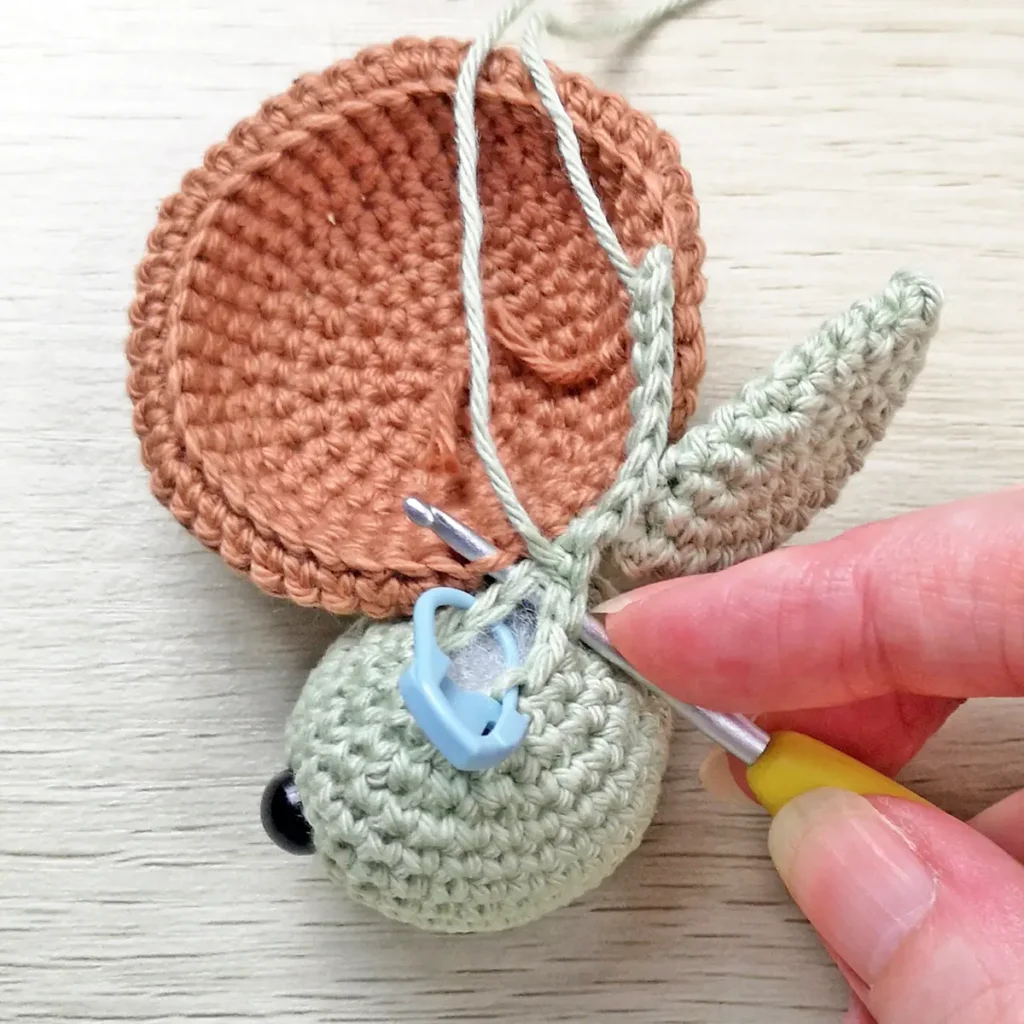
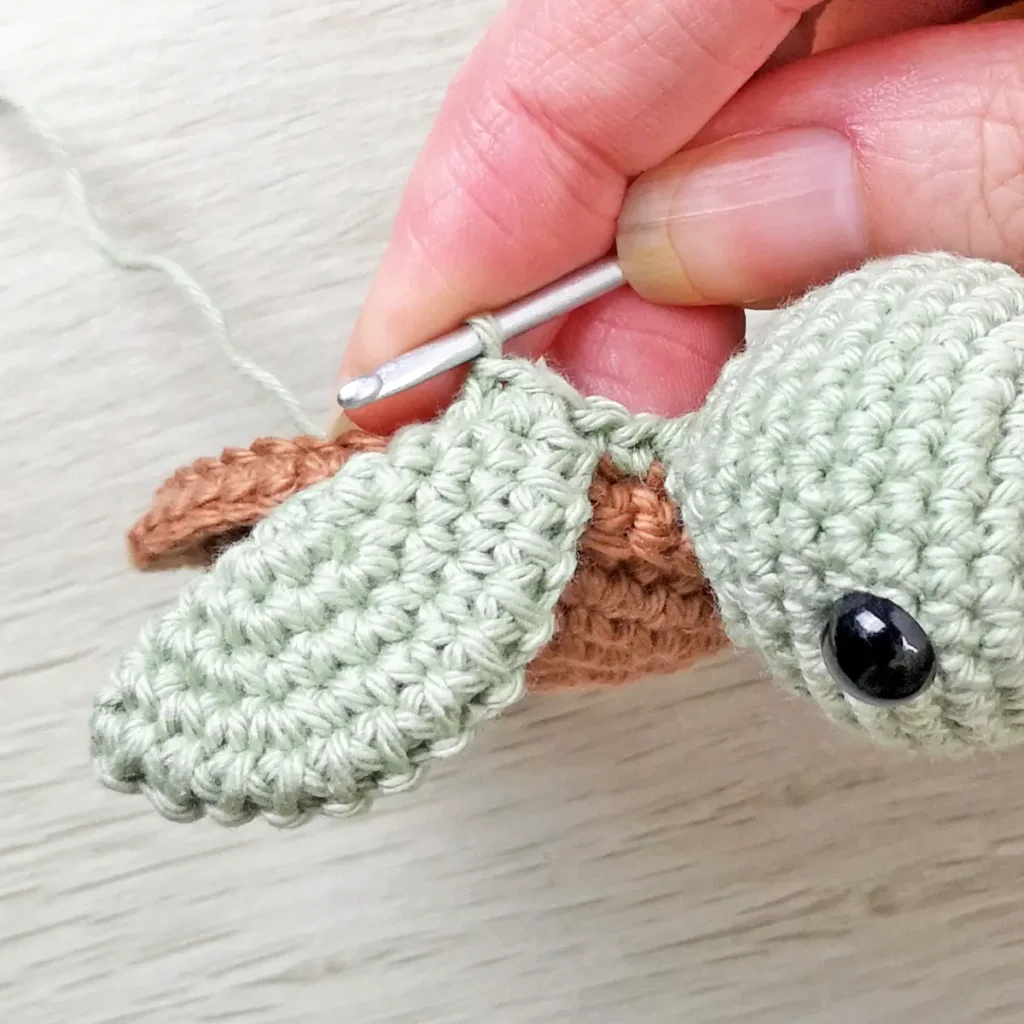
Attach the head in the next 5 back loops – place the head top side down against the shell. Insert your hook in the corner through both sides of the head and the corresponding back loop, sc as normal. Repeat across until you have 5 sc and the head is closed.
Once the head is joined, turn the turtle over and double check that it hasn’t twisted and that the eyes are even.
Sc in next 2 back loops.
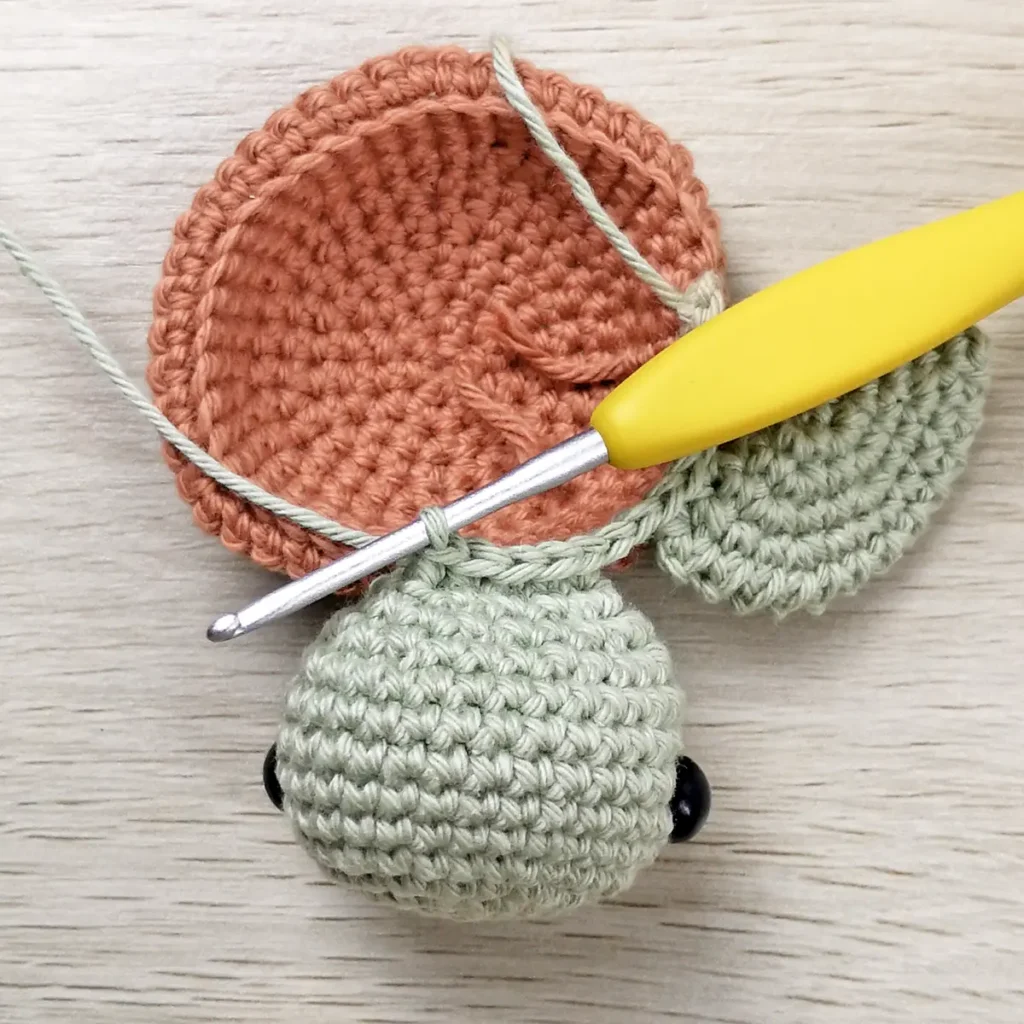
Attach the second front flipper in the next 2 back loops – place the flipper right side down against the shell as shown in the image below, you will be crocheting through the 2 marked stitches this time starting with the end stitch. Insert your hook through the first stitch of the flipper and the corresponding back loop, sc as normal. Repeat for the second stitch.
Sc in next 9 back loops.
Attach the first back flipper in the next 2 back loops in the same way as the second front flipper, starting with the end stitch.
Sc in next 7 back loops.
Attach the second back flipper in the next 2 back loops in the same way as the first front flipper, starting with the stitch directly below the end stitch.
Sc in last 4 back loops (42)
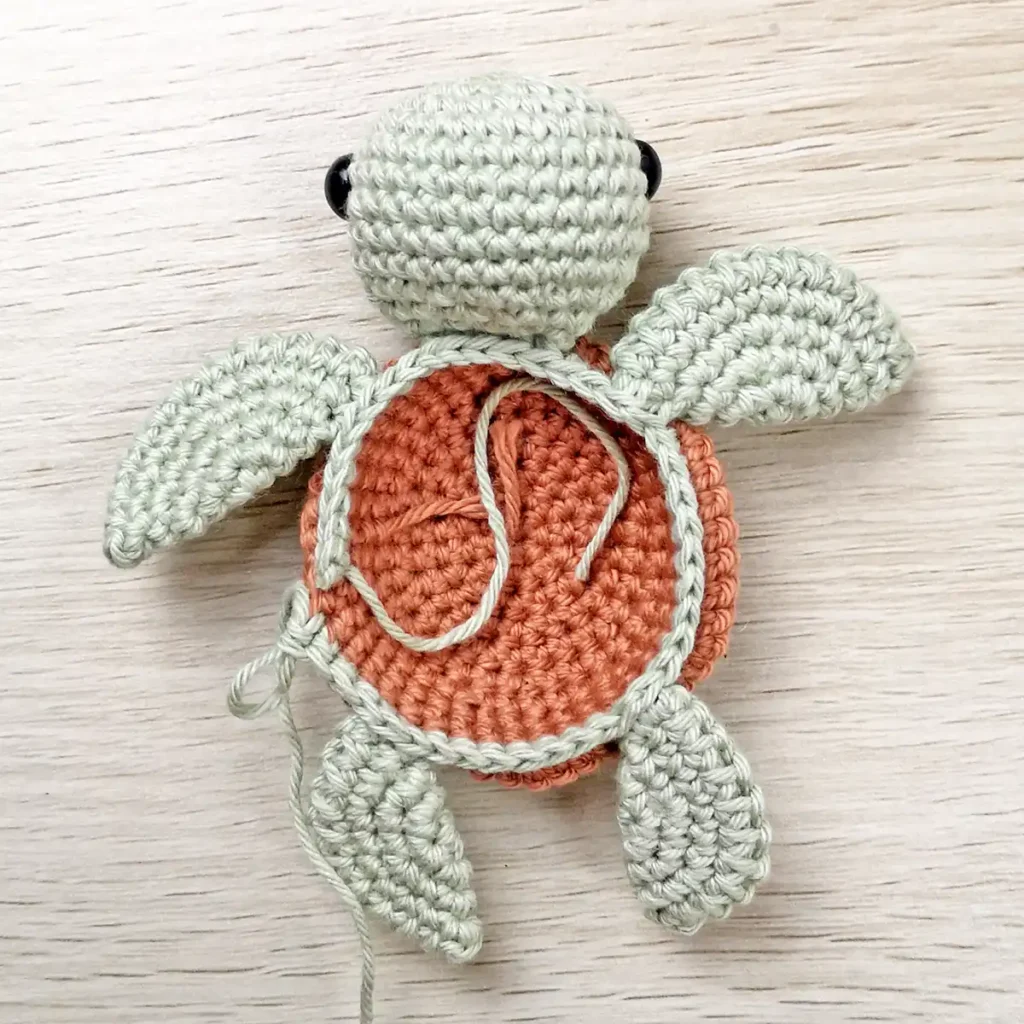
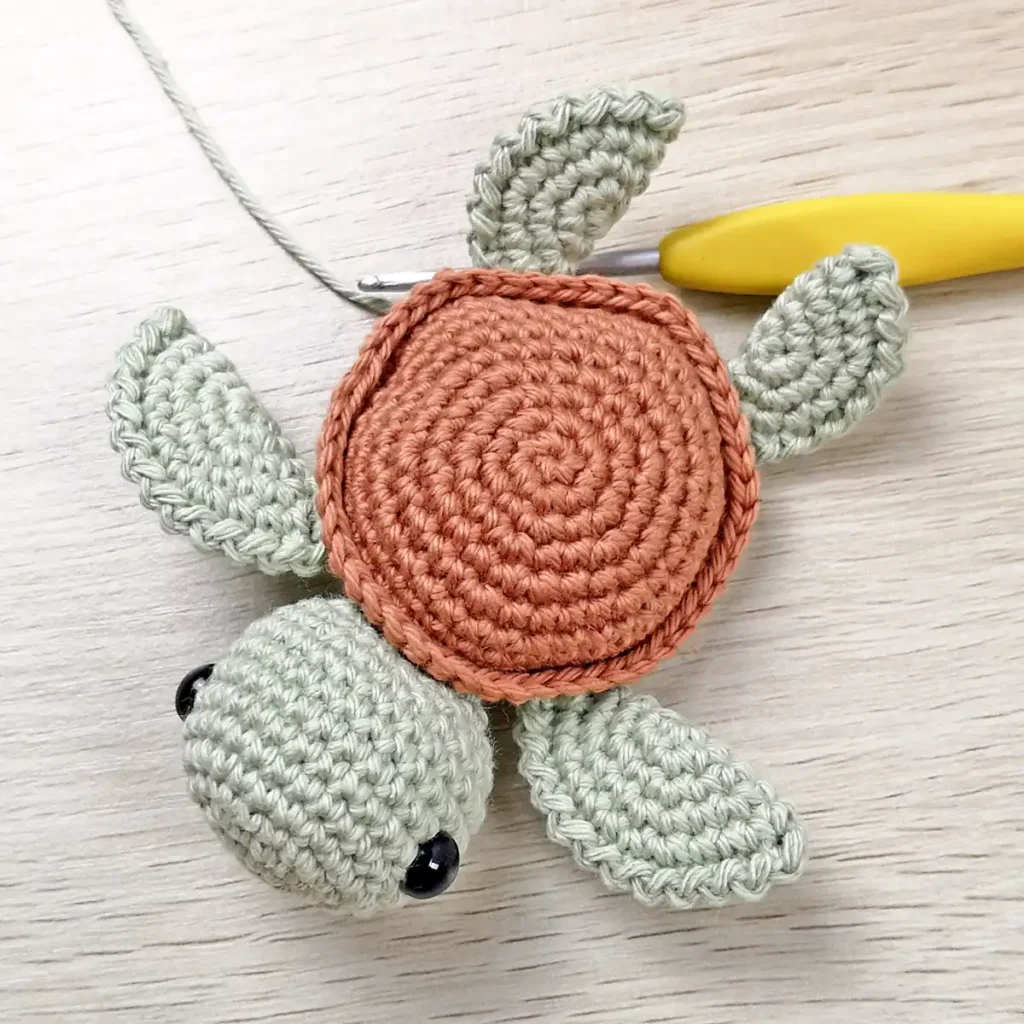
Using the images below, check that everything is joined correctly and the flippers are facing the right way before moving on to R2.
R2: [5 sc, invdec] x6 (36)
R3: 2 sc, invdec, [4 sc, invdec] x5, 2 sc (30)
R4: [3 sc, invdec] x6 (24)
Start stuffing and continue to stuff as you go.
tip
Focus stuffing towards the outer edges to create a flatter bottom.
R5: [Sc, invdec] x8 (16)
R6: [Invdec] x8 (8)
Cut the yarn leaving a tail and pull through the last stitch. Weave the yarn tail through the front loops only of the final round and pull gently to close. Hide the end inside the turtle.
Finishing
- Optional: Using 4 ply white yarn or white embroidery floss, add a white accent to the outer edge of each eye.
not ready to make this yet?
Pin this post for later
Explore More Crochet Patterns
After you crochet this turtle, here are some more crochet patterns to try:
What’s Next?
Have questions? Join the Facebook group!
We hope you enjoyed this pattern. Come and hang out with me in the Stitch by Fay Community Facebook group. We created this space for you to share pictures, ask questions and support each other.

This pattern is for personal use only and may not be copied, reproduced, altered, published or distributed in any format (including video). If you wish to share this pattern, you may link to this pattern but please do not reprint it on your site.
You can sell finished products made from this pattern in small quantities. Do NOT use our photos as your sale photos.