

No-Sew Crochet Clam Pattern
This crochet clam is as easy as it is adorable! It’s perfect for market prep or gifts and is a fun way to use up leftover yarn from other projects.
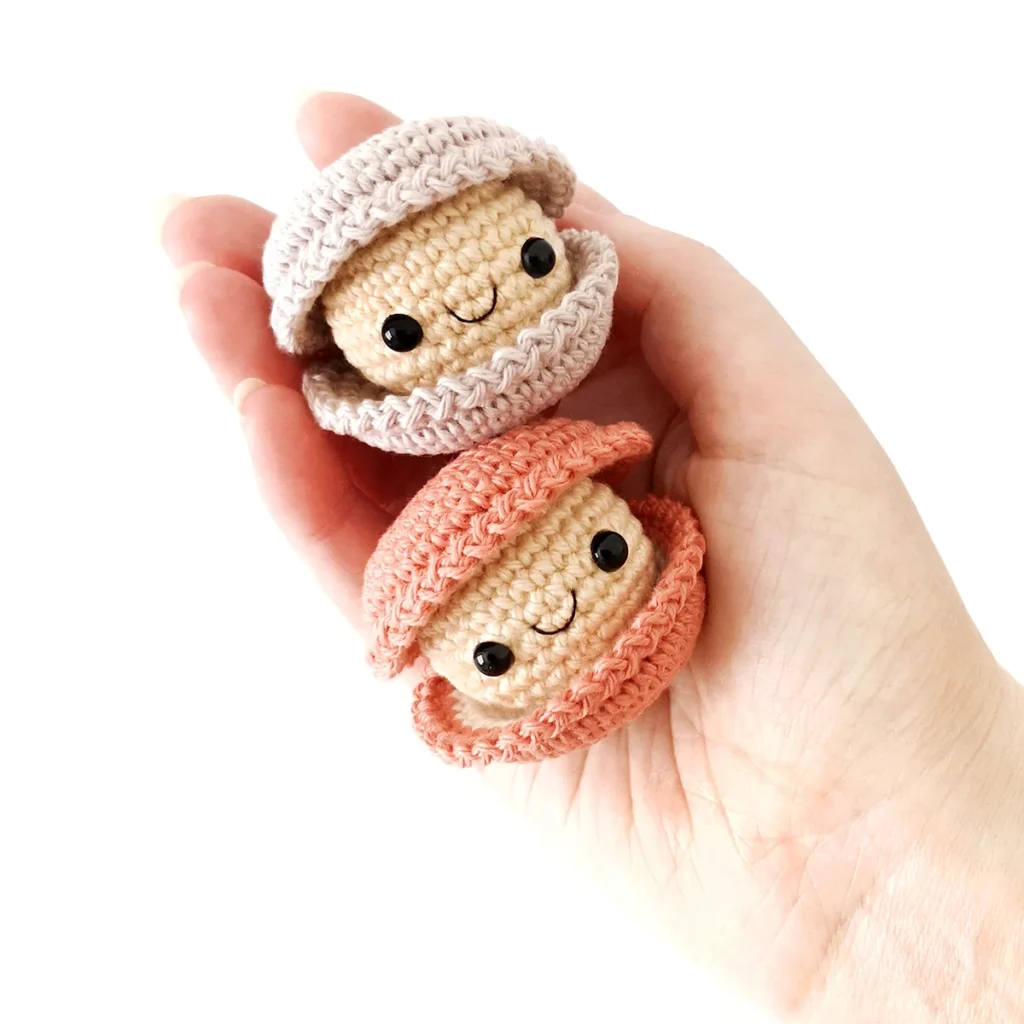
This crochet clam pattern is no-sew and works up fast. I used my favourite trim, a combination of slip stitches and chains, to add some detail to the shell and gave the clam a smile to up the cute factor.
The clam is removable but you can sew it to the bottom shell if you’d like it to be fixed in place (this would be good if you wanted to turn it into a keychain).

About the Pattern
This crochet clam is made up of of two main parts, the shell and the clam.
Each half of the shell consists of two pieces which are crocheted together. Then we’ll join them with slip stitches to create the hinge and finish off with a simple trim.
The final touch is the little clam that sits inside the shell.

Recommended Yarn
You can use any yarn weight and fiber to make your crochet clam. I used Paintbox Yarns Cotton DK in Taupe and Vintage Pink for the clam shells pictured and Light Caramel for the clam itself.
Why You’ll Love This Crochet Clam Pattern

More Crochet Patterns
If you love this crochet clam pattern, you might also like to check out these other ocean patterns:


No-Sew Crochet Clam Pattern
Prefer the PDF version?
where to buy
The ad-free PDF includes detailed instructions and photos as well as easy print pages.
Materials
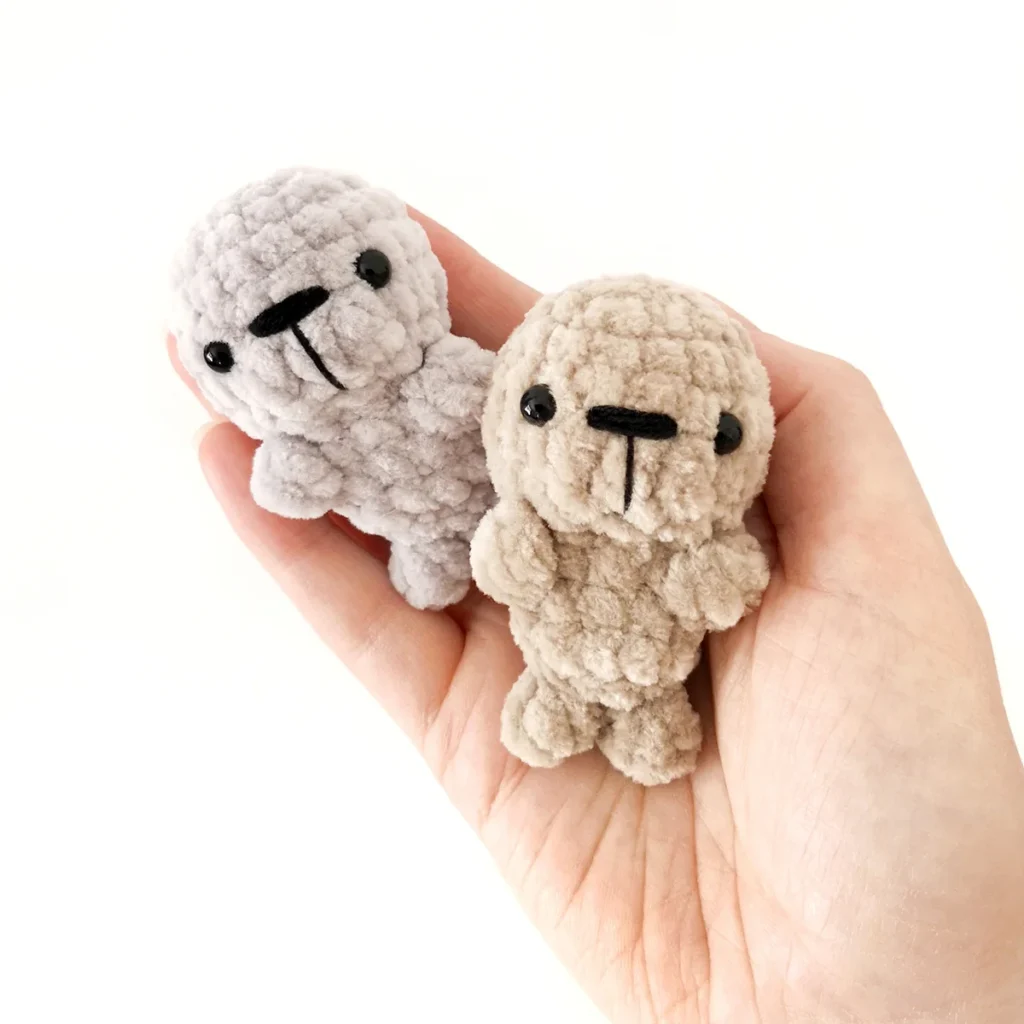
- DK weight yarn in grey or coral, off-white and light peach (I used Paintbox Yarns Cotton DK in Taupe/Vintage Pink, Champagne White and Light Caramel)
- 2.5mm crochet hook
- 6mm safety eyes
- Black embroidery floss
- Polyester fiberfill
- Stitch marker, yarn needle, scissors
Abbreviations (US Terms)
- ch – chain
- sc – single crochet
- inc – increase
- invdec – invisible decrease
- sl st – slip stitch
- st/s – stitch/es
- […] – repeat the instructions in brackets
- (…) – indicates stitch count at end of round
Useful Links
Finished Size
The finished clam measures approximately 2.25″ x 1.75″ (5.5cm x 4.5cm). Size may vary depending on tension and materials used.
Gauge
Gauge is not important in this pattern. Use a hook size to match your chosen yarn. Make sure that your stitches are tight enough to prevent stuffing showing through and adjust hook size if necessary.
Notes
- Pieces are worked in a continuous spiral. Mark the first stitch of each round with a removable stitch marker.
Pattern Instructions
Inner shell (make 2, off-white)
R1: 6 sc in magic ring (6)
R2: [Inc] x6 (12)
R3: [Sc, inc] x6 (18)
R4: Sc, inc, [2 sc, inc] x5, sc (24)
R5: [3 sc, inc] x6 (30)
R6: 2 sc, inc, [4 sc, inc] x5, 2 sc (36)
R7: [Sc] x36 (36)
Fasten off invisibly and weave in ends on both pieces.
Outer Shell (make 2, grey)
R1: 6 sc in magic ring (6)
R2: [Inc] x6 (12)
R3: [Sc, inc] x6 (18)
R4: Sc, inc, [2 sc, inc] x5, sc (24)
R5: [3 sc, inc] x6 (30)
R6: 2 sc, inc, [4 sc, inc] x5, 2 sc (36)
R7-8: [Sc] x36 (36) 2 rounds
Joining
Place one of the inner shell pieces inside the outer shell with wrong sides together and sc through both pieces to join.
R9: [Sc] x36 (36)
R10: [Sl st, ch 1] x29, sl st in next st, leave remaining 6 sts unworked
Fasten off and set aside.


Repeat R1-9 for the second outer shell piece. Do not fasten off.
Place the first shell piece on top of the second piece with the inside of the shell facing each other. Align the unworked sts with the crochet hook in the corner.
Starting in the first sl st from R10, sl st through the back loops only of the next 8 sts, the last sl st is worked into the last sl st from R10 – this will form the hinge.


Working through both loops of the bottom piece only – [Sl st, ch 1] x28, sl st in the first sl st of the hinge.
Ch 1, do not tighten ch, fasten off invisibly and weave in ends.
Clam (light peach)
R1: 6 sc in magic ring (6)
R2: [Inc] x6 (12)
R3: [Sc, inc] x6 (18)
R4: Sc, inc, [2 sc, inc] x5, sc (24)
R5: [3 sc, inc] x6 (30)
R6-10: [Sc] x30 (30) 5 rounds
R11: [3 sc, invdec] x6 (24)
Insert safety eyes between R8 and R9, 5 sts apart.
R12: Sc, invdec, [2 sc, invdec] x5, sc (18)
Start stuffing and continue to stuff as you go.
R13: [Sc, invdec] x6 (12)
R14: [Invdec] x6 (6)
Cut the yarn leaving a tail and pull through the last st. Weave the yarn tail through the front loop only of the final round and pull to close. Hide the end inside the clam.
Using a single strand of black embroidery floss, sew a mouth centred between the eyes over R9.
Place the clam inside the shell.
not ready to make this yet?
Pin this post for later

Explore More Crochet Patterns
After you crochet this clam, here are some more crochet patterns to try:
What’s Next?
Have questions? Join the Facebook group!
We hope you enjoyed this pattern. Come and hang out with me in the Stitch by Fay Community Facebook group. We created this space for you to share pictures, ask questions and support each other.

This pattern is for personal use only and may not be copied, reproduced, altered, published or distributed in any format (including video). If you wish to share this pattern, you may link to this pattern but please do not reprint it on your site.
You can sell finished products made from this pattern in small quantities. Do NOT use our photos as your sale photos.