

No-Sew Crochet Duck Pattern
Looking for a quick little scrapbuster? This no-sew crochet duck pattern is it!
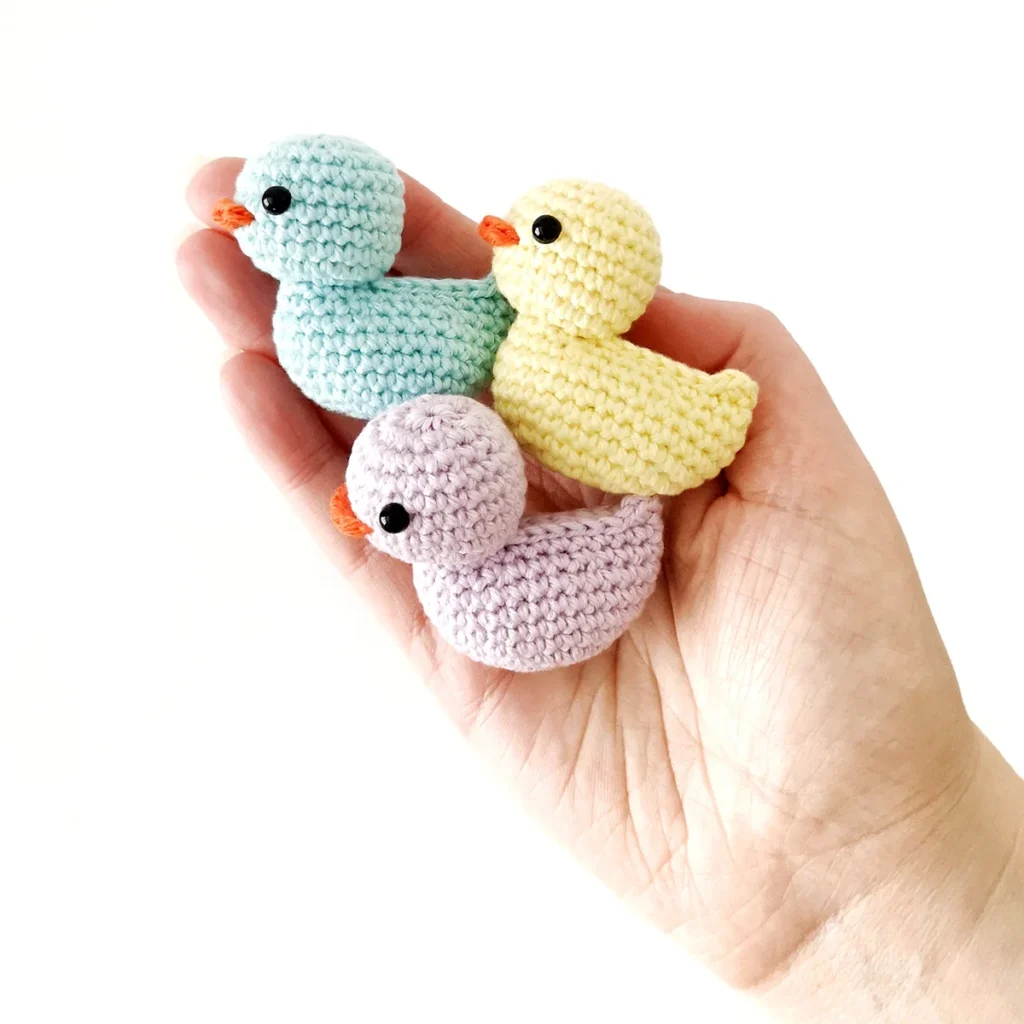
Whether you’re after a cute weekend project, a handmade gift, a last-minute market make or a fun way to use up your leftover yarn, add this little duck to your list.
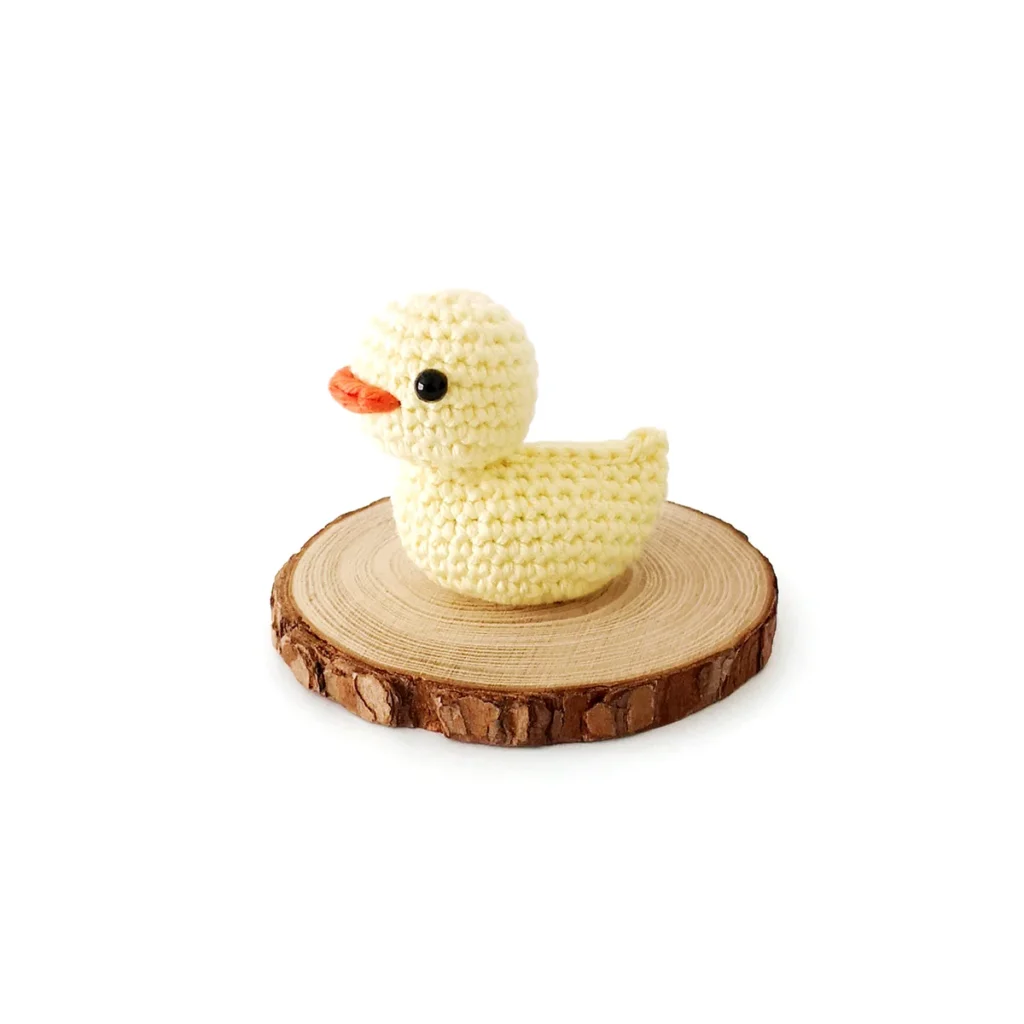
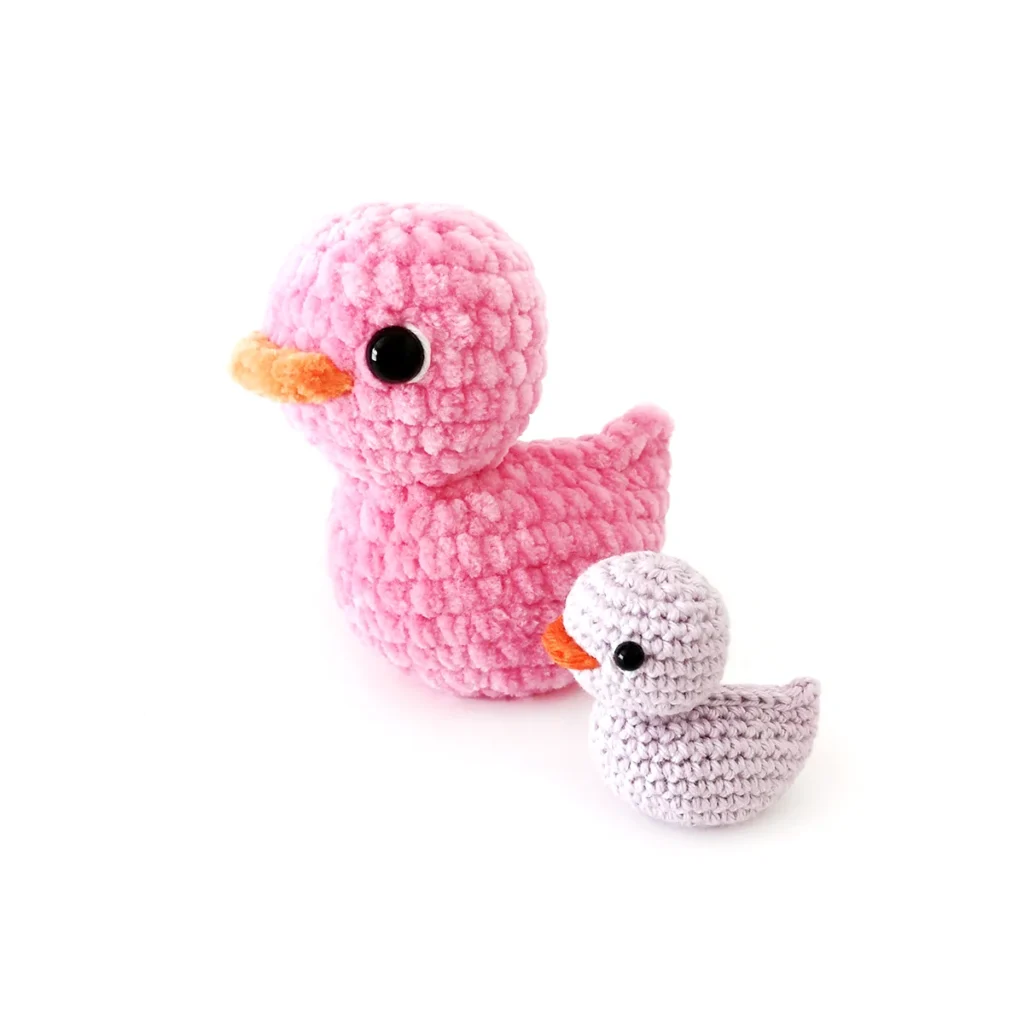
This crochet duck pattern is completely no-sew and uses only basic stitches. It’s reminiscent of those classic rubber duckies and looks cute in just about every colour.
Use this little duck to make keychains, bag charms, car hangers or even an adorable brooch! It’s also the perfect size to put in a mini claw machine for your next market.
About the Pattern
This crochet duck pattern is worked in a spiral using basic stitches.
We start with the body before slip stitching both sides together and leaving unworked stitches for the head.
The body is filled with poly pellets and some stuffing to give it the stability so it can sit upright.
The head is continued on from the body without fastening off and the beak is crocheted on at the end.
Recommended Yarn
You can use any yarn weight and fiber to make your crochet duck, it will just change the size of your finished project.
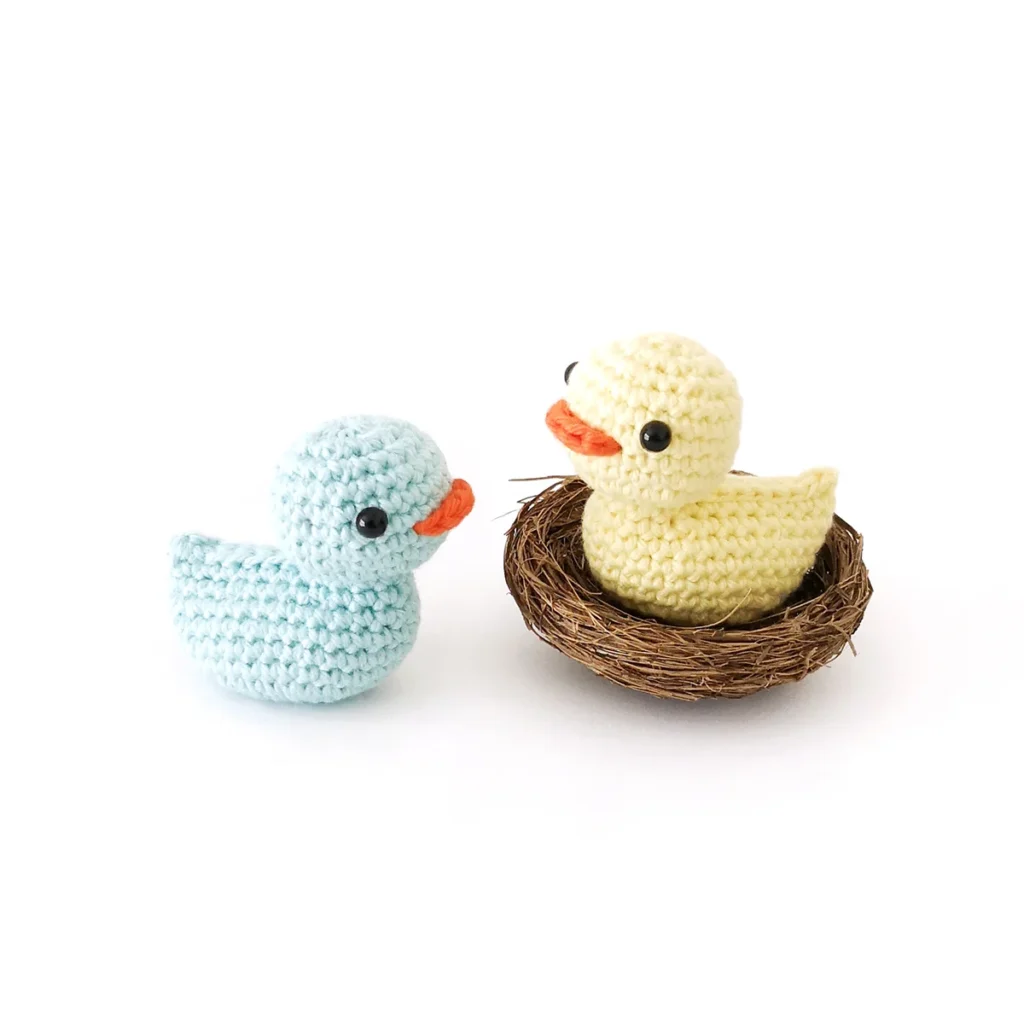
I used Paintbox Yarns Cotton DK to make these keychain sized duckies, but this pattern also works well with plush yarn with a few minor adjustments.
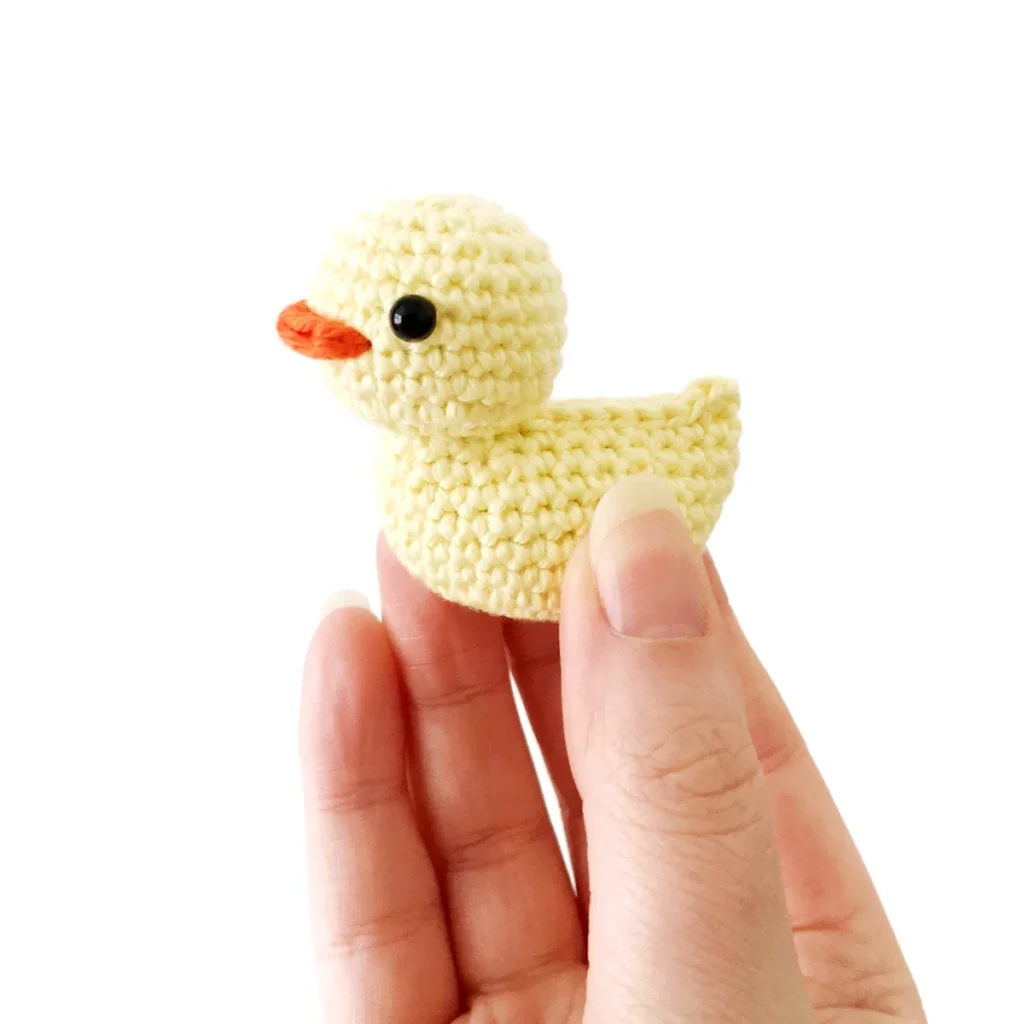
For the plush duck below I used Premier Yarns Parfait Chunky with a 4.5mm hook and 10mm safety eyes.
How to make a plush duck:
R1: Ch 2, 8 sc in second ch from hook (8)
R2: [Inc] x8 (16)
R3: [Sc, inc] x8 (24)
Proceed with the pattern as written starting from R5.
note
If adding poly pellets, you may want to use a nylon stocking or sock to contain them.
Why You’ll Love This Crochet Duck Pattern
More Crochet Patterns
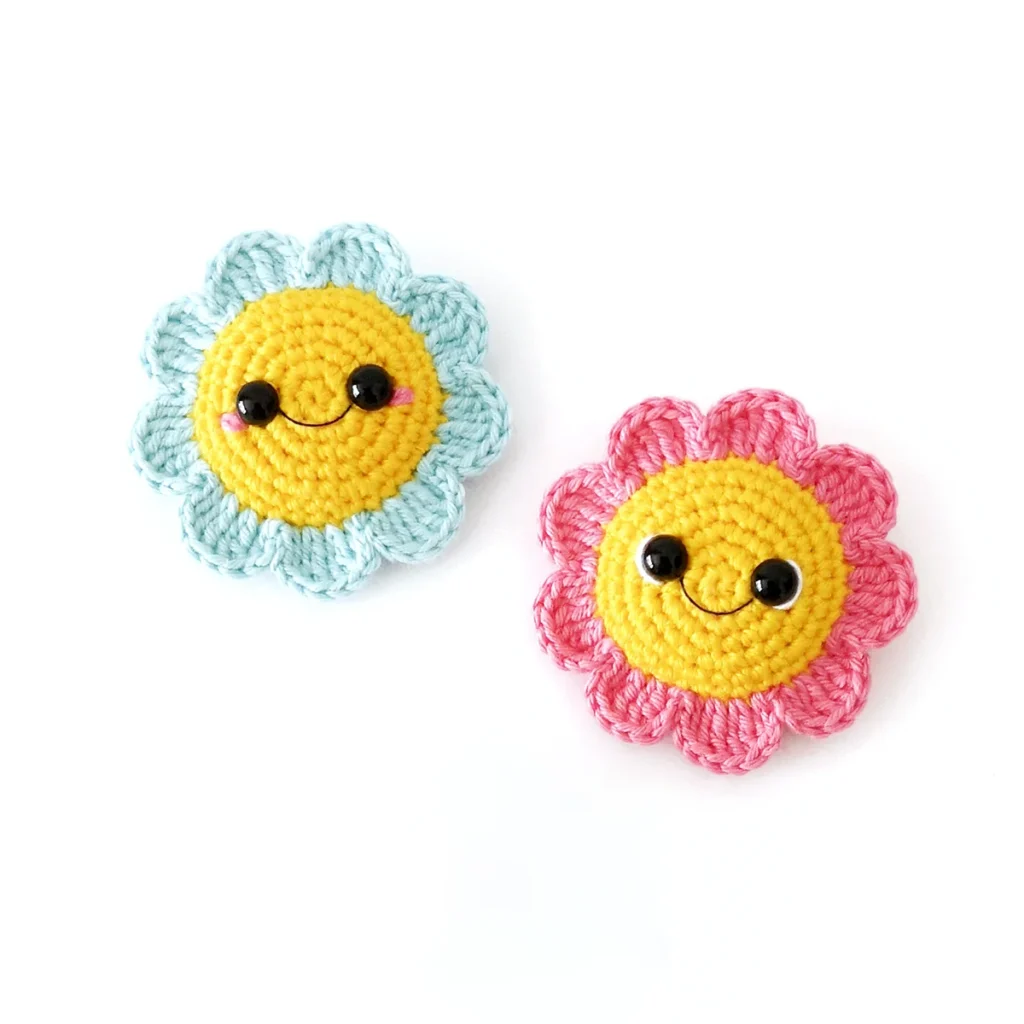
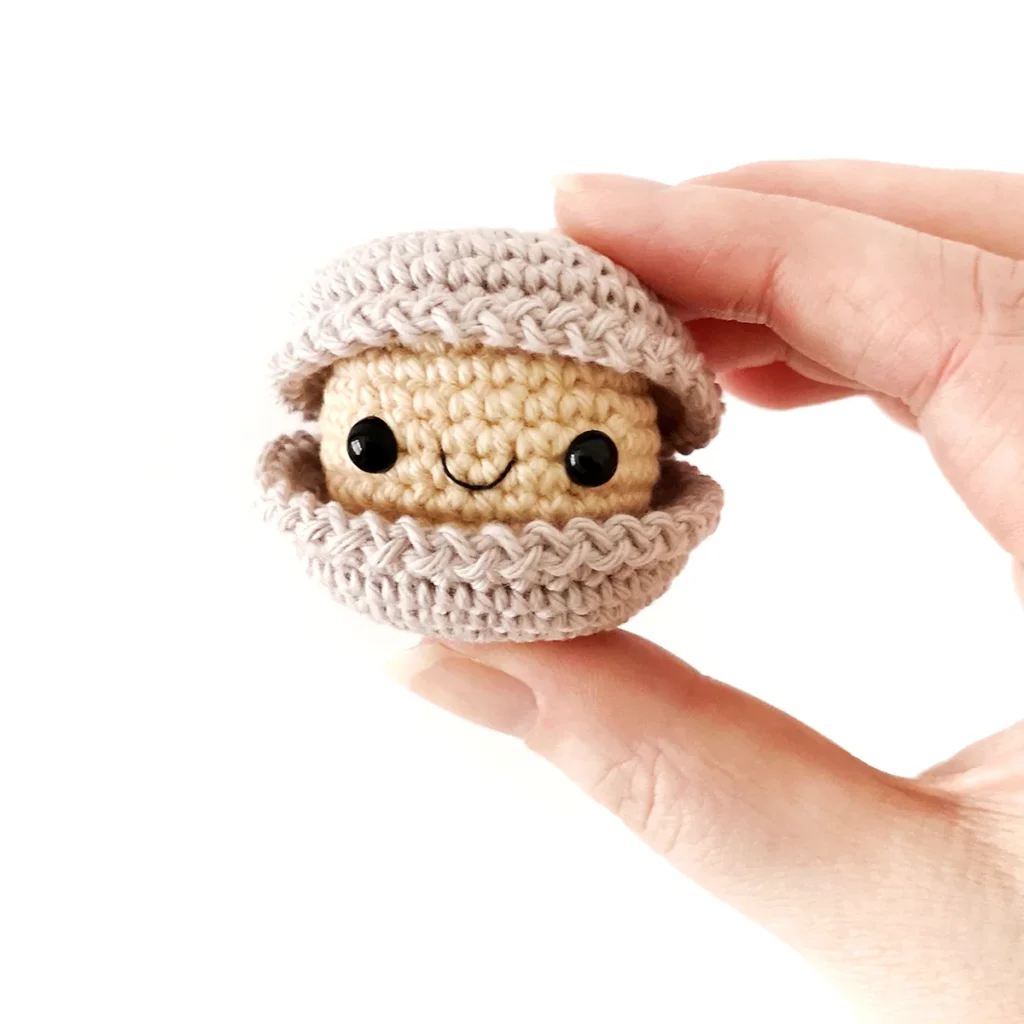
If you love this crochet duck pattern, you might also like to check out these other no-sew patterns:

No-Sew Crochet Duck Pattern
Prefer the PDF version?
where to buy
The ad-free PDF includes detailed instructions and photos as well as easy print pages.
Materials
- DK weight yarn in yellow (approximately 8g) and a small amount of orange (I used Paintbox Yarns Cotton DK in Daffodil Yellow and Blood Orange)
- 2.5mm crochet hook
- 5mm safety eyes
- Poly pellets
- Polyester fiberfill
- Stitch marker, yarn needle, scissors
Abbreviations (US Terms)
- ch – chain
- FLO – front loop only
- inc – increase
- invdec – invisible decrease
- sc – single crochet
- sl st – slip stitch
- st/s – stitch/es
- […] – repeat the instructions in brackets
- (…) – indicates stitch count at end of round
Useful Links
Finished Size
The finished duck measures approximately 1.75″ (4.5 cm) long x 2″ (5 cm) tall. Size may vary depending on tension and materials used.
Gauge
Gauge is not important in this pattern. Use a hook size to match your chosen yarn. Make sure that your stitches are tight enough to prevent stuffing showing through and adjust hook size if necessary.
Notes
- Pieces are worked in a continuous spiral using the traditional YO (yarn over) method. Mark the first stitch of each round with a removable stitch marker.
- Poly pellets are added to the body so that the duck can sit on its own, if that isn’t a concern then you can just fill the body with stuffing.
- The beak is crocheted off the head in between stitches. Alternatively, you can embroider the beak for a different look.
Pattern Instructions
Duck (yellow)
R1: 6 sc in magic ring (6)
R2: [Inc] x6 (12)
R3: [Sc, inc] x6 (18)
R4: Sc, inc, [2 sc, inc] x5, sc (24)
R5: [3 sc, inc] x6 (30)
R6-9: [Sc] x30 (30) 4 rounds
R10: [3 sc, invdec] x6 (24)
R11: [Sc] x24
Half fill the body with poly pellets.
note
The poly pellets make it so that the duck can sit on its own, if that isn’t a concern then you can just fill the body with stuffing.
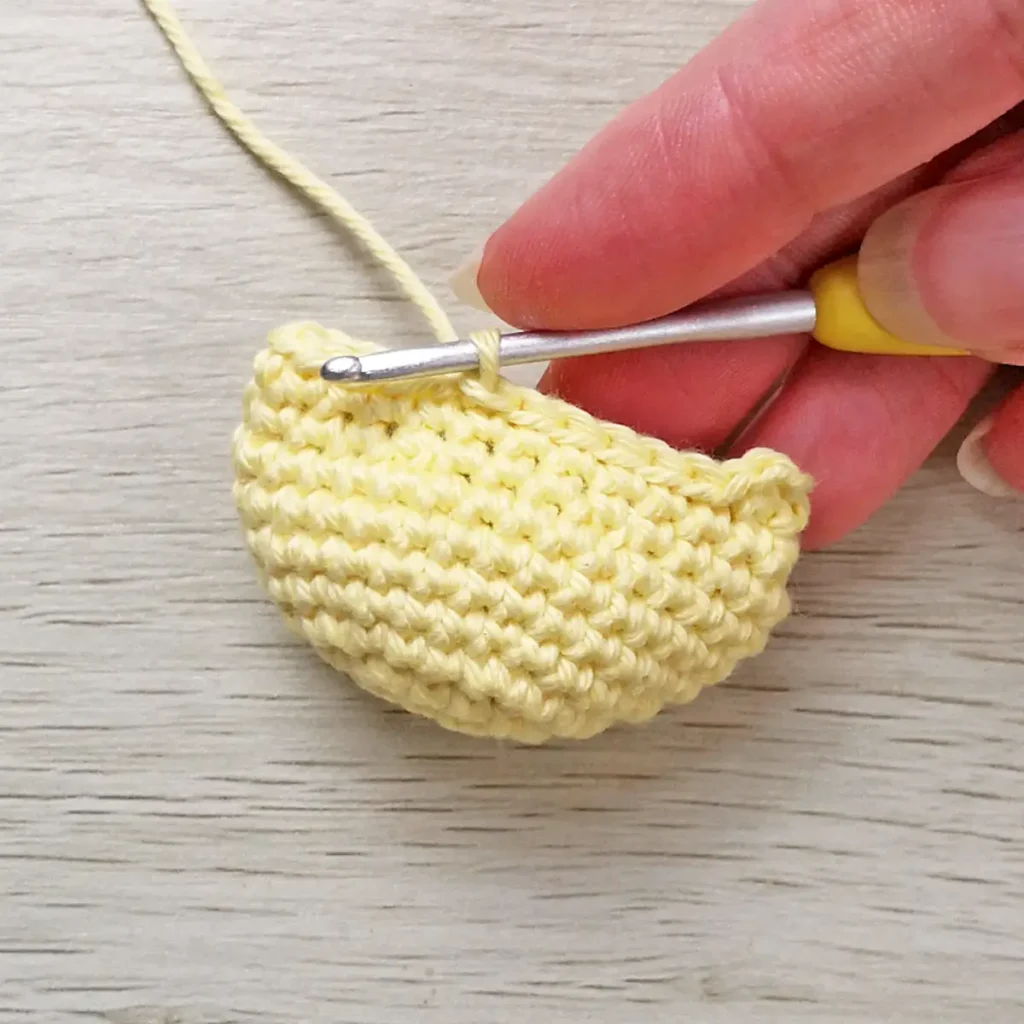
Position your crochet hook in the corner and press the opening together.
Crochet through both sides to close – ch 1, sc, [sl st] x7 (8) – you should have 8 unworked sc.
Add some stuffing on top of the poly pellets to finish filling the body. You may need to use a chopstick or the end of your crochet hook to push the stuffing in.
Do not fasten off.
Head
Work in the leftover single crochet and continue to work in the round.
R1: [FLO inc] x8 (16)
R2: [Sc, inc] x8 (24)
R3-7: [Sc] x24 (24) 5 rounds
R8: Sc, invdec, [2 sc, invdec] x5, sc (18)
Insert safety eyes between R5 and R6, 7 stitches apart. They should be even on both sides and when looking front on.
Stuff the head and continue to stuff as you go.
R9: [Sc, invdec] x6 (12)
note
I finished my piece here to create a flatter top. However, if the hole is still quite large and you’re worried about your stitches gaping, you may want to do an extra round – [invdec] x6 (6)
Cut the yarn leaving a tail and pull through the last stitch. Weave the yarn tail through the front loop only of the final round and pull to close. Hide the end inside the head.
tip
To avoid stretching the stitches too much, close in halves. Weave the yarn through the front loops of the first 6 stitches and pull gently to start closing the hole. Weave through the last 6 stitches and close the rest of the way
Beak
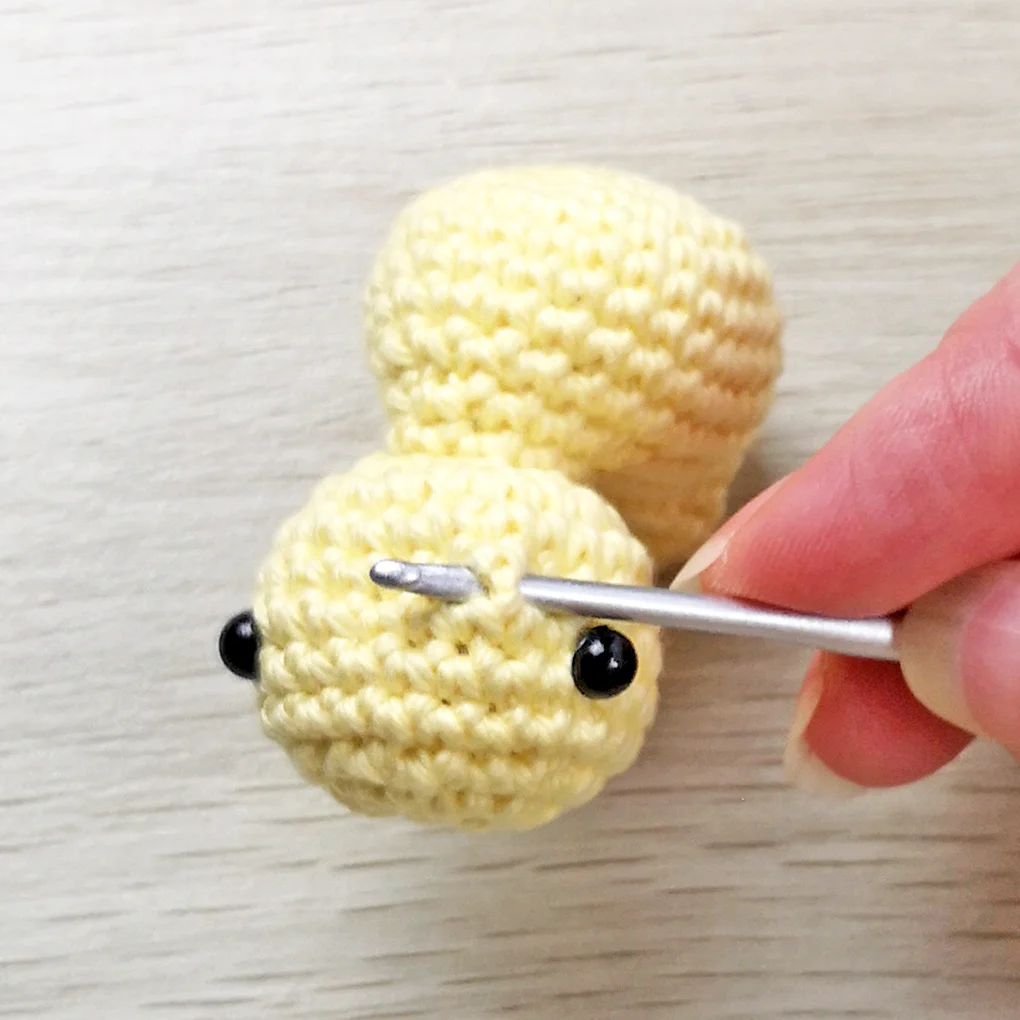
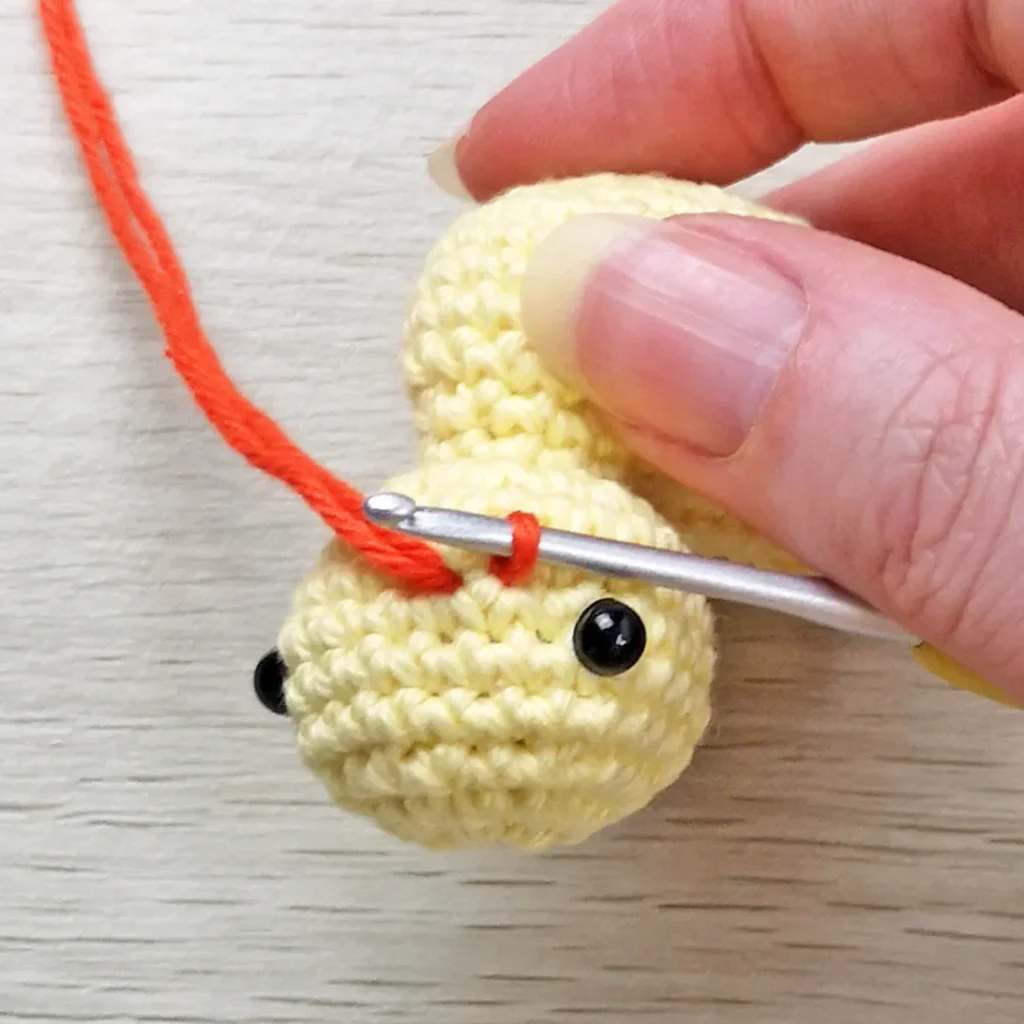
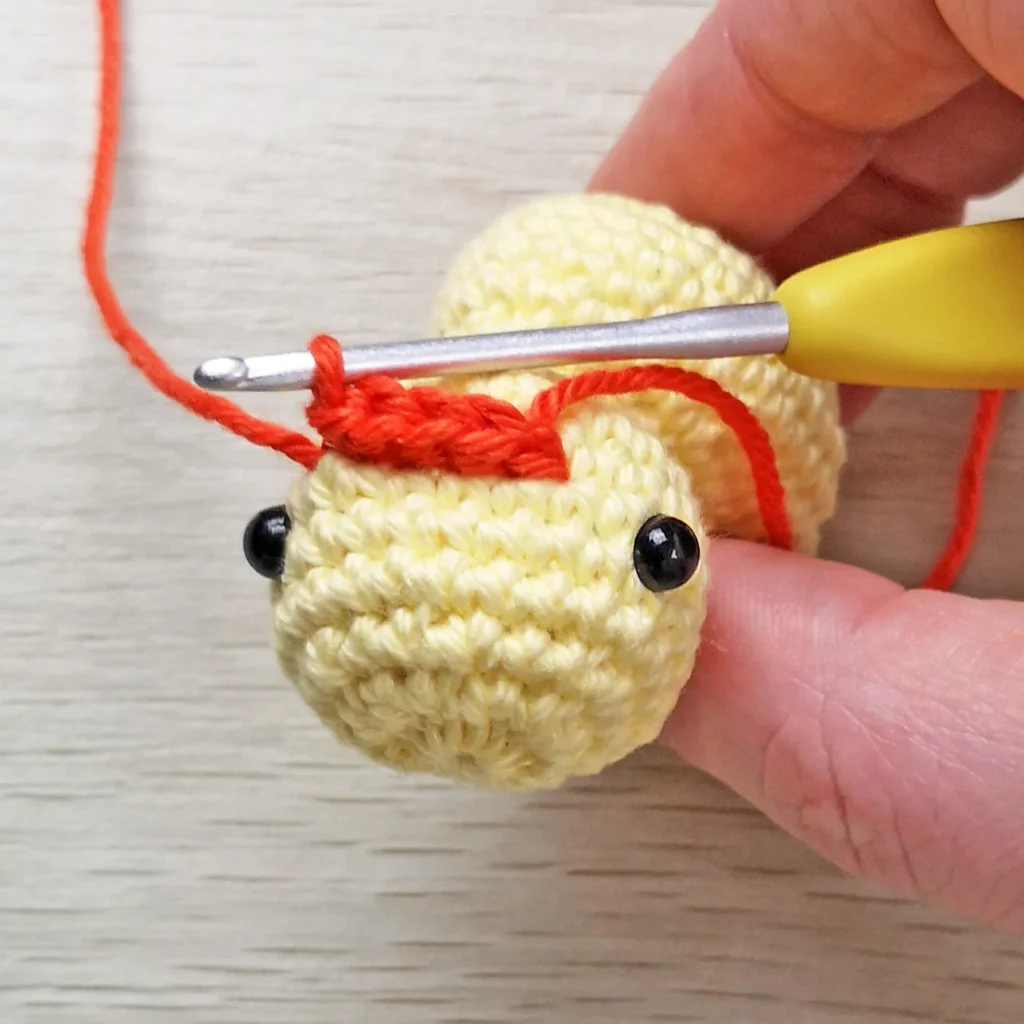
The beak is worked over 5 stitches and should be centred with the eyes.
With the duck’s head facing towards you, insert your hook between a stitch 1 stitch over from the right eye between R4 and R5 and pull up a loop of orange yarn.
Working in between the stitches – ch 1, hdc in next 3 sts, sl st in next
Fasten off and weave in ends.
If you added poly pellets to your duck you can gently manipulate it to get it to sit, by making sure the bottom is flat, pushing down the tail end and tilting the head up slightly.
not ready to make this yet?
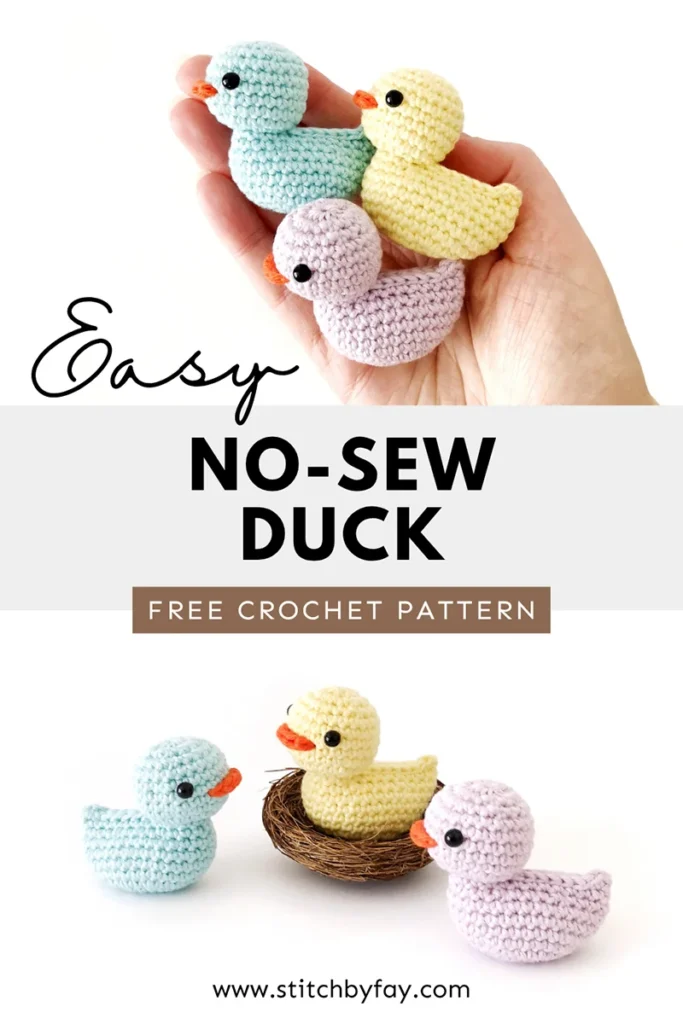
Pin this post for later
Explore More Crochet Patterns
After you crochet this duck, here are some more crochet patterns to try:
What’s Next?
Invitation to our Private Community
We hope you enjoyed this pattern. Come and hang out in our Stitch by Fay Community. We created this space for you to share pictures, ask questions and support each other.

This pattern is for personal use only and may not be copied, reproduced, altered, published or distributed in any format (including video). If you wish to share this pattern, you may link to this pattern but please do not reprint it on your site.
You can sell finished products made from this pattern in small quantities. Do NOT use our photos as your sale photos.