

Crochet Pumpkin Coaster Pattern
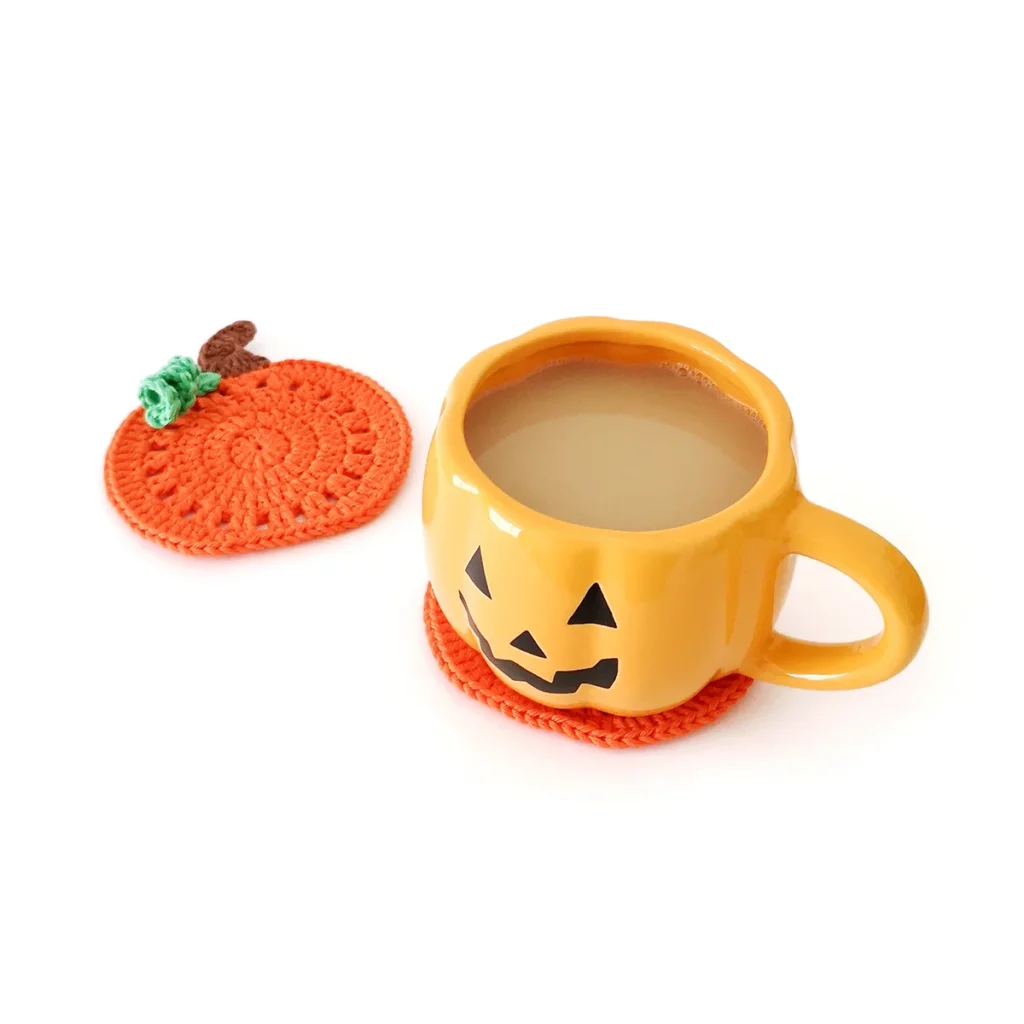
Add some fall charm to your table with this cute crochet pumpkin coaster pattern. They’re quick and easy to make, and are a fun way to add a seasonal touch to your home.
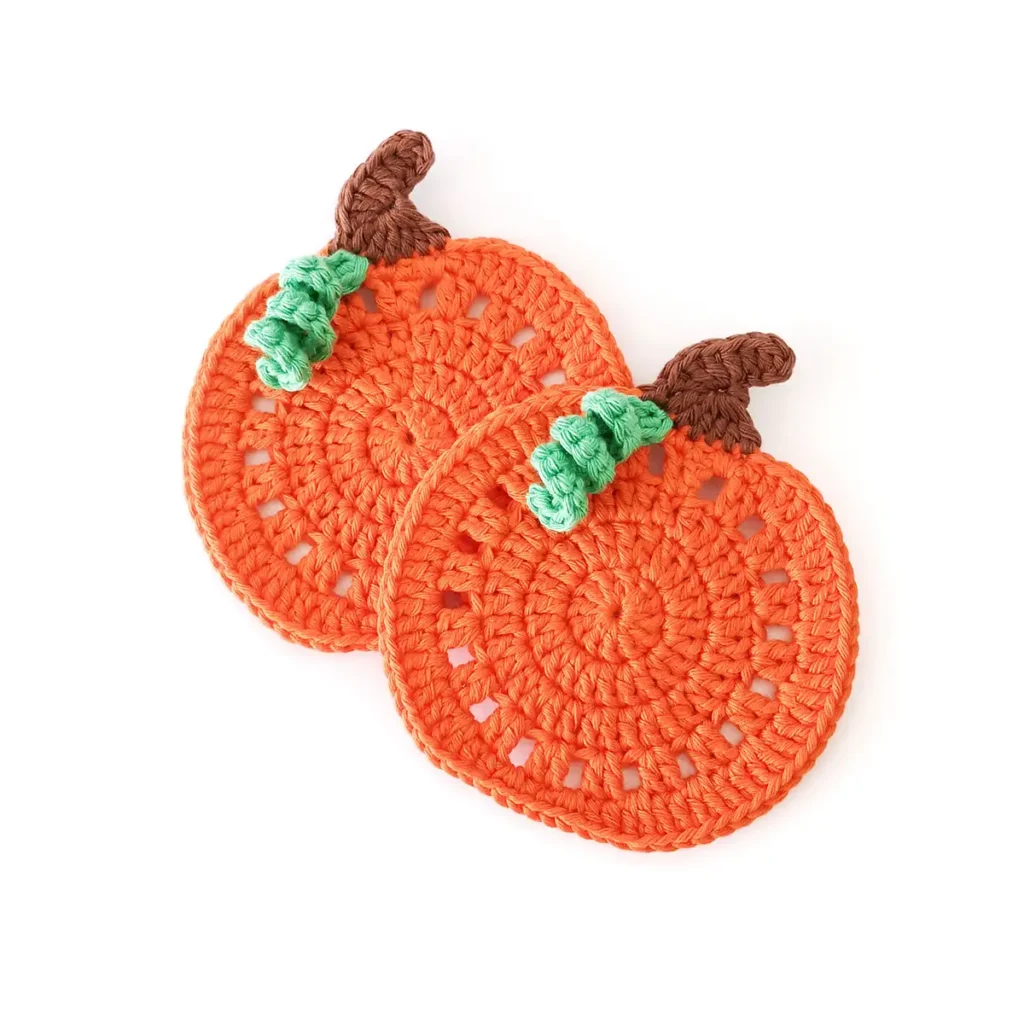
This crochet pumpkin coaster was inspired by my Fallen Leaves coaster pattern.
I’d been wanting to design a pumpkin coaster for a while, but a pumpkin is still a pumpkin, and I struggled to find a way to make it feel unique.
The stem is what really brings this pumpkin coaster together. I love its organic shape, and the little vine is the perfect finishing touch.
Whether you’re looking for an easy fall project, a quick handmade gift or a way to use up leftover yarn, this crochet pumpkin coaster is a great little project for when you’re short on time.
About the Pattern
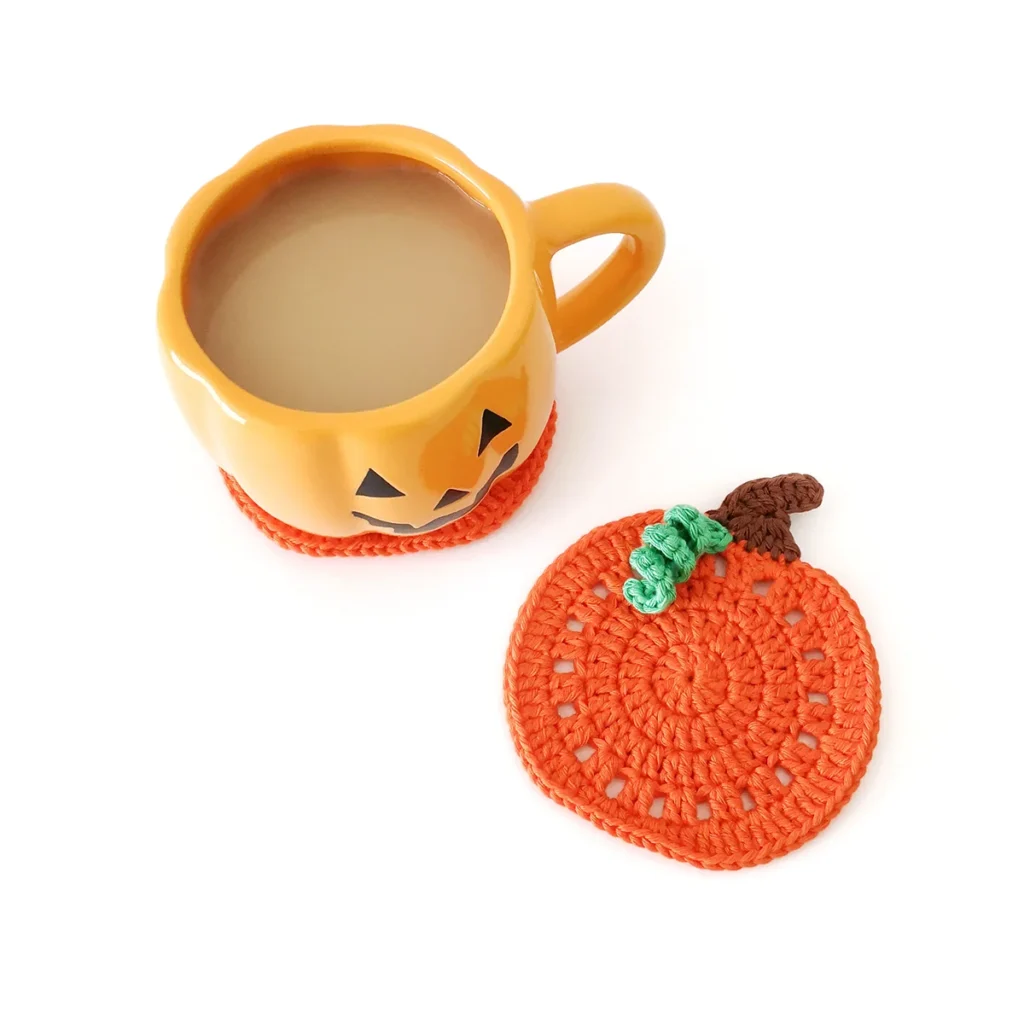
This crochet pumpkin coaster is worked in joined rounds using basic stitches.
We’ll begin with 12 double crochet worked into a magic ring, increasing over several rounds to create a flat circle. A decorative round is then added, followed by a final round of varying stitches to make the coaster less round and give it more of a pumpkin shape.
The stem is crocheted directly onto the top of the pumpkin, while the vine is worked separately and sewn on at the end.
I used a chainless starting double crochet to begin each double crochet round, and the rounds are joined with a slip stitch worked from back to front to create a nearly invisible seam.
Recommended Yarn
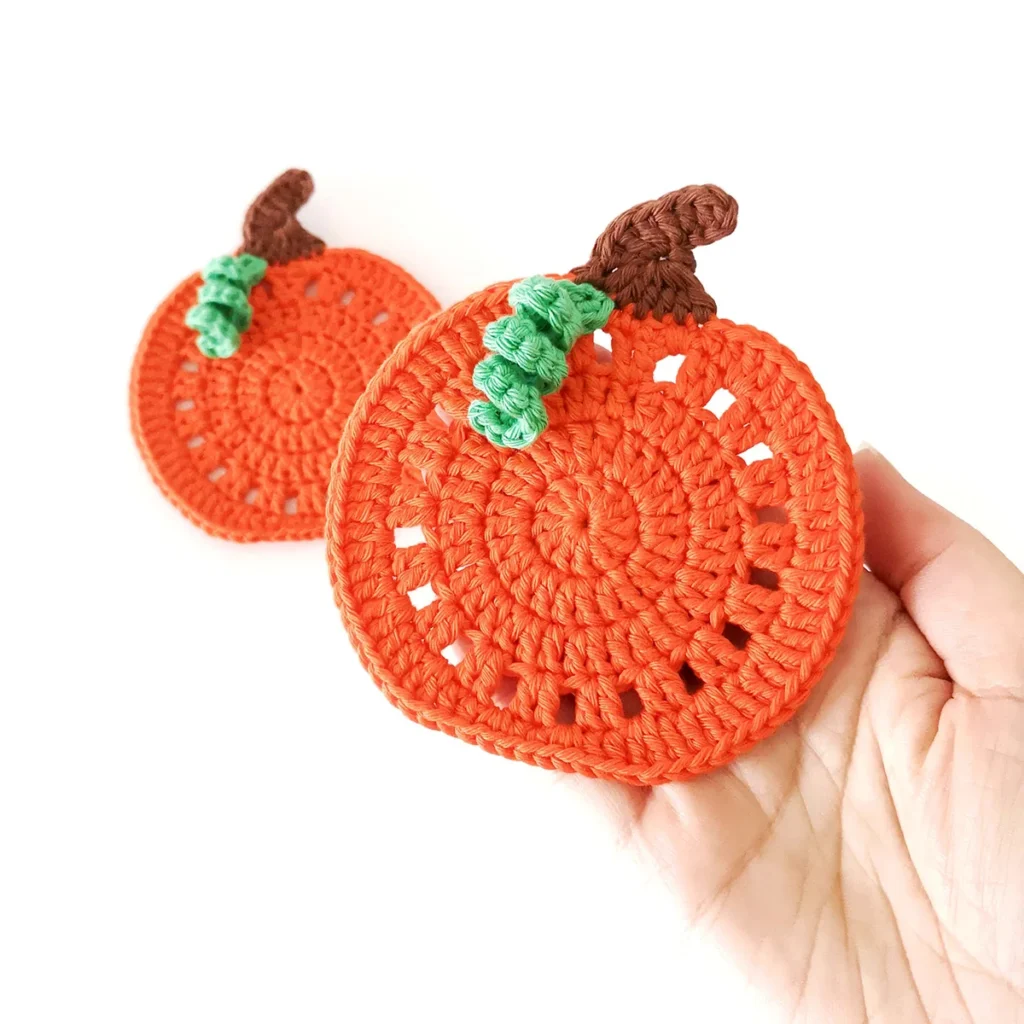
I always recommend cotton yarn for coasters as it’s durable, absorbent, holds up well to heat and is easy to wash – all the things that you want in a crochet coaster.
For this pattern, I used worsted weight yarn with a 3.5mm hook.
If you don’t have cotton yarn on hand, acrylic yarn works well for decorative coasters but may not absorb moisture as effectively.
Does this Crochet Pumpkin Coaster Need Blocking?
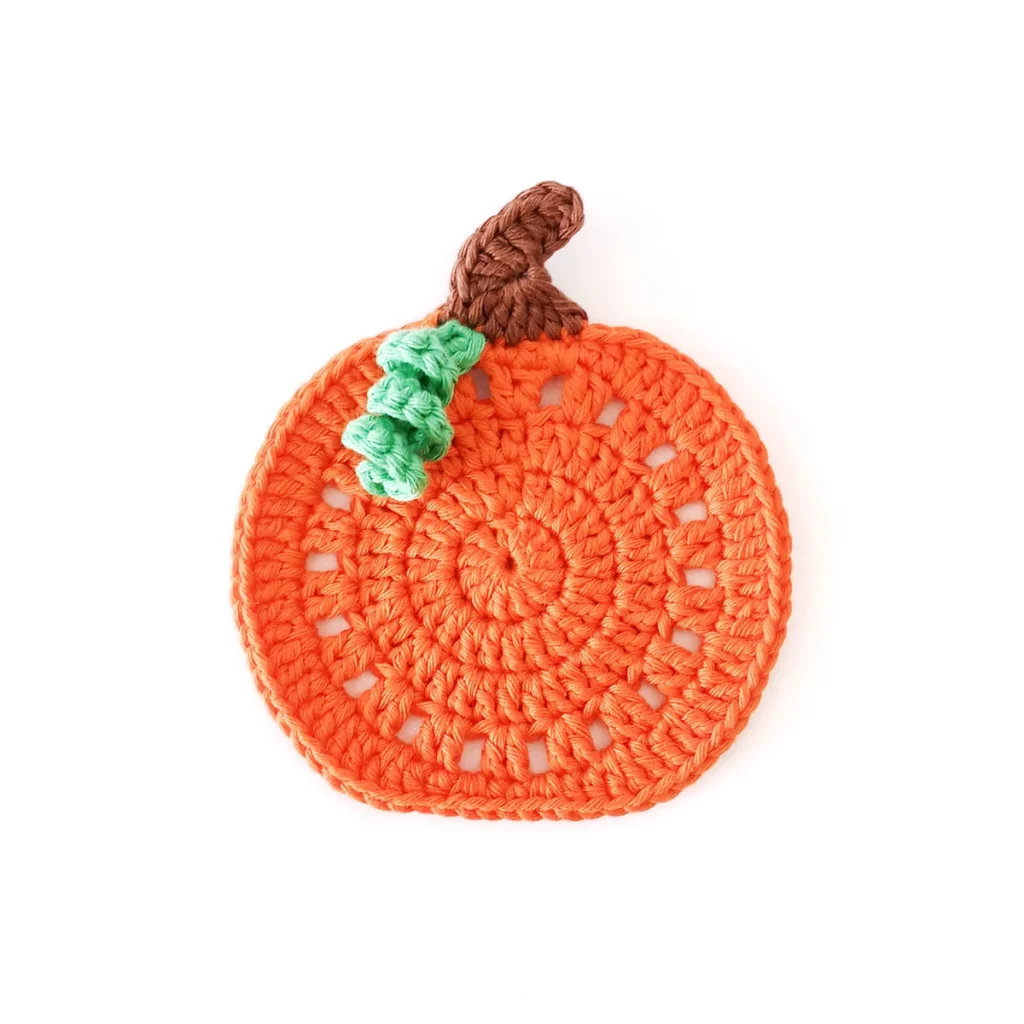
I did not block my coasters but you are more than welcome to do so. If your coaster is a little misshapen once finished, blocking can help it to lie flat and give it a more defined shape.
For easy blocking, pin the coaster to shape on a blocking mat, spray with water and let air dry.
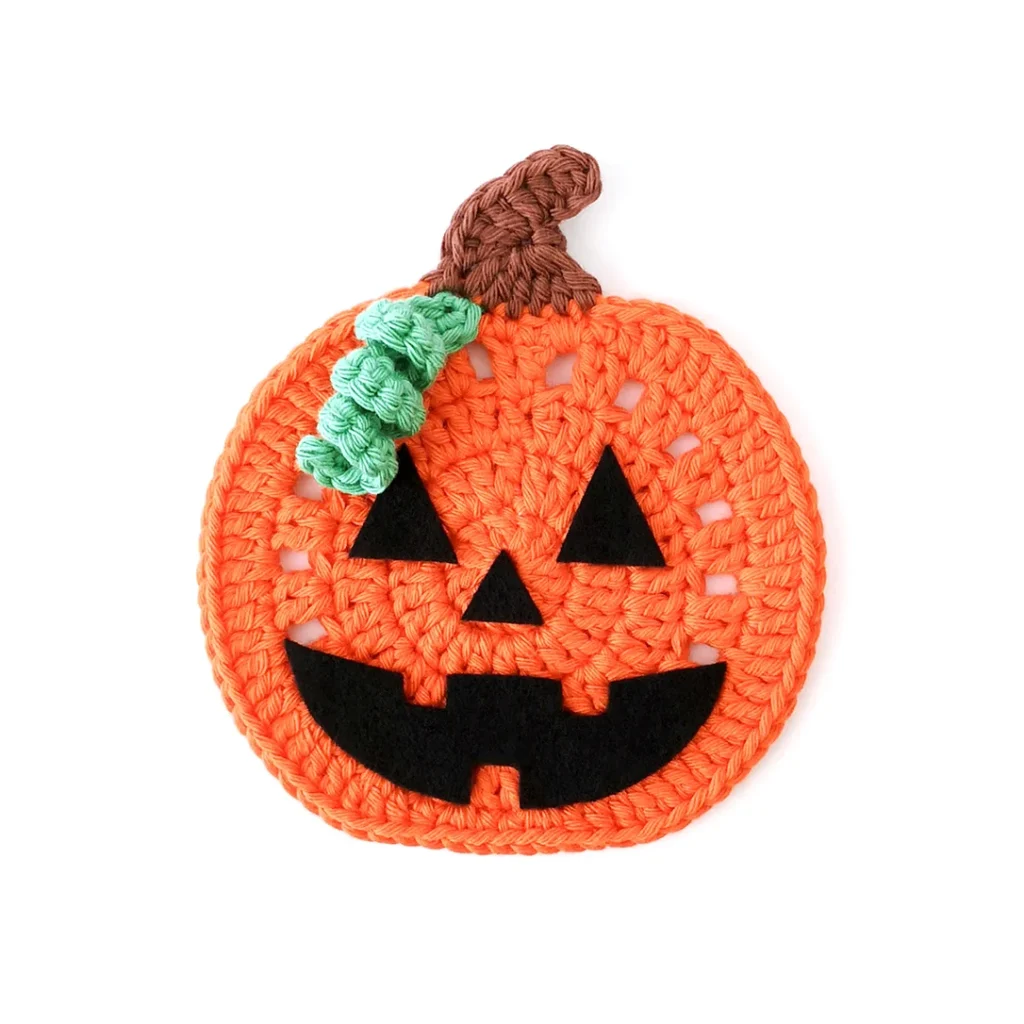
Halloween Jack-o’-Lantern Modification
Turn your pumpkin coaster into a jack-o’-lantern for Halloween! Grab the free template from the freebie library, cut out the felt pieces and glue them in place.
If you’re gauge doesn’t match mine, you may need to adjust the scale when printing.
tip
For cleaner felt shapes, use freezer paper and a sharp pair of scissors.
Freebie Library
Join our newsletter to gain access to exclusive freebies and keep up to date.
Already a member? Login here.
Why You’ll Love This Crochet Pumpkin Coaster Pattern
More Crochet Patterns
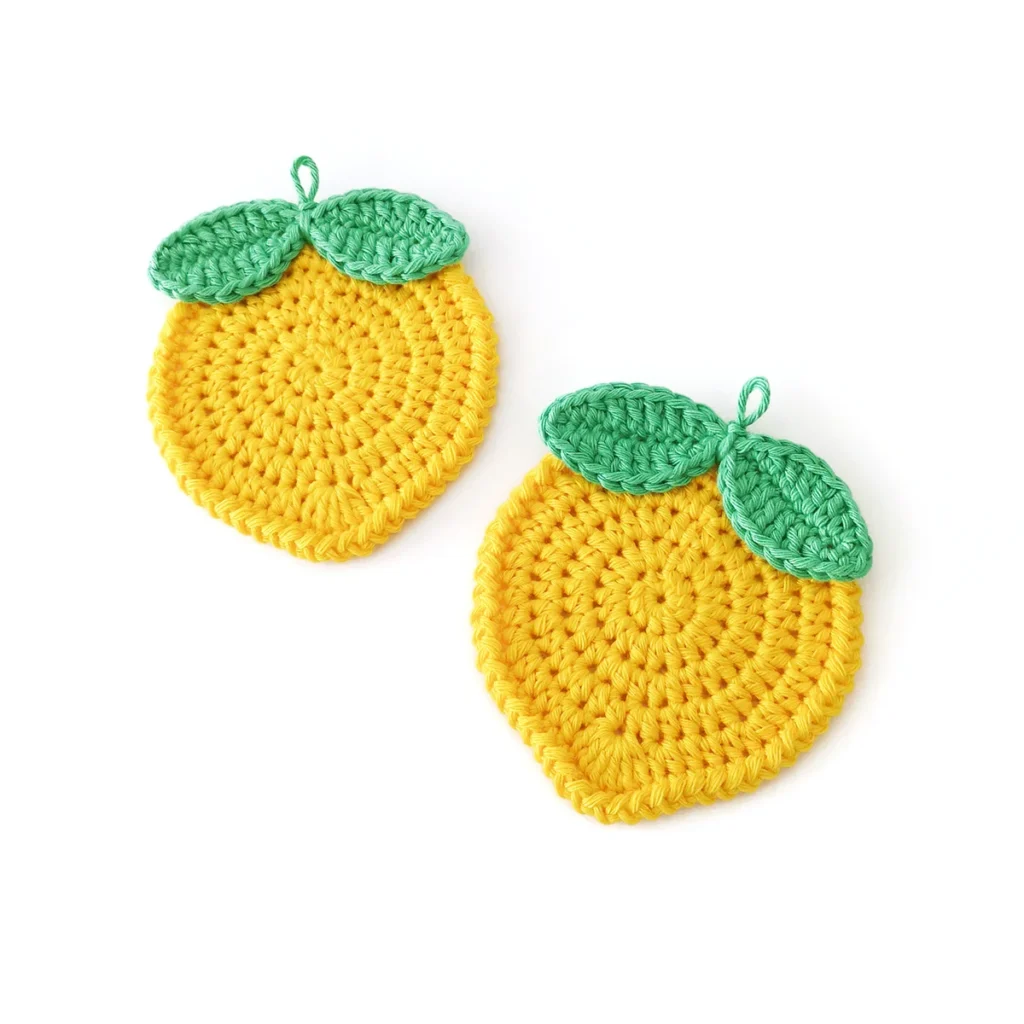
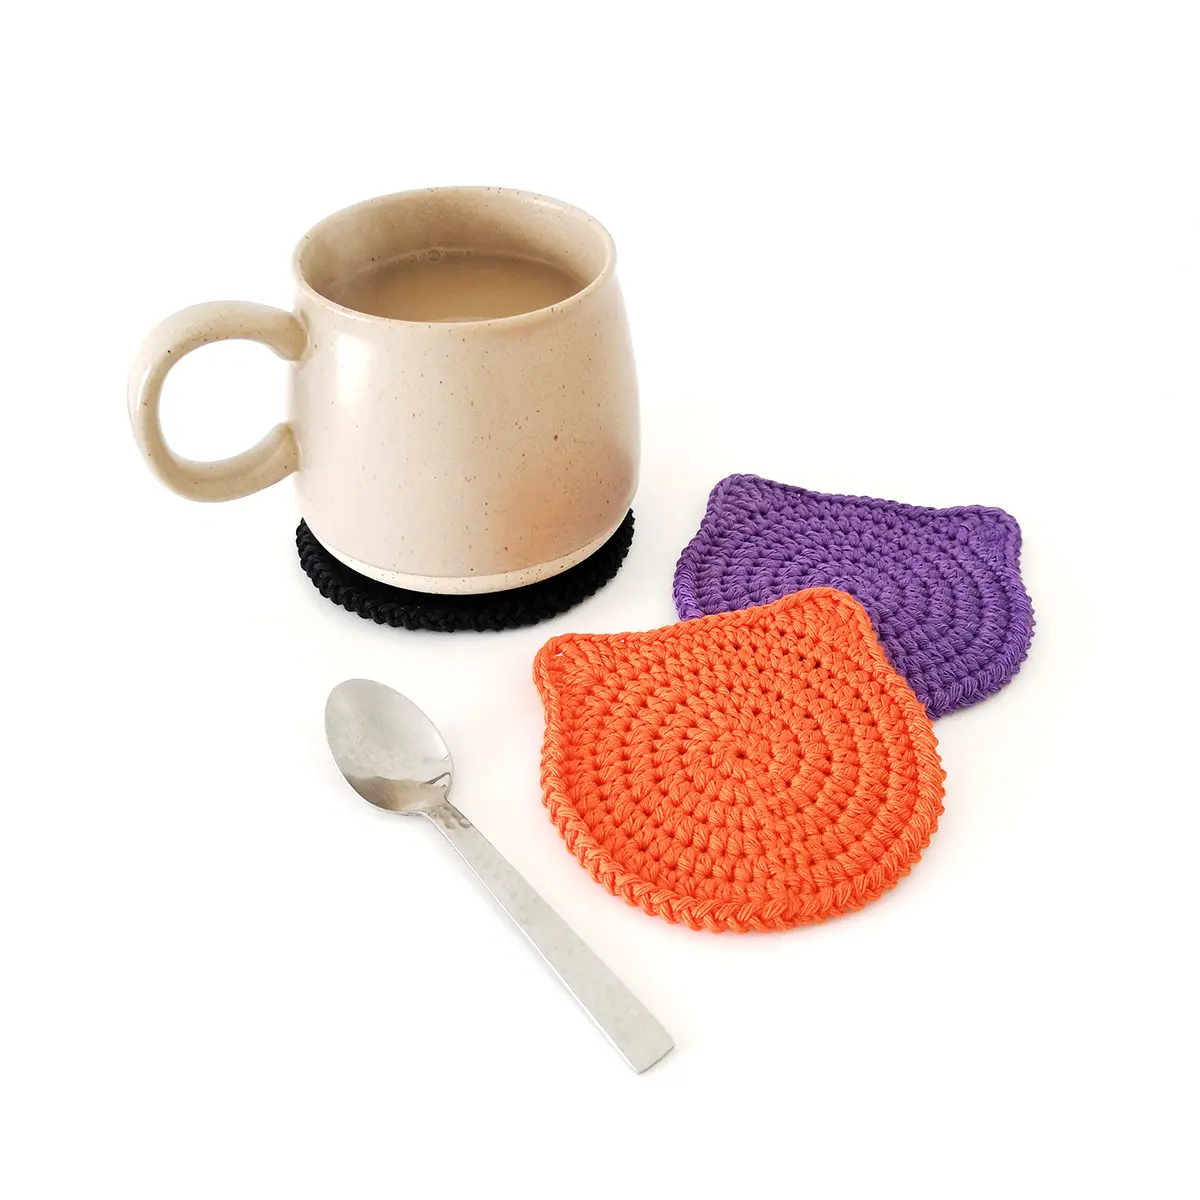
If you love this crochet pumpkin coaster pattern, you might also like to check out these other coaster patterns:

Free Crochet Pumpkin Coaster Pattern
Materials
- Worsted weight yarn in orange (approximately 8g), dark brown and green (I used Paintbox Yarns Cotton Aran in Blood Orange, Coffee Bean and Spearmint Green)
- 3.5mm crochet hook
- Yarn needle, scissors
Abbreviations (US Terms)
- ch – chain
- CSDC – chainless starting double crochet
- dc – double crochet
- dc-inc – double crochet increase
- hdc – half double crochet
- inc – increase
- sc – single crochet
- sk – skip
- sl st – slip stitch
- st/s – stitch/es
- […] – repeat the instructions in brackets
- (…) – indicates stitch count at end of round
Special Stitches
Chainless Starting Double Crochet (CSDC)
- Pull up your working loop to approximately the height of a double crochet stitch. Hold this loop firmly in place with your index finger.
- Yarn over by swinging your hook down and behind the working loop.
- Insert your hook into the first stitch, yarn over and pull up a loop (3 loops on hook).
- Yarn over and pull through the first two loops on your hook (2 loops on hook).
- Yarn over and pull through the remaining two loops to complete the stitch.
- After completing the round, make the working loop slightly longer and remove your hook.
- Insert your hook from back to front under both top loops of the chainless starting double crochet.
- Place the working loop back on your hook and pull it through both top loops.
Continue with the next round beginning with a chainless starting double crochet.
Useful Links
Finished Size
The finished coaster measures approximately 4″ (10 cm) wide x 4.5″ tall (11.5 cm) including the stem. Size may vary depending on tension and materials used.
Gauge
Gauge is not important in this pattern. However, using a different yarn and hook size will change the size of the finished item. Use the measurement below as a guide.
2.5″ (6.5 cm) across after R3.
Notes
- The coasters are worked in joined rounds. For a seamless finish, use a chainless starting double crochet at the beginning of each round and slip stitch from back to front to join. If you find this technique tricky, you can use a stacked single crochet or a regular chain instead.
Pattern Instructions
Pumpkin Coaster (orange)
Make a magic ring.
R1: 12 dc in magic ring, sl st to first dc to join (12)
R2: [Dc-inc] x12, sl st to first dc to join (24)
R3: [Dc, dc-inc] x12, sl st to first dc to join (36)
R4: [2 dc, ch 1, sk 1] x 18, sl st to first dc to join (36 dc + 18 ch spaces)
R5: Ch 1, sc in same st, sc in next st, 2 sc in ch-1 space, hdc in next 2 sts, 2 dc in ch-1 space, [dc in next 2 sts, 2 dc in ch-1 space] x6, hdc in next 2 sts, 2 sc in ch-1 space, sc in next 2 sts, 2 sc in ch-1 space, hdc in next 2 sts, 2 dc in ch-1 space, [dc in next 2 sts, 2 dc in ch-1 space] x6, hdc in next 2 sts, 2 sc in last ch-1 space (72)
Fasten off invisibly in second single crochet and weave in ends.
Stem (dark brown)
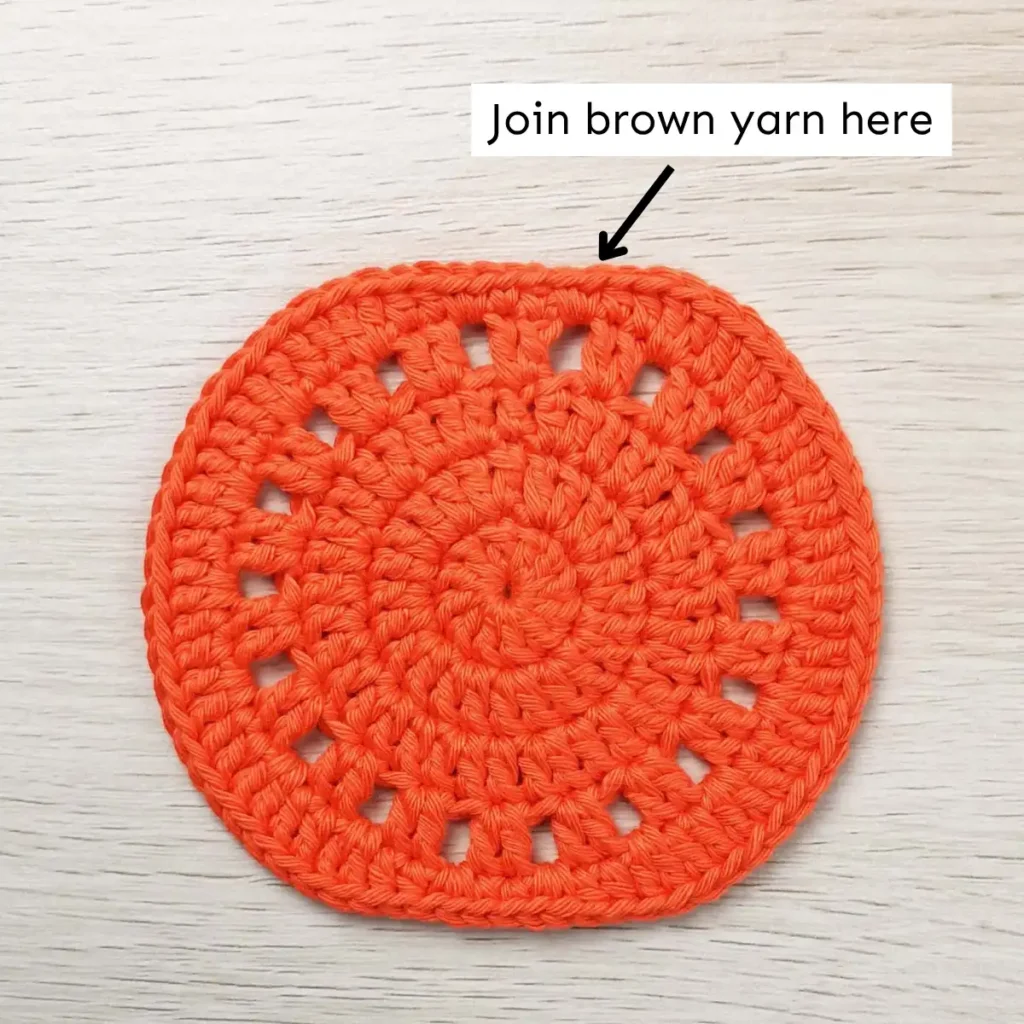
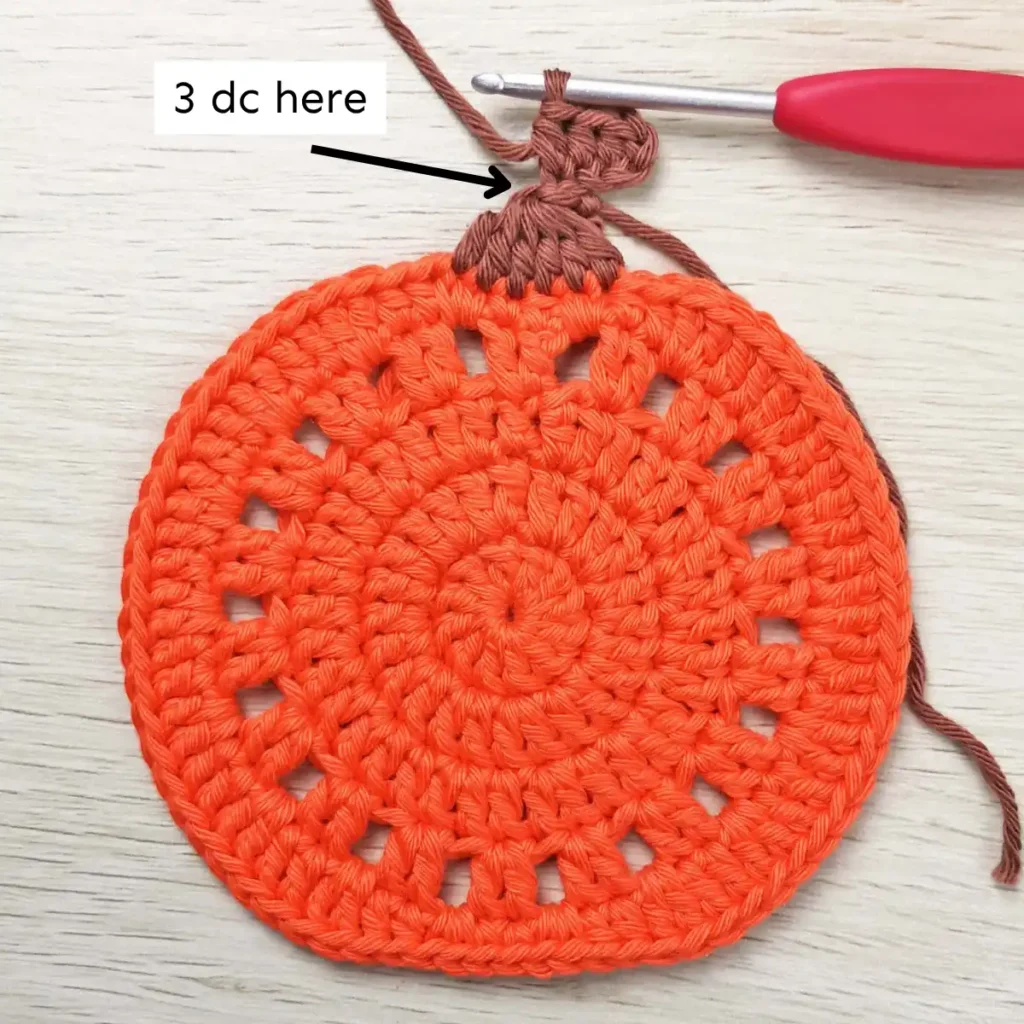
The stem is worked over the 6 single crochet at the top of the coaster. Join brown yarn in the first single crochet of the increase on the right-hand side.
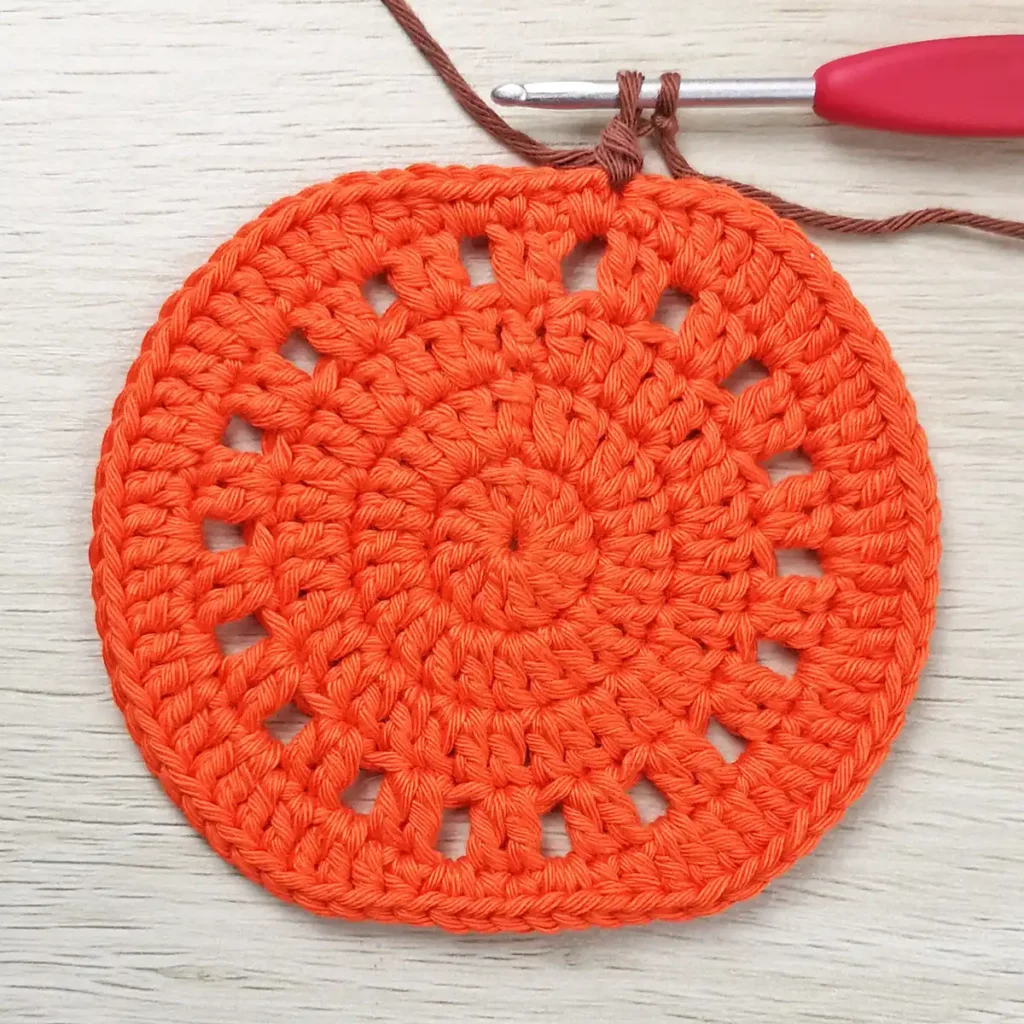
- Make a slip knot and place it on your hook.
- Yarn over with the working yarn.
- Insert your hook into the indicated stitch.
- Yarn over and pull up a loop (3 loops on hook).
- Yarn over and pull through 2 loops (2 loops on hook).
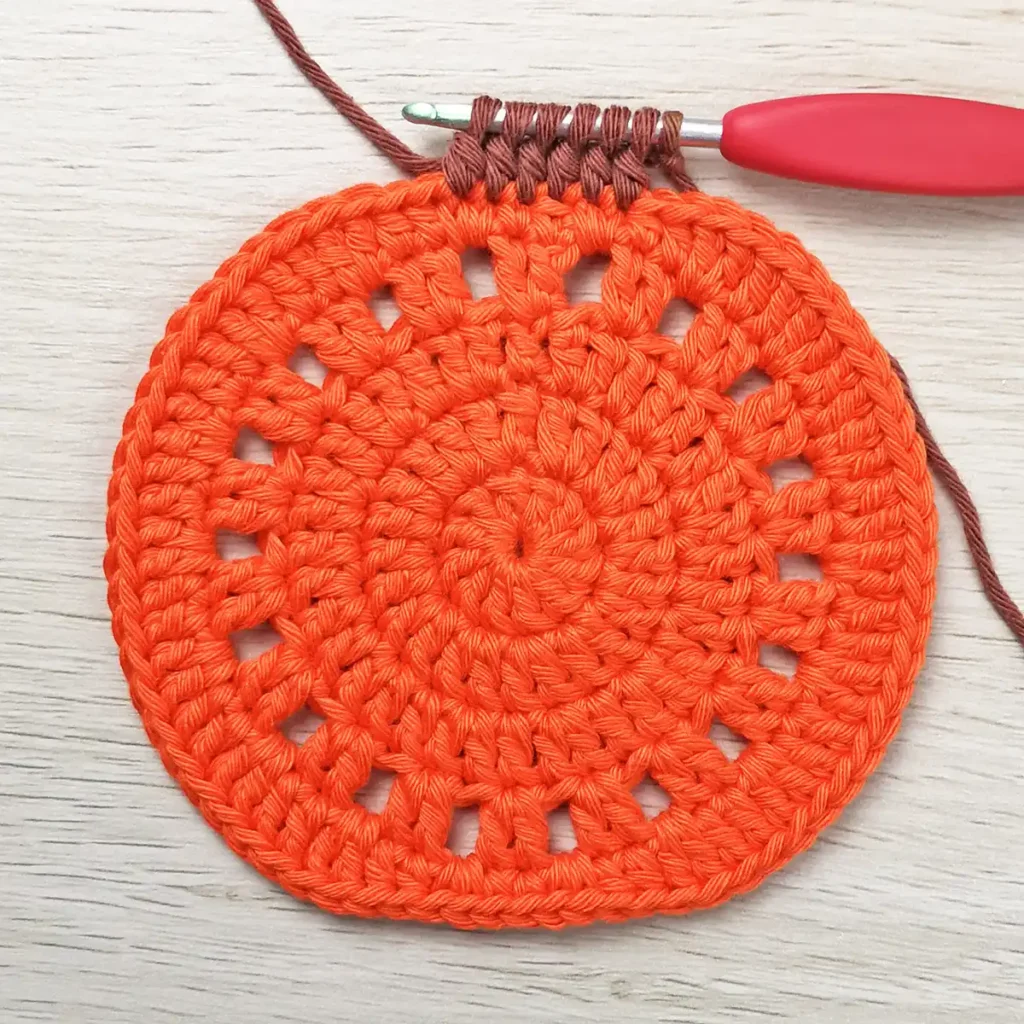
- Yarn over and insert your hook into the next stitch. Repeat steps 4 and 5.
- Repeat step 6 until you have 7 loops on your hook.
- Yarn over and draw through all 7 loops.
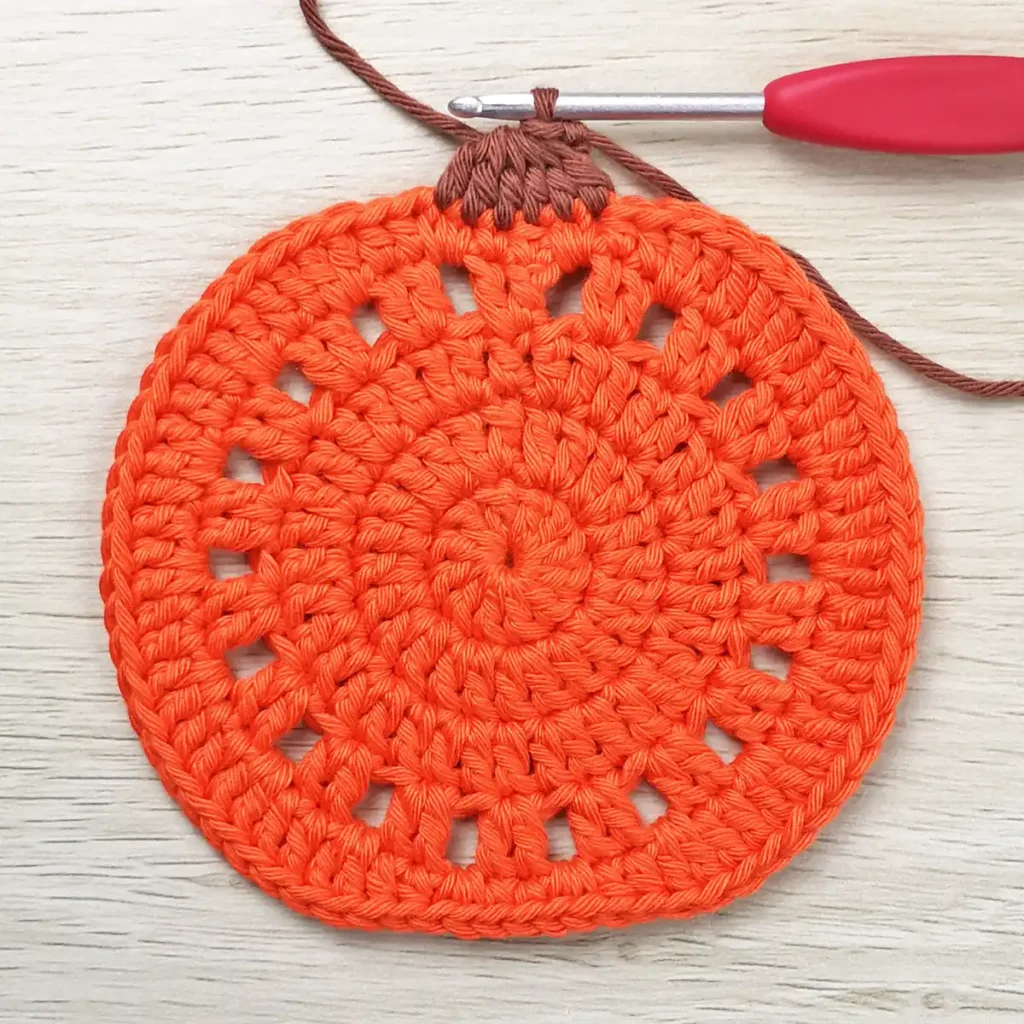
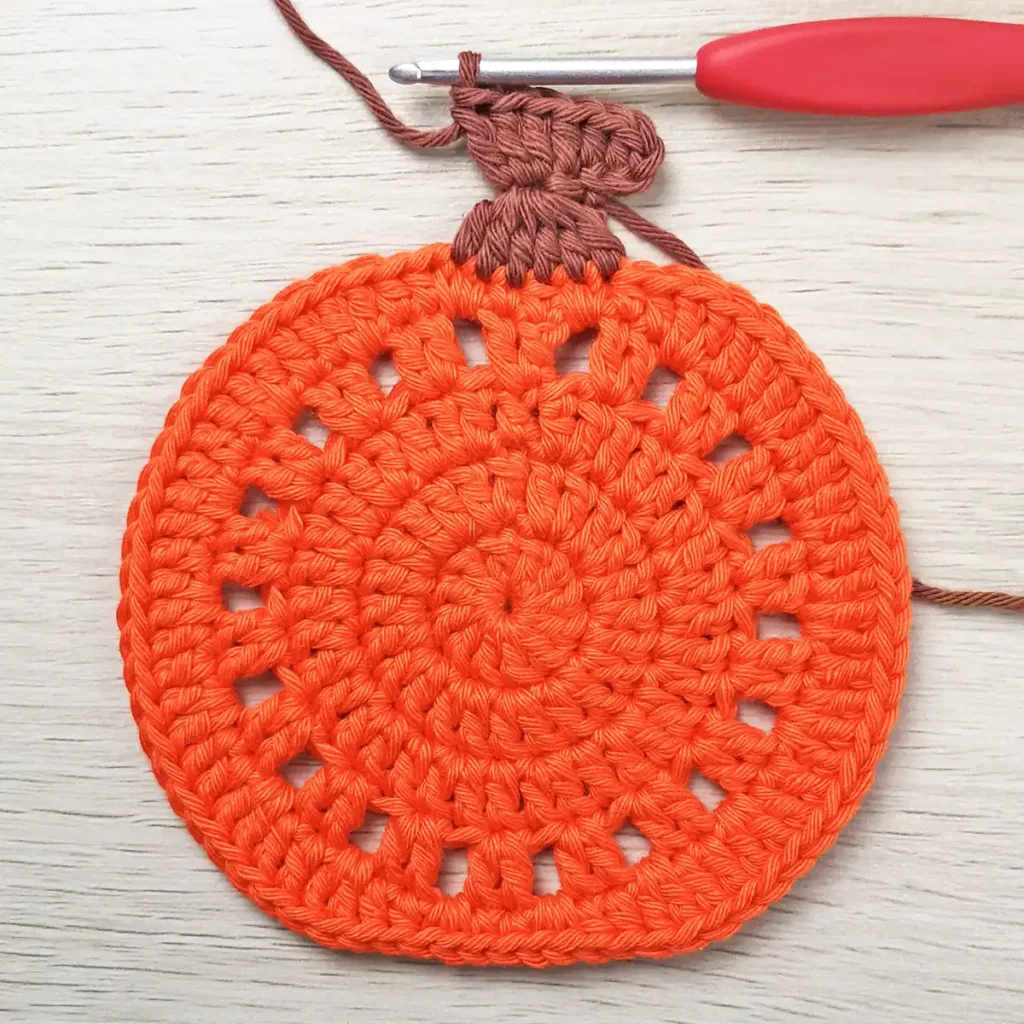
Ch 5, hdc in third ch from hook and next 2 chs, 3 dc in the side of the first ch, sl st back on pumpkin in same st as last dc.
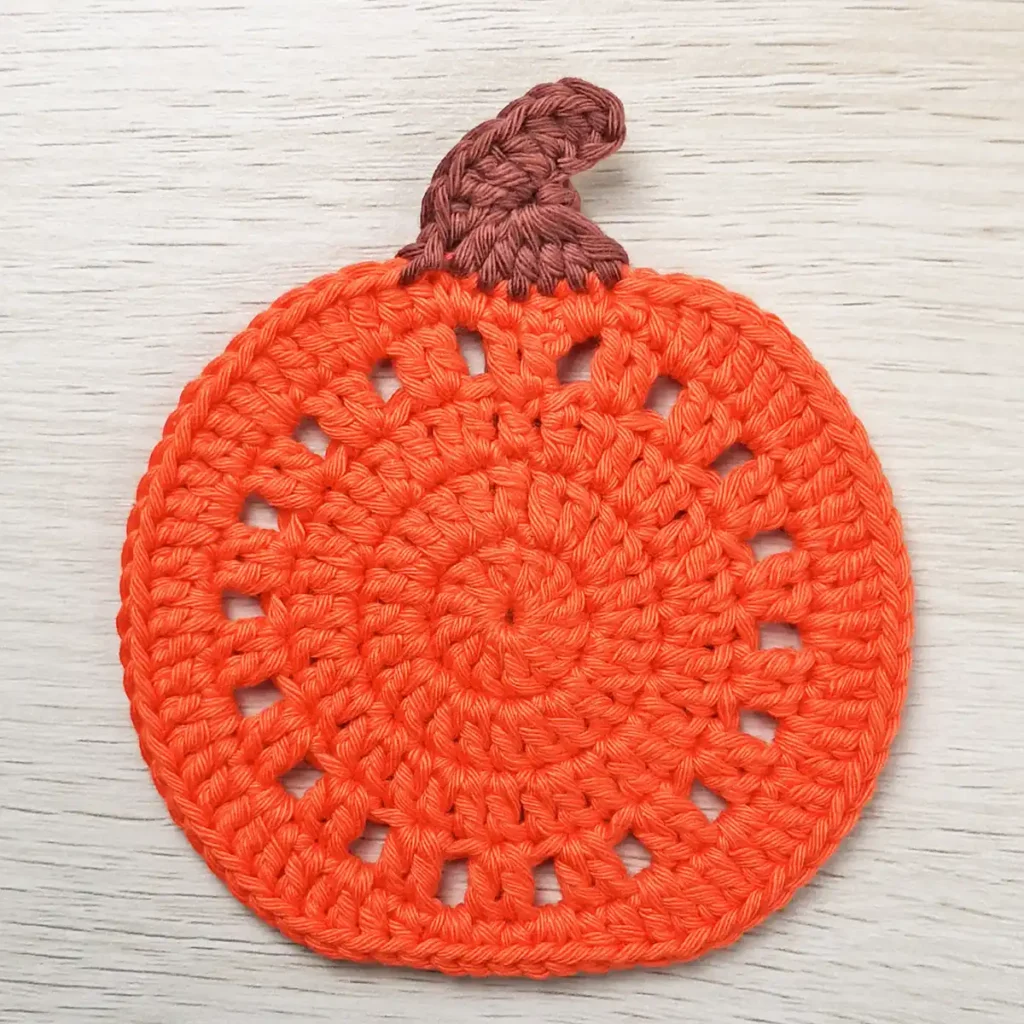
Skip a stitch and fasten off invisibly in the next stitch of the pumpkin.
Weave in ends.
Vine (green)
Ch 18, sl st in second ch from hook, inc in each ch across (37)
The vine will naturally curl as you go. Fasten off leaving a long tail for sewing.
Sew the vine to the pumpkin on the left-hand side at the base of the stem. Secure with an extra stitch at the top so it sits more the side.
not ready to make this yet?
Pin this post for later
Explore More Crochet Patterns
After you crochet this pumpkin coaster, here are some more crochet patterns to try:
What’s Next?
Invitation To Our Private Community
We hope you enjoyed this pattern. Come and hang out in our Stitch by Fay Community. We created this space for you to share pictures, ask questions and support each other.

This pattern is for personal use only and may not be copied, reproduced, altered, published or distributed in any format (including video). If you wish to share this pattern, you may link to this pattern but please do not reprint it on your site.
You can sell finished products made from this pattern in small quantities. Do NOT use our photos as your sale photos.