

Ghost Coaster Crochet Pattern
I love Halloween and this ghost coaster crochet pattern would be the perfect spooky cute addition to your table decor.
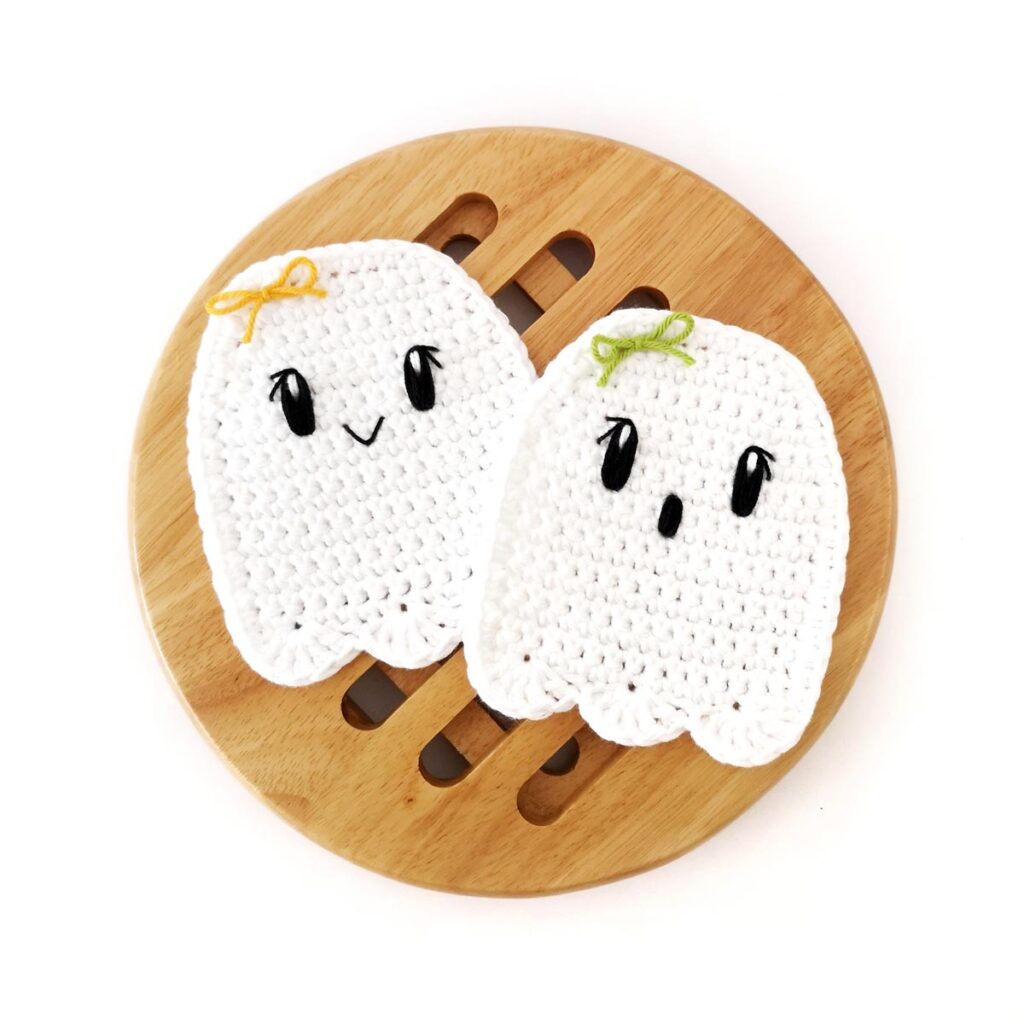
These cute ghost coasters (or ‘ghosters’ as my partner likes to refer to them) work up quickly and would make a fun party favour for your next Halloween gathering or a quick gift for all of your spooky loving friends.
About the Pattern
The pattern is worked back and forth in turned rows. Then you will crochet evenly around both long sides and the top before adding the scalloped edge to the bottom.
The faces are really what make this ghost coaster crochet pattern shine though.
If you haven’t tried embroidering eyes before, I definitely recommend giving it a go. It does require a bit of patience but the end result is so worth it.

Embroidery Tips
- Use a sharp needle.
- Use finer thread/yarn and build up definition through layering stitches (less is more).
- Don’t pull your stitches too tight.
- Try and make the same number of stitches for each eye.
Yarn Choice
I always recommend cotton yarn for coasters as it’s durable, absorbent, holds up well to heat and is easy to wash – all the things that you want in a crochet coaster.
I’ve used worsted weight yarn here which gives the coasters a nice size and thickness.

More Patterns
If you love this ghost coaster crochet pattern, you might also like to check out these other Halloween patterns:


Ghost Coaster Crochet Pattern
Prefer the PDF version?
where to buy
The ad-free PDF includes detailed instructions and photos as well as easy print pages.
Materials
- Worsted weight cotton yarn in white (I used Hobbii Rainbow Cotton 8/8)
- 4 ply cotton yarn in black and white or embroidery floss
- Scrap yarn for the bow (I used Paintbox Yarns Cotton DK)
- 4mm crochet hook
- Yarn needle, scissors
Abbreviations (US Terms)
- ch – chain
- sc – single crochet
- inc – increase
- dc – double crochet
- sk – skip
- sl st – slip stitch
- st/s – stitch/es
- […] – repeat the instructions in brackets
- (…) – indicates stitch count at end of round
Useful Links
Finished Size
The finished coaster measures approximately 3.5″ wide x 4.25″ tall (9cm x 11cm). Size may vary depending on tension and materials used.
Gauge
Gauge is not important in this pattern. However, using a different yarn and hook size will change the size of the finished item.
Notes
- The coaster is worked in turned rows. The ch 1 at the beginning of each row does not count as a stitch.
LET’S GET STARTED!
Ghost Coaster (white)
R1: Ch 10, sc in second ch from hook and in each ch across (9)
R2: Ch 1, turn. [Sc] x9 (9)
R3: Ch 1, turn. Inc, 7 sc, inc (11)
R4: Ch 1, turn. [Sc] x11 (11)
R5: Ch 1, turn. Inc, 9 sc, inc (13)
R6: Ch 1, turn. [Sc] x13 (13)
R7: Ch 1, turn. Inc, 11 sc, inc (15)
R8-19: Ch 1, turn. [Sc] x15 (15) 12 rows
Border
Do not turn. Starting in same st as ending st from previous row, single crochet evenly up the side, across the top and down the other side until you reach the bottom left hand corner.
Sc in next st, [sk 1, 5 dc in next, sk 2, sl st in next st] x2, sk 1, 5 dc in next st. Cut yarn, sk remaining 2 sts and fasten off invisibly in second st of the border.
Facial Features
Starting with black 4 ply yarn, sew the eyes over R6 and R8. The top of the eye starts in the 4th st from each edge (not including the border).
- Begin by making 8 vertical stitches to create the base of the eye.
- Once you’re happy with the thickness, leaving the black yarn attached, use white to add 2 stitches going from the centre of the top of the eye to about 1/3 of the way down. Cut the white yarn, knot the ends together and weave in.
- (Note: you may want to use a thinner yarn or split the yarn for the eyelashes depending on what yarn you’re using). With black again, make a single stitch from the side of the eye to the top of the eye angled over R6.
- Make another stitch from the side of the eye to the top of the eye between R5 and R6 (see image below for reference). Cut the black yarn, knot the ends together and weave in behind the eye.
Repeat the above steps for the second eye.

Using black yarn, sew a mouth centred between the eyes and starting between R8 and R9. This is where you can have some fun and try out different expressions.
With a length of scrap yarn, thread it through a single st at the top on the left hand side inline with the eye and tie a bow. Trim ends.
Tip: If you wish to tidy up the back of the coaster further, you can glue a piece of white felt to the back.
not ready to make this yet?
Pin this post for later

I love seeing your creations! Feel free to send me a photo or tag me on Instagram @stitchbyfay.

This pattern is for personal use only and may not be copied, reproduced, altered, published or distributed in any way. If you wish to share this pattern, you may link to this pattern but please do not reprint it on your site.
You can sell finished products made from this pattern in small quantities. Do NOT use our photos as your sale photos.
Made the ghost coasters into a couple little stuffies. Great pattern.
Love that idea!
This is so cute. Thanks for sharing and your patterns are written the best!