

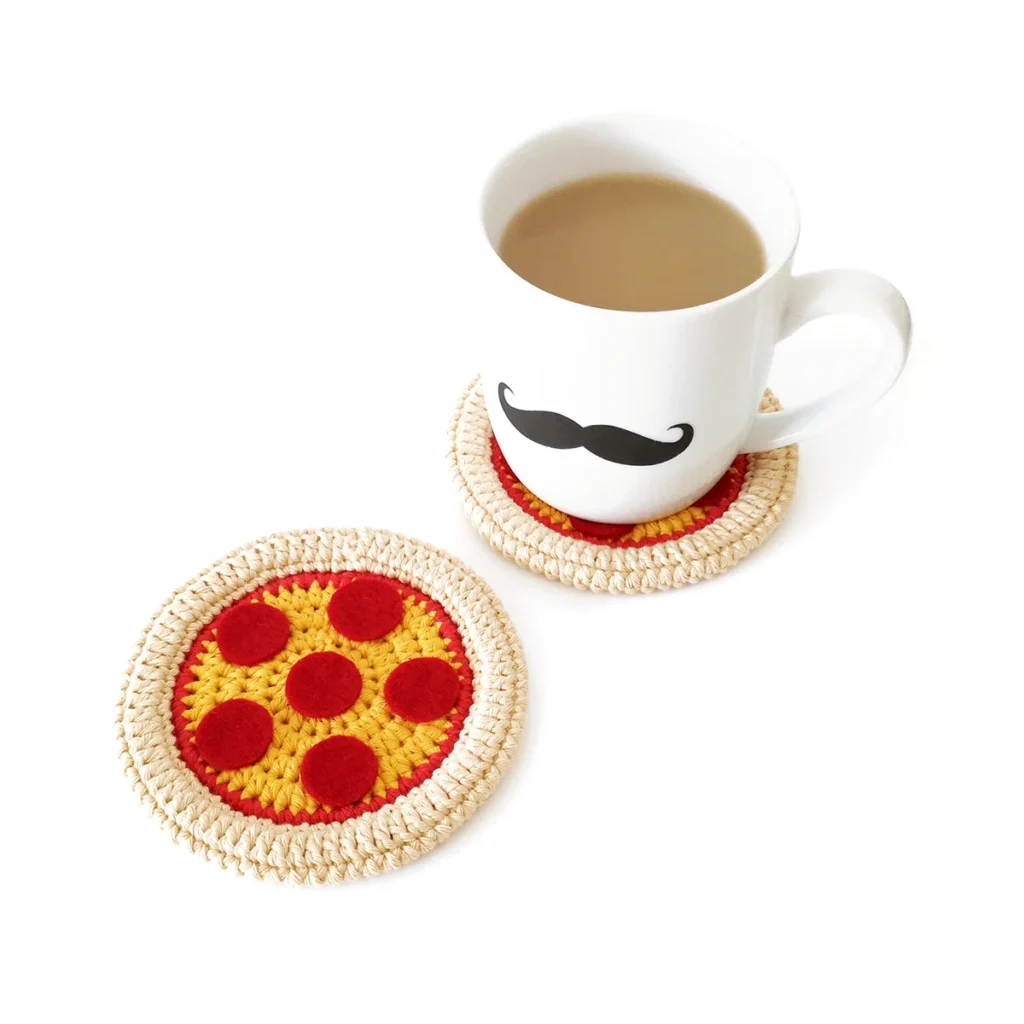
Crochet Pizza Coaster Pattern
This crochet pizza coaster is a quick and fun way to add some personality to your coffee table.
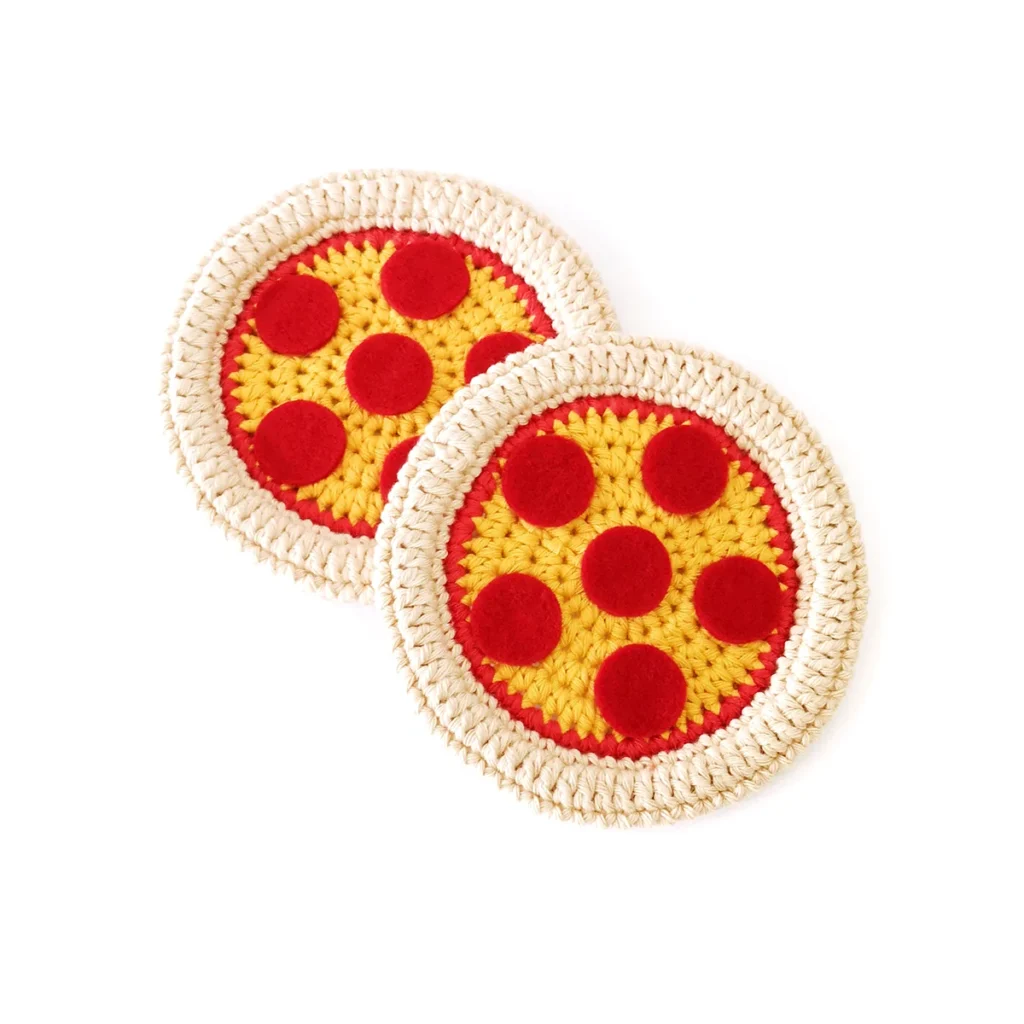
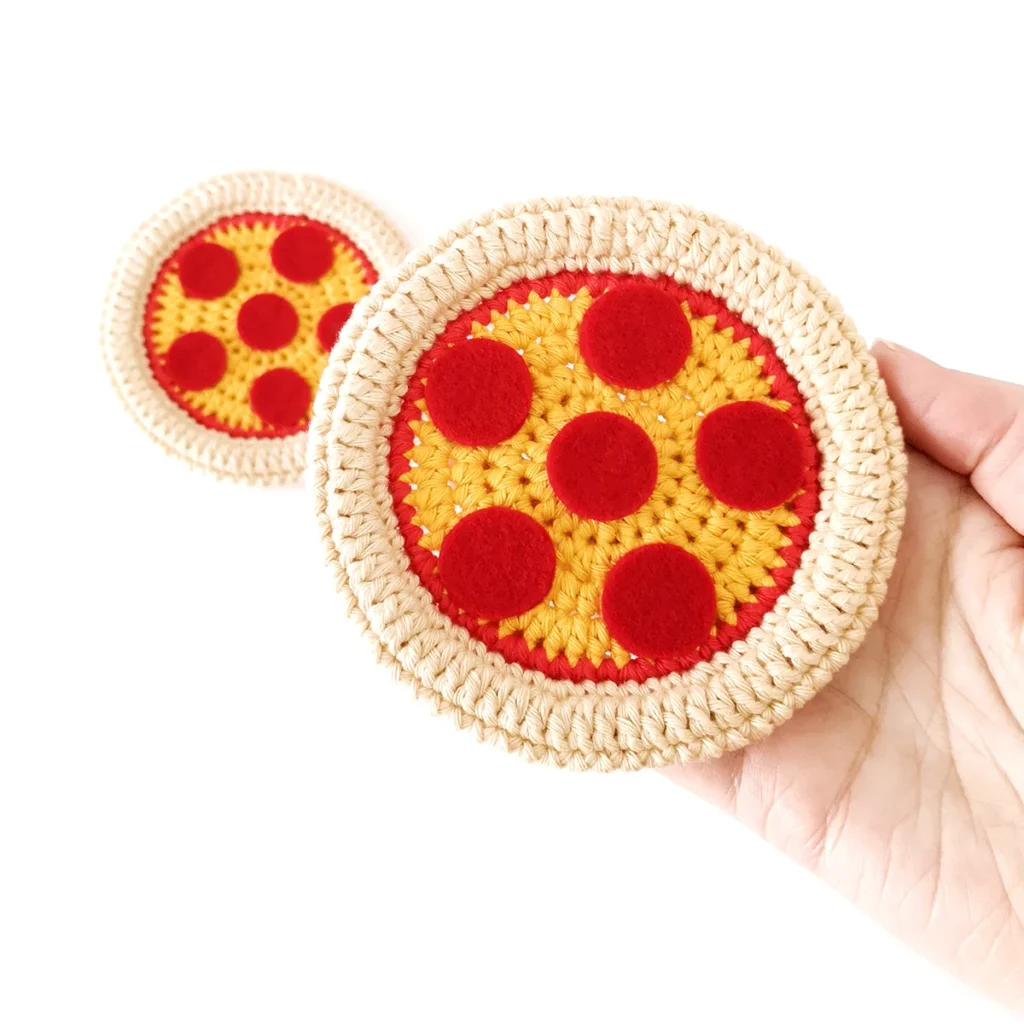
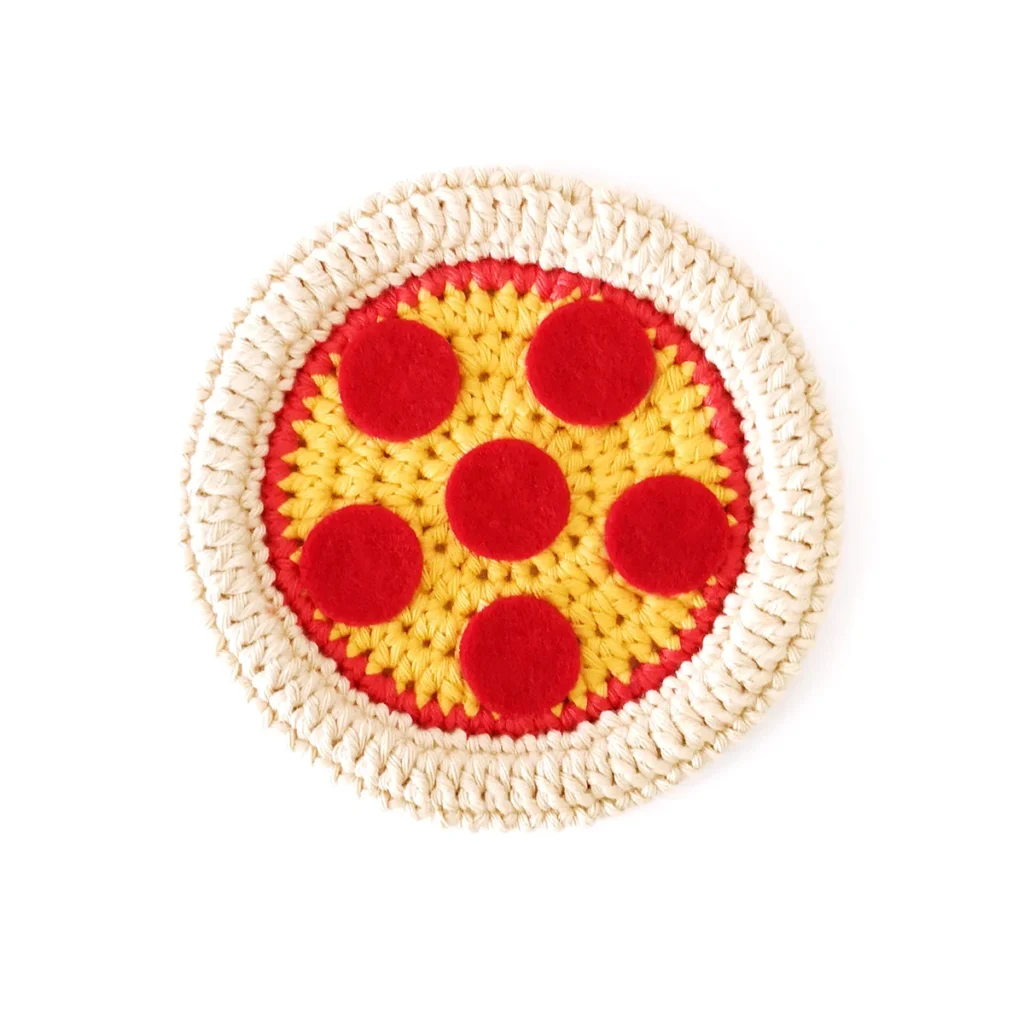
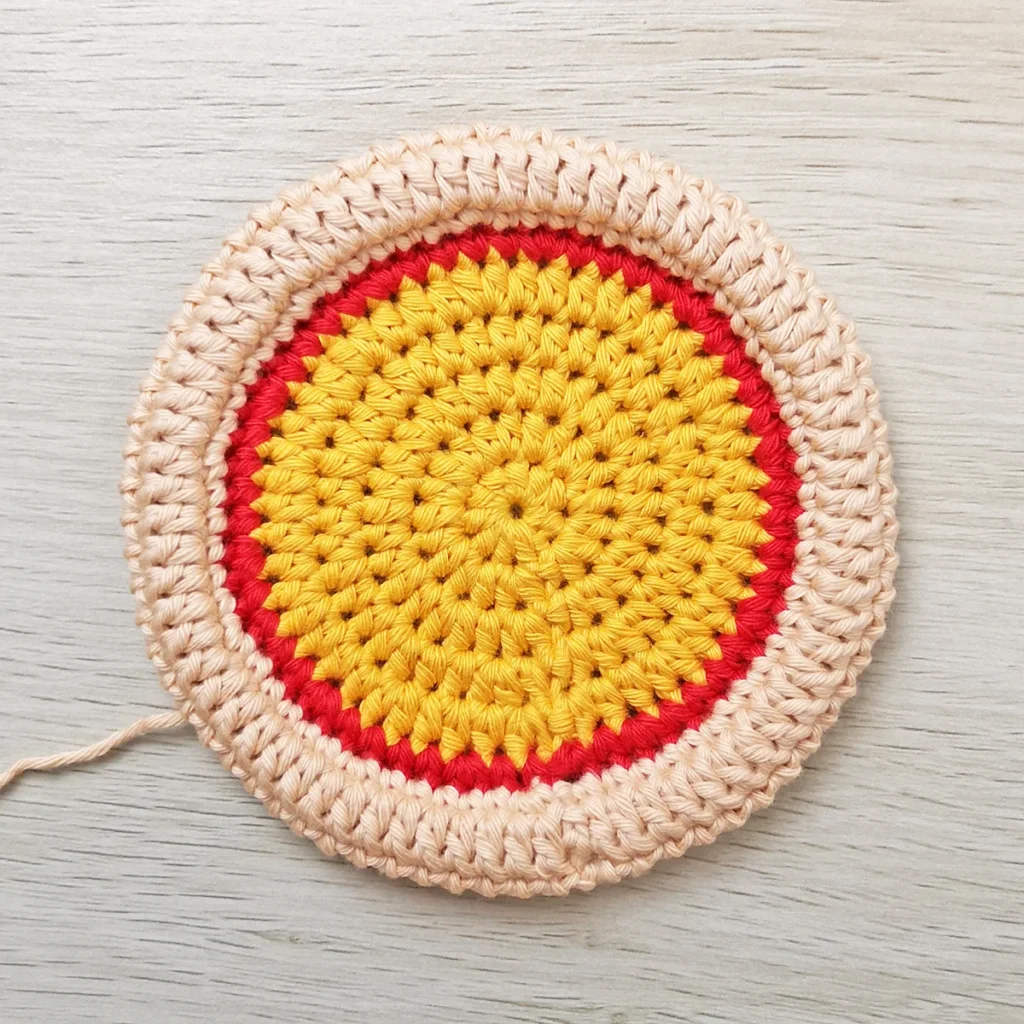
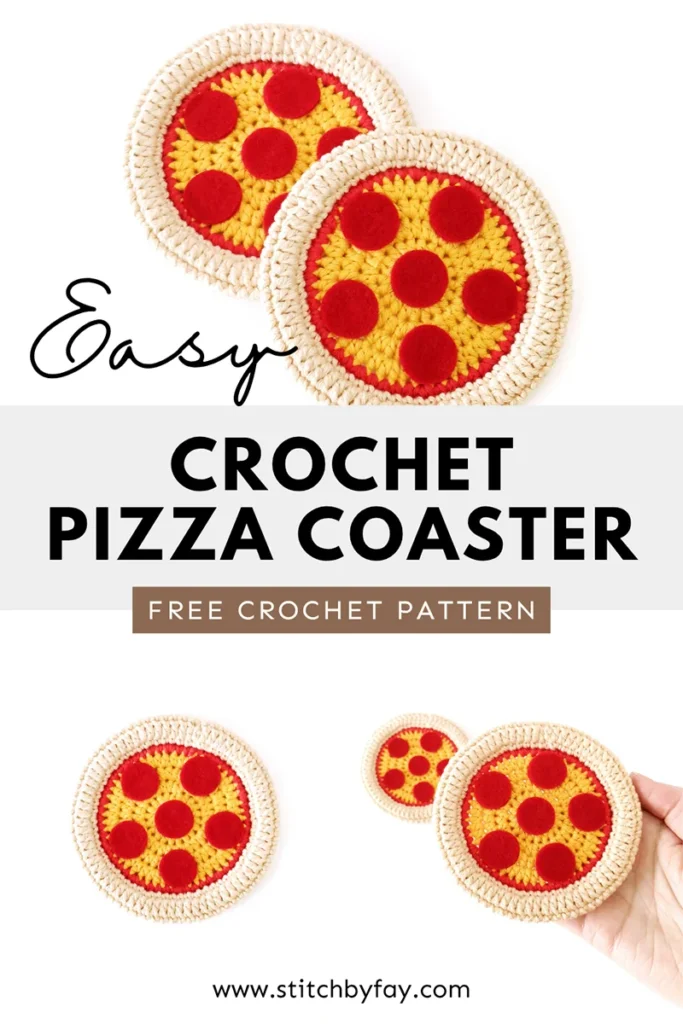
It took an embarrassingly long time to get this crochet pizza coaster just right. Yes, I could have saved myself a lot of time by making it a flat circle, but I really wanted the crust to have some dimension (no thin and crispy bases here).
I opted to use felt for the pepperoni to keep the coaster as flat and stable as possible for placing drinks on. However, this pizza coaster would also make a fun play-set, so you could totally crochet small circles for the pepperoni and get creative with different toppings.
About the Pattern
This crochet pizza coaster is worked in joined rounds. The ch 1 at the beginning of each round does not count as a stitch, place the first stitch of the round in the same stitch as joining.
We’ll begin by making 10 half double crochet in a magic ring and increasing over a number of rounds to create a flat circle, changing colours for the sauce and crust.
The edge of the crust has some height to it and to secure it in place we’ll sew the raw edge to the back of the coaster with a simple whip stitch.
Recommended Yarn
I always recommend cotton yarn for coasters as it’s durable, absorbent, holds up well to heat and is easy to wash – all the things that you want in a crochet coaster.
For this pattern, I used worsted weight yarn with a 3.5mm hook.
Why You’ll Love This Crochet Pizza Coaster Pattern
More Crochet Patterns
If you love this crochet pizza coaster pattern, you might also like to check out these other food patterns:


Crochet Pizza Coaster Pattern
Grab the free downloadable PDF from the freebie library. The ad-free PDF includes detailed instructions and photos as well as easy print pages.
Freebie Library
Join our newsletter to gain access to exclusive freebies and keep up to date.
Already a member? Login here.
Materials
- Worsted weight yarn in yellow, red and beige (I used Paintbox Yarns Cotton Aran in Mustard Yellow, Pillar Red and Light Caramel)
- 3.5mm crochet hook
- Yarn needle, scissors
- Red felt
- Hot glue or fabric glue
Abbreviations (US Terms)
- ch – chain
- dc – double crochet
- dec – decrease
- FLO – front loop only
- hdc – half double crochet
- hdc-inc – half double crochet increase
- inc – increase
- sc – single crochet
- sl st – slip stitch
- st/s – stitch/es
- […] – repeat the instructions in brackets
- (…) – indicates stitch count at end of round
Useful Links
How to Change Colours in Half Double Crochet
- Yarn over and insert your hook into the last stitch.
- Yarn over and pull up a loop, 3 loops on hook.
- Drop your working yarn and pick up the new colour.
- Draw the new colour through all 3 loops on your hook to finish the stitch.
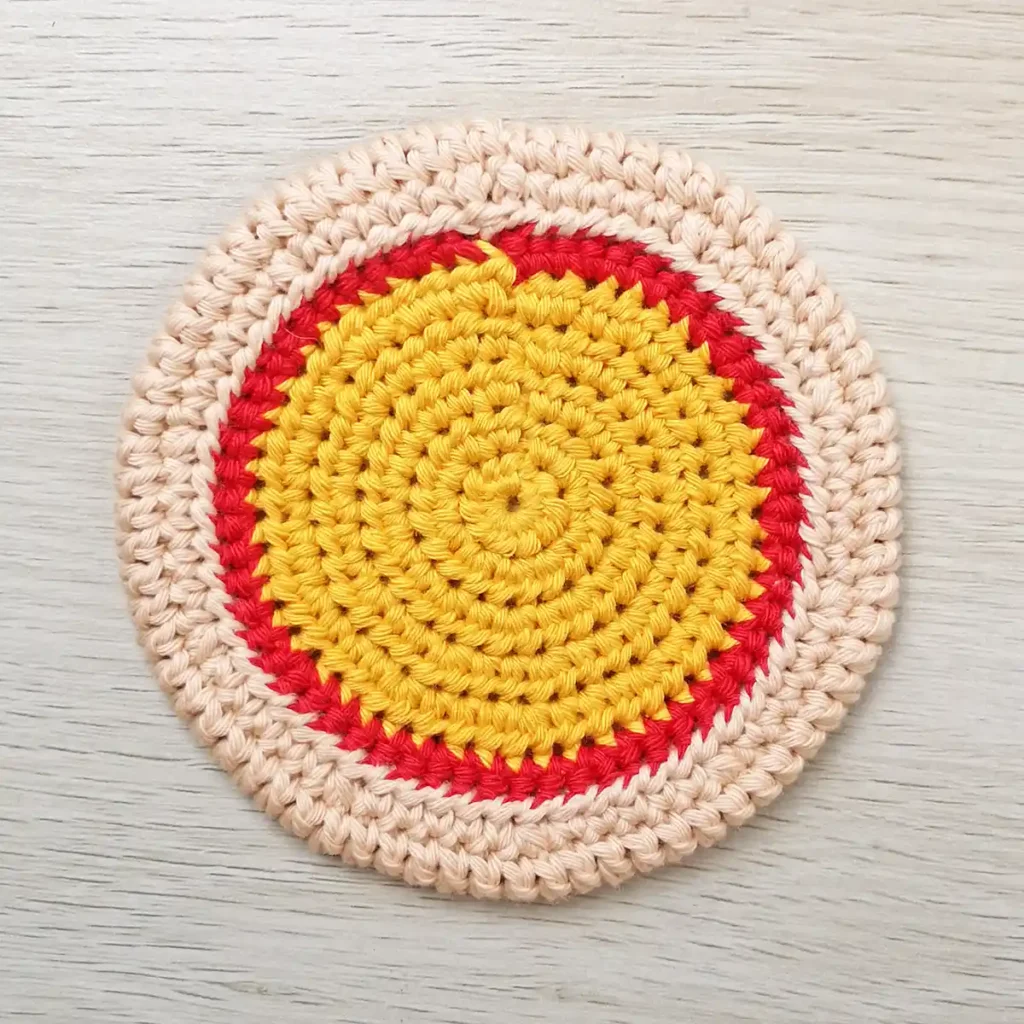
Finished Size
The finished coaster measures approximately 4.5″ x 4.5″ (11.5cm x 11.5cm). Size may vary depending on tension and materials used.
Gauge
Gauge is not important in this pattern. However, using a different yarn and hook size will change the size of the finished item.
Notes
- This coaster pattern is worked in joined rounds using the traditional YO (yarn over) method.
- The ch 1 at the beginning of each round does not count as a stitch. Join to the first stitch of each round and work the first stitch of the next round in the same stitch as joining.
- Colour changes take place in the last stitch of the previous round before the new colour is needed and before joining.
Pattern Instructions
Pizza Coaster ( starting with yellow)
tip
Crochet over yarn tails where possible.
Make a magic ring.
R1: Ch 1, 10 hdc in magic ring, sl st to first hdc to join (10)
R2: Ch 1, [hdc-inc] x10, sl st to first hdc to join (20)
R3: Ch 1, [hdc, hdc-inc] x10, sl st to first hdc to join (30)
R4: Ch 1, hdc, hdc-inc, [2 hdc, hdc-inc] x9, hdc, sl st to first hdc to join (40)
R5: Ch 1, [3 hdc, hdc-inc] x10 – change colour to red in last hdc – sl st to first hdc to join (50)
R6: Ch 1, 2 sc, inc, [4 sc, inc] x9, 2 sc – change colour to beige in last sc – sl st to FLO of first sc to join (60)
R7: Work the entire round in the front loop only – [ FLO 5 sc, inc] x10 (70)
R8-9: [Dc] x70 2 rounds
R10: [5 sc, dec] x10 (60)
Fasten off invisibly leaving a long tail for sewing, approximately enough to wrap around the outside of the coaster twice (36″ was plenty for me).
Weave in any remaining ends on the backside of the coaster.
With the right side of the coaster facing up, flatten the centre up to R7 and line up the last round of the crust with the leftover back loops from R7 on the back.
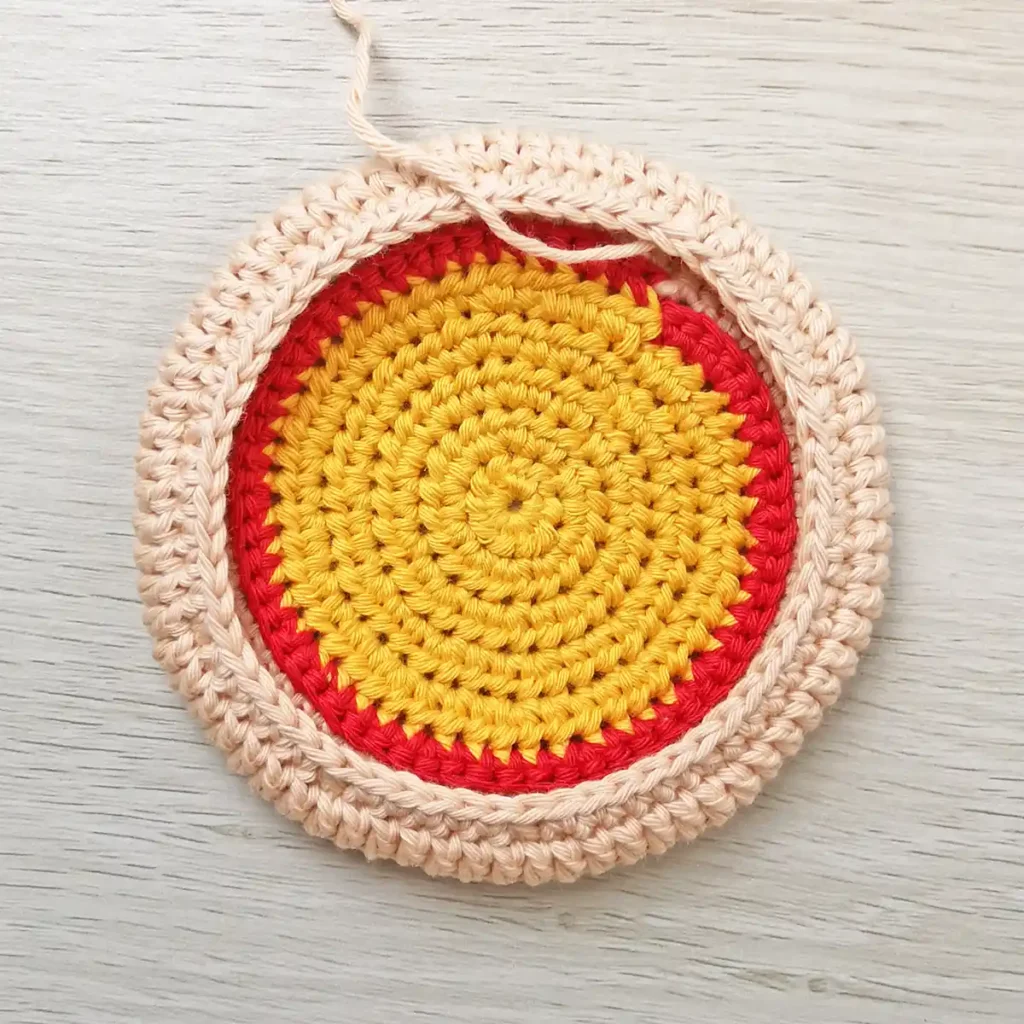
Whip stitch the crust to the coaster going through the leftover back loops and both loops of the crust.
tip
Pull the yarn tight after each stitch in the direction that you’re sewing for a tidy finish.
Fasten off and weave in end.

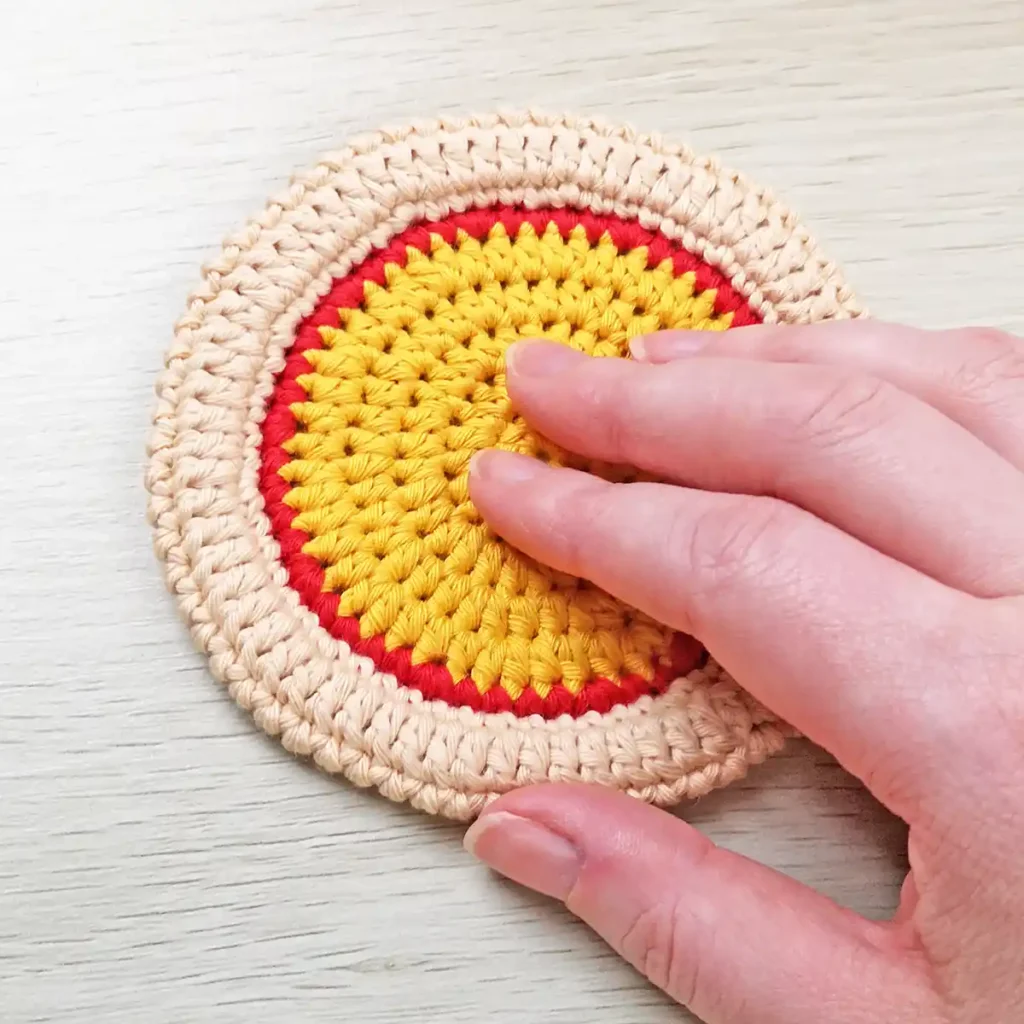
The crust can look a bit flat after sewing so using your thumb, gently press in around the outer edge of the coaster to puff it up a bit.
Finishing Details
- Using red felt, cut 6 2cm circles and glue them to the pizza, one in the centre and 5 evenly spaced around the outside with the edges just touching the sauce.
tip
Trace around a button or other round object in the size that you want your pepperoni to be.
not ready to make this yet?
Pin this post for later
Explore More Crochet Patterns
After you crochet this pizza coaster, here are some more crochet patterns to try:
What’s Next?
Have questions? Join the Facebook group!
We hope you enjoyed this pattern. Come and hang out with me in the Stitch by Fay Community Facebook group. We created this space for you to share pictures, ask questions and support each other.

This pattern is for personal use only and may not be copied, reproduced, altered, published or distributed in any format (including video). If you wish to share this pattern, you may link to this pattern but please do not reprint it on your site.
You can sell finished products made from this pattern in small quantities. Do NOT use our photos as your sale photos.