

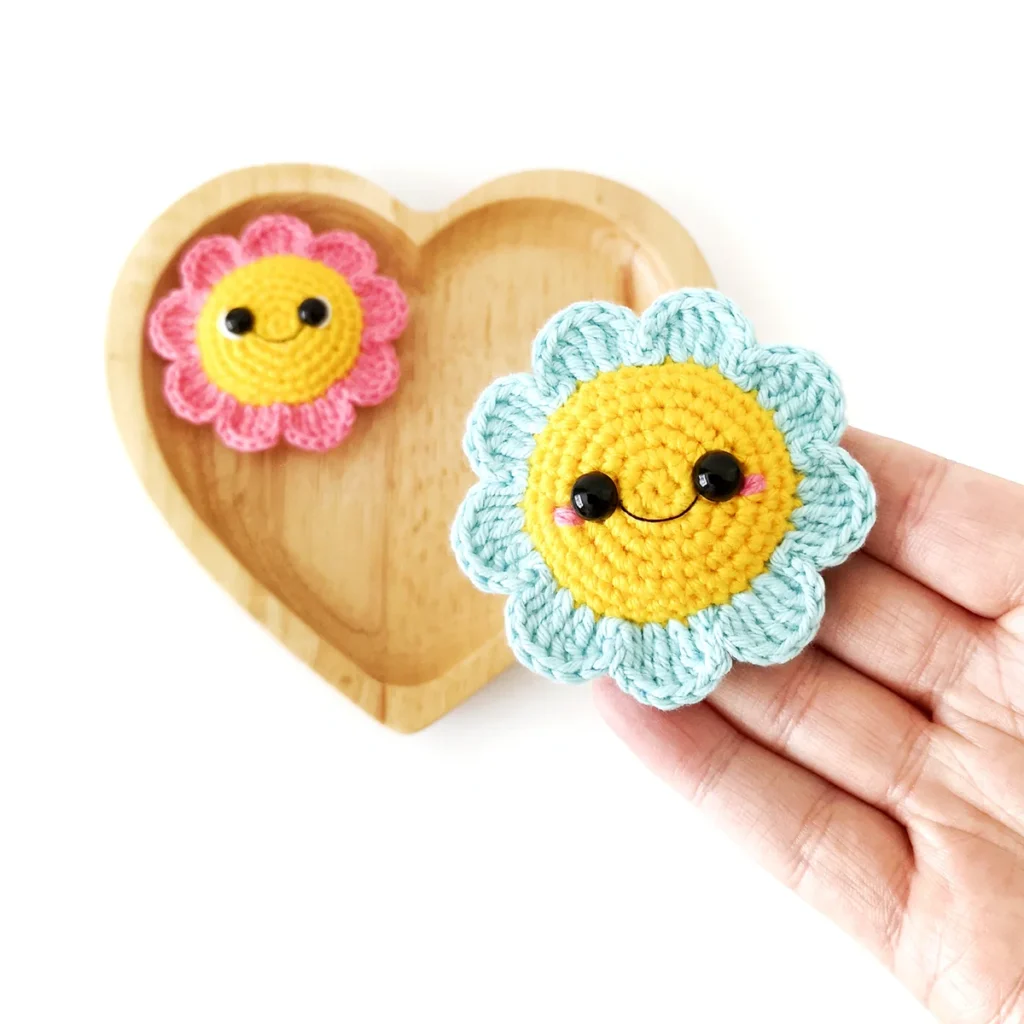
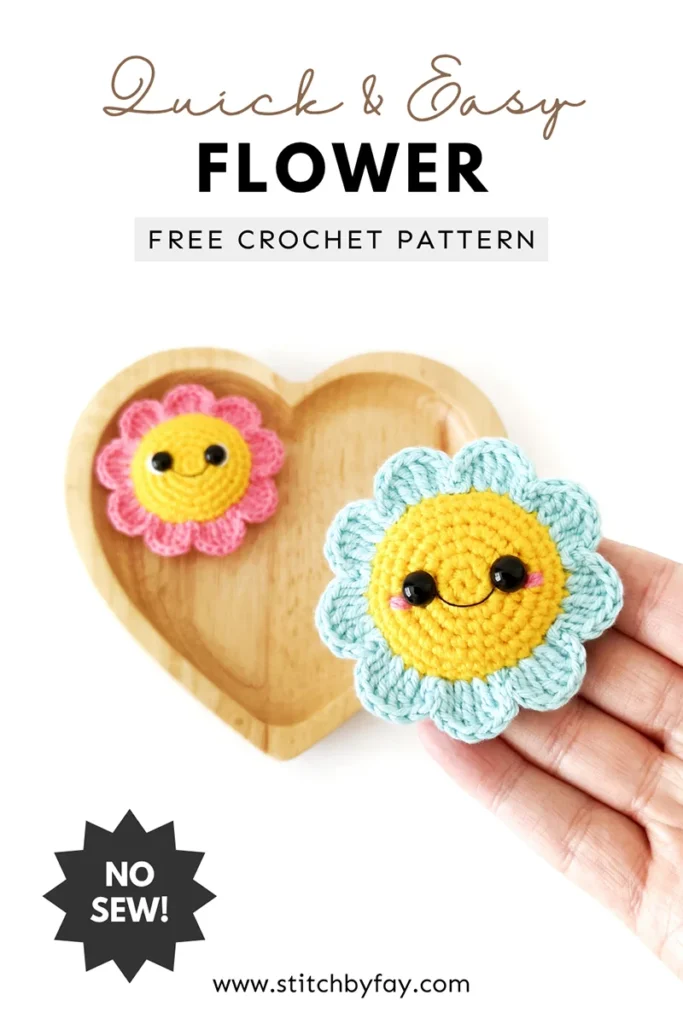
Amigurumi Crochet Flower Pattern
This crochet flower pattern is quick, cute and no-sew! It’s perfect for last minute gifts and market makes.
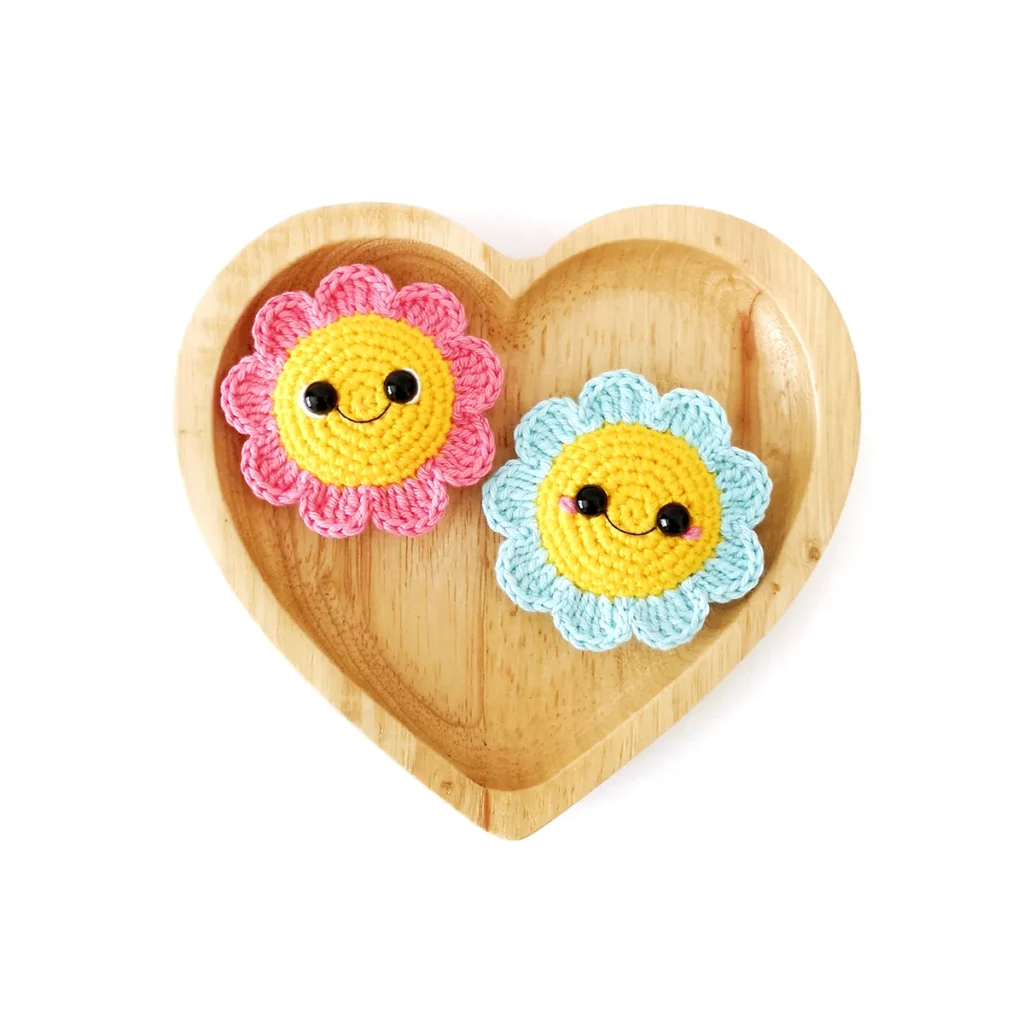
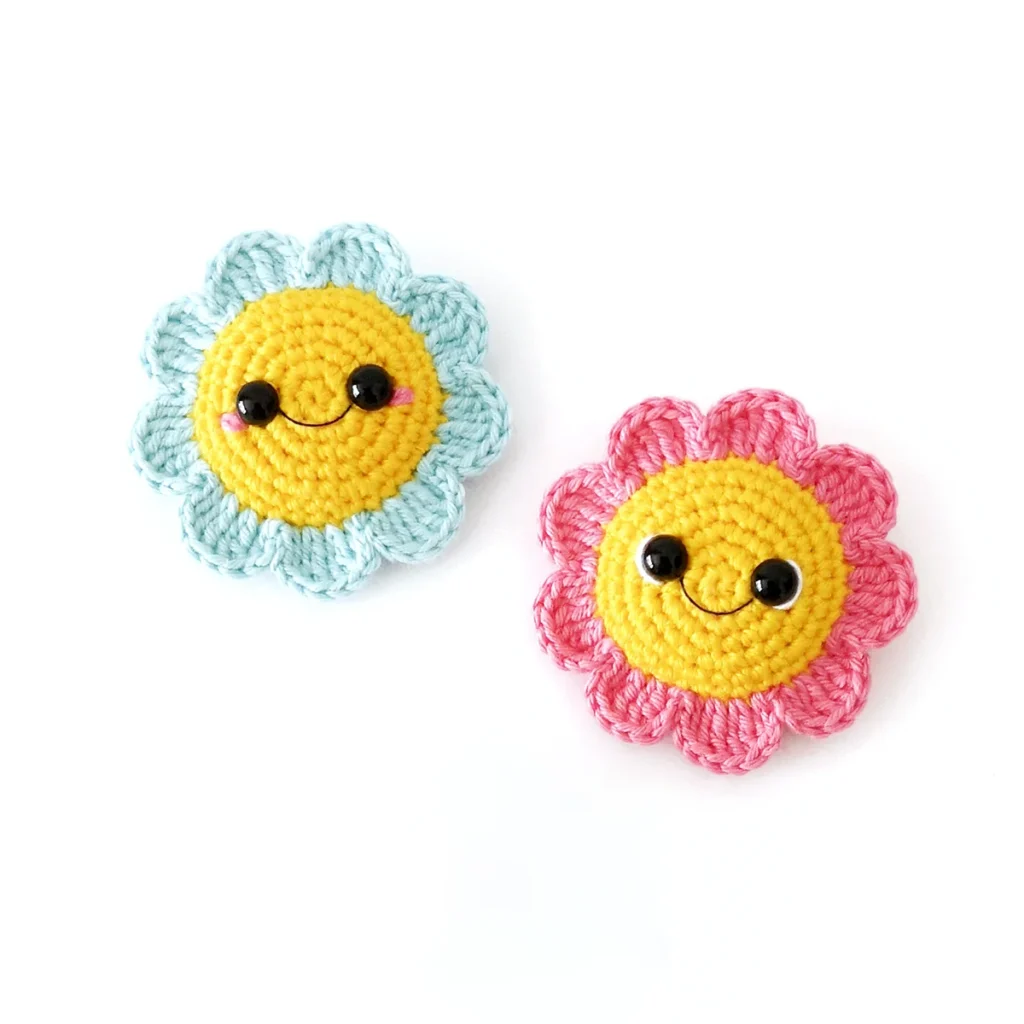
This crochet flower pattern was inspired by my sun pattern. Initially I wanted it to be the same but change up the rays to look like petals. However, it wasn’t coming out quite as I’d imagined, so after a few minor adjustments, the result is a cute puffy little flower.
Use this amigurumi flower to make keychains, bag charms, car hangers or brooches – it would even make a cute pincushion.
About the Pattern
This crochet flower pattern is worked in a spiral using basic stitches.
The front and back are crocheted separately before being joined together when we crochet the petals.
Each petal is worked over 4 stitches, ending with a slip stitch in the same stitch as the first stitch of the round.
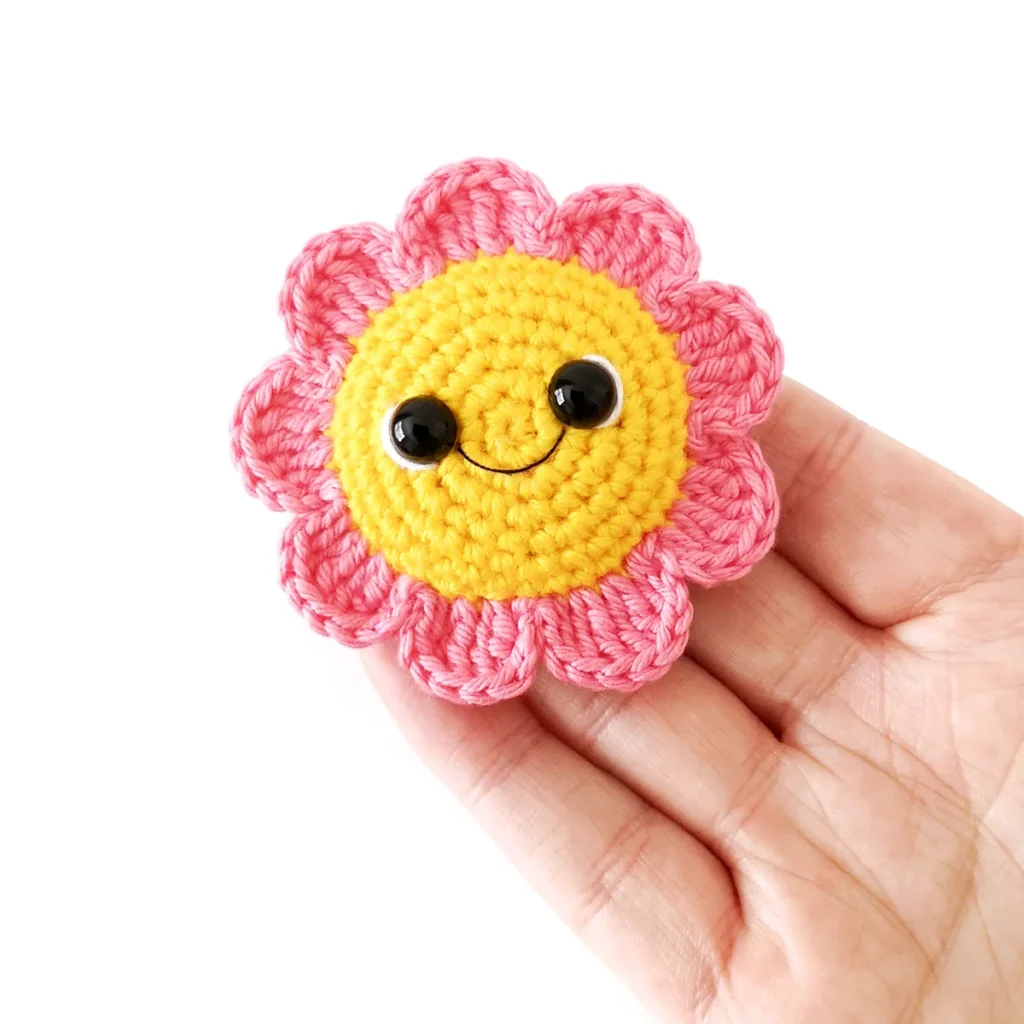
You can opt to add a little face like I did or leave it without, it’s cute either way.
Recommended Yarn
I used Paintbox Yarns Cotton DK with a 2.5mm hook for my crochet flowers but you can use any yarn weight and fiber.
Why You’ll Love This Crochet Flower Pattern
More Crochet Patterns
If you love this crochet flower pattern, you might also like to check out these other flower patterns:


Amigurumi Crochet Flower Pattern
Prefer the PDF version?
where to buy
The ad-free PDF includes detailed instructions and photos as well as easy print pages.
Materials
- DK weight yarn in yellow, green and your choice of flower colour (I used Paintbox Yarns Cotton DK in Daffodil Yellow, Grass Green and Washed Teal/Bubblegum Pink for the flowers pictured)
- 2.5mm crochet hook
- 8mm safety eyes
- Black embroidery floss
- Polyester fiberfill
- Stitch marker, yarn needle, scissors
- A pair of side cutters
- Optional: clear drying fabric glue
Abbreviations (US Terms)
- ch – chain
- dc – double crochet
- inc – increase
- sc – single crochet
- sl st – slip stitch
- st/s – stitch/es
- tr-inc – treble crochet increase
- […] – repeat the instructions in brackets
- (…) – indicates stitch count at end of round
Special Stitches
Treble Crochet Increase (abbreviation: tr-inc): Work two treble crochet stitches into the same space.
Useful Links
Finished Size
The finished flower measures approximately 2.75″ x 2.75″ (7cm x 7cm). Size may vary depending on tension and materials used.
Gauge
Gauge is not important in this pattern. Use a hook size to match your chosen yarn. Make sure that your stitches are tight enough to prevent stuffing showing through and adjust hook size if necessary.
Notes
- Pieces are worked in a continuous spiral using the traditional YO (yarn over) method. Mark the first stitch of each round with a removable stitch marker.
Pattern Instructions
Flower Front (yellow)
R1: 6 sc in magic ring (6)
R2: [Inc] x6 (12)
R3: [Sc, inc] x6 (18)
R4: Sc, inc, [2 sc, inc] x5, sc (24)
R5: [3 sc, inc] x6 (30)
R6: 2 sc, inc, [4 sc, inc] x5, 2 sc (36)
R7: [Sc] x36 (36)
Sl st in next st. Fasten off invisibly.
Insert safety eyes between R3 and R4 approximately in line with the centre of the magic ring. Make sure that the eyes are level with each other.
Using a pair of side cutters, trim stems off the back of the eyes.
tip
For extra security you can melt and flatten the stems of the eyes instead or add a dab of hot glue after trimming.
Flower Back (green)
R1: 6 sc in magic ring (6)
R2: [Inc] x6 (12)
R3: [Sc, inc] x6 (18)
R4: Sc, inc, [2 sc, inc] x5, sc (24)
R5: [3 sc, inc] x6 (30)
R6: 2 sc, inc, [4 sc, inc] x5, 2 sc (36)
Sl st in next st. Fasten off invisibly.
Joining
Place the front and back pieces wrong sides together with the front piece facing up.
Join flower colour yarn in any stitch by inserting your hook through both pieces and pulling through a loop of yarn.
R1: Working through both pieces – [Ch 2, dc in same st, [tr-inc] x2, dc, ch 2, sl st in same st, sl st in next st] x9 (9 flower petals)
Start stuffing when you’re 3/4 of the way around and continue to stuff as you go. Avoid overstuffing.
note
The final slip stitch is worked into the same stitch as the ch 2 at the start of the round.
Cut the yarn leaving a tail and pull through the last stitch. Using a yarn needle or your crochet hook, draw the cut end to the back of the flower through the same stitch as the last slip stitch. Weave in ends.
Gently stretch and shape the petals if needed.
Finishing Details
- Using a single strand of black embroidery floss, sew a mouth between the eyes. I used a small amount of fabric glue to create a curved mouth.
- Optional: Using pink yarn, sew cheeks just under and to the side of each eye going over a single st twice.
not ready to make this yet?
Pin this post for later
Explore More Crochet Patterns
After you crochet this flower, here are some more crochet patterns to try:
What’s Next?
Have questions? Join the Facebook group!
We hope you enjoyed this pattern. Come and hang out with me in the Stitch by Fay Community Facebook group. We created this space for you to share pictures, ask questions and support each other.

This pattern is for personal use only and may not be copied, reproduced, altered, published or distributed in any format (including video). If you wish to share this pattern, you may link to this pattern but please do not reprint it on your site.
You can sell finished products made from this pattern in small quantities. Do NOT use our photos as your sale photos.