

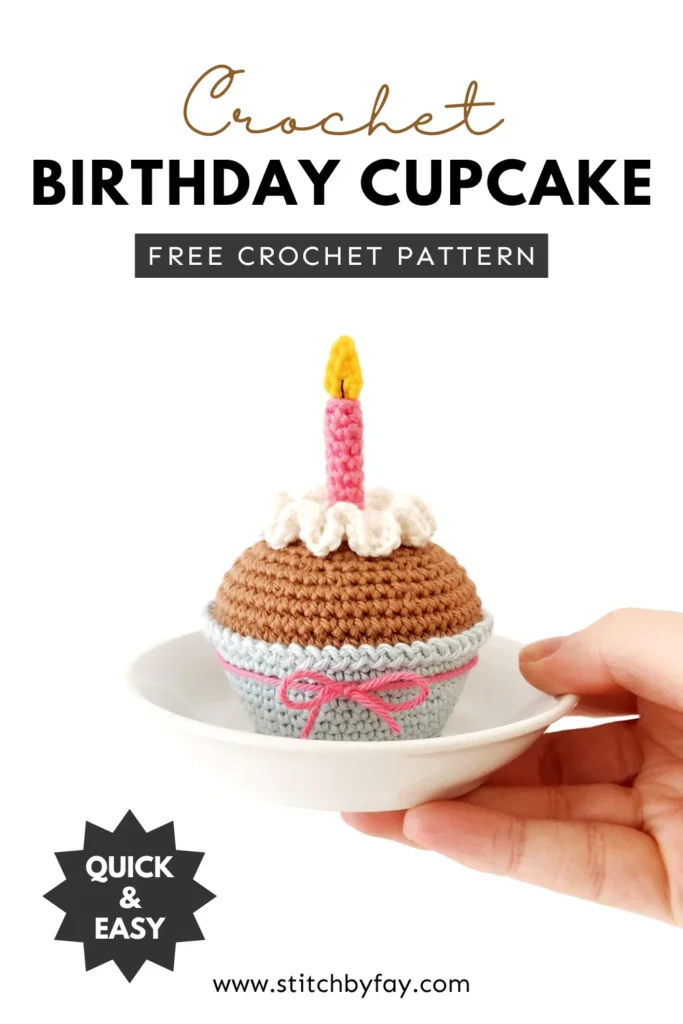
Birthday Crochet Cupcake Pattern
What’s a birthday without a little cake? This crochet cupcake is a sweet, zero-calorie treat that’s perfect for celebrating someone special.

August is my birthday month so of course I had to celebrate with a bit of crochet goodness!
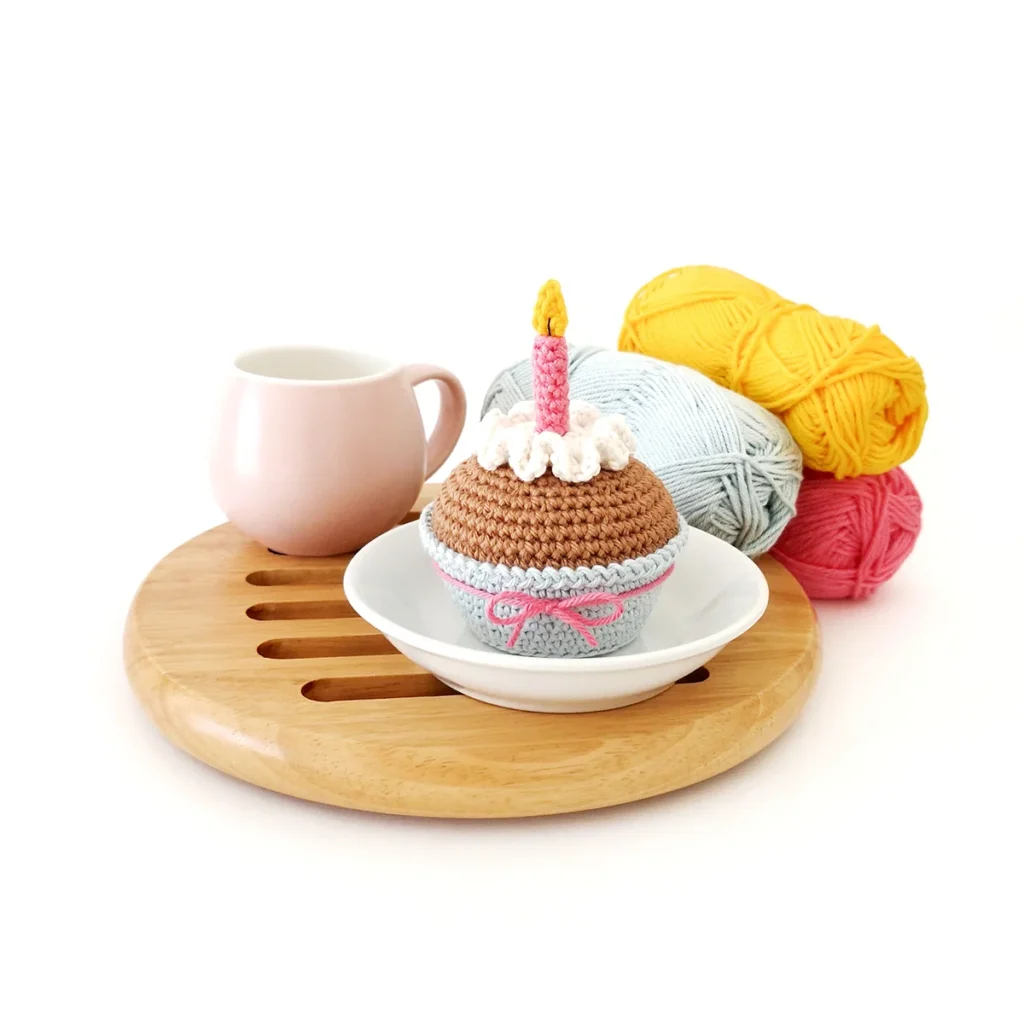
This crochet cupcake makes a fun gift and keepsake that lasts a lot longer than the real thing.
About the Pattern
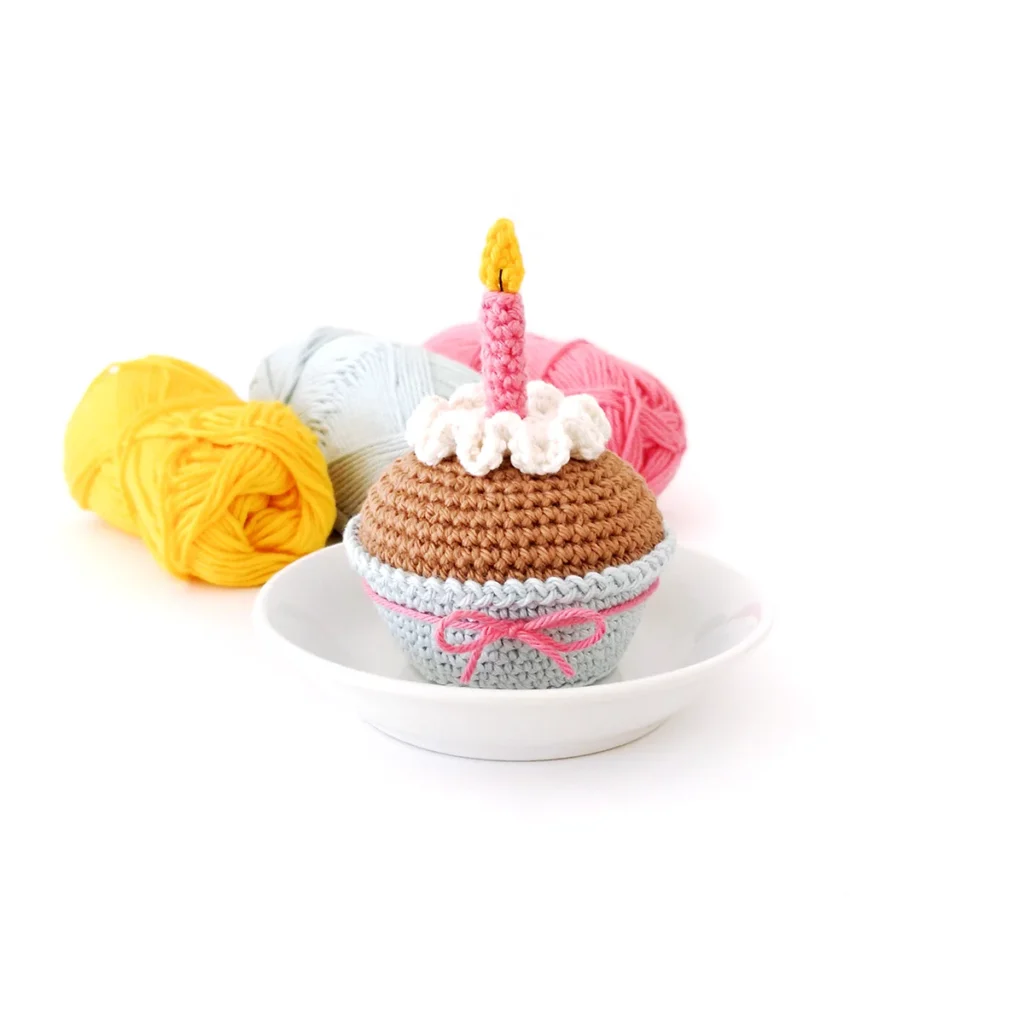
This crochet cupcake is worked in a spiral from the bottom up without joining. We’ll use a piece of card to keep the bottom flat when stuffing.
The candle and frosting are worked in one piece before being sewn to the top of the cupcake and adding the candle flame.
The cupcake liner features a simple trim and I finished it off with a little bow.
How to Customise Your Crochet Cupcake
- Play with colours – Mix and match cupcake, frosting and liner colours to suit any theme or occasion.
- Try different toppings in place of the candle/frosting – Use embroidery floss to stitch colourful lines or french knots for sprinkles, replace the candle with a cherry or strawberry.
- Personalise it – Embroider initials, numbers or tiny motifs onto the cupcake liner for a special touch.
- Make it kawaii – Add safety eyes and a smile for extra cuteness.
Why You’ll Love This Birthday Crochet Cupcake Pattern
More Patterns
If you love this crochet cupcake pattern, you might also like to check out these other food patterns:


Birthday Crochet Cupcake Pattern
Materials
- DK weight yarn in your choice of colours for the liner, cupcake, frosting, candle and flame (I used Paintbox Yarns Cotton Dk in Duck Egg Blue, Soft Fudge, Bubblegum Pink, Champagne White and Buttercup Yellow)
- 2.5mm crochet hook
- Optional: black embroidery floss
- Polyester fiberfill
- Card (tissue box, cereal box, etc)
- Stitch marker, yarn needle, scissors
Abbreviations (US Terms)
- ch – chain
- sc – single crochet
- inc – increase
- invdec – invisible decrease
- hdc – half double crochet
- sl st – slip stitch
- st/s – stitch/es
- […] – repeat the instructions in brackets
- (…) – indicates stitch count at end of round
Useful Links
Finished Size
The finished cupcake measures approximately 4″ (10cm) tall including the candle. Size may vary depending on tension and materials used.
Gauge
Gauge is not important in this pattern. However, using a different yarn and hook size will change the size of the finished item.
Notes
- Pieces are worked in a continuous spiral starting with a magic ring unless otherwise specified. Mark the first stitch of each round with a removable stitch marker.
- R8 of the cupcake liner is worked entirely in the back loop only.
- R16 of the cupcake liner is worked entirely in the front loop only.
- R9 and R12 of the candle & frosting are worked entirely in the front loop only.
Pattern Instructions
Cupcake Liner
R1: 6 sc in magic ring (6)
R2: [Inc] x6 (12)
R3: [Sc, inc] x6 (18)
R4: Sc, inc, [2 sc, inc] x5, sc (24)
R5: [3 sc, inc] x6 (30)
R6: 2 sc, inc, [4 sc, inc] x5, 2 sc (36)
R7: [5 sc, inc] x6 (42)
R8: Work the entire round in the back loop only – [BLO sc] x42 (42)
R9: [Sc] x42 (42)
R10: 3 sc, inc, [6 sc, inc] x5, 3 sc (48)
R11-12: [Sc] x48 (48) 2 rounds
R13: [7 sc, inc] x6 (54)
R14-15: [Sc] x54 (54) 2 rounds
R16: Work the entire round in the front loop only – [ch 1, sl st in next front loop] x54
Ch 1, do not tighten ch. Fasten off invisibly to second sl st from R16.
Weave in ends.
Measure the base of the cupcake liner and cut a circle out of card. Place in the bottom of the liner.
Cupcake
Insert hook in first leftover back loop from R16 and pull up a loop of yarn.
R1: Ch 1, sc in same space and in each back loop around (54)
R2-3: [Sc] x54 (54) 2 rounds
R4: [7 sc, invdec] x6 (48)
R5: 3 sc, invdec, [6 sc, invdec] x5, 3 sc (42)
R6: [5 sc, invdec] x6 (36)
R7: 2 sc, invdec, [4 sc, invdec] x5, 2 sc (30)
Start stuffing and continue to stuff as you go.
R8: [3 sc, invdec] x6 (24)
R9: Sc, invdec, [2 sc, invdec] x6, sc (18)
R10: [Sc, invdec] x6 (12)
R11: [Invdec] x6 (6)
Cut the yarn leaving a tail and pull through last st. Weave the yarn tail through the front loops only of the final round and pull to close. Hide the end inside the cupcake.
Candle & Frosting
Note: I did not add stuffing to the candle. However, you may stuff it lightly if desired.
R1: 6 sc in magic ring (6)
R2: Work the entire round in the back loop only – [BLO sc] x6 (6)
R3-8: [Sc] x6 (6) 6 rounds
Change to off-white in the last stitch of R8.
R9: Work the entire round in the front loop only – [FLO inc] x6 (12)
R10: [Sc, inc] x6 (18)
R11: Sc, inc, [2 sc, inc] x5, sc (24)
R12: Work the entire round in the front loop only – [FLO 4 sc in each st]
Fasten off leaving a long tail for sewing.
Sew the frosting to the top of the cupcake. You can do this by either using the leftover back loops from R12 of the frosting or place your stitches between R11 and R12.
Candle Flame
Leave a longer starting tail for sewing.
Ch 4, sl st in second ch from hook, sc in next ch, hdc in last ch
Fasten off leaving a long tail for sewing.
Tie the two yarn tails together at the base of the flame.
Sew to the top of the candle.
Optional: Using 2 strands of black embroidery floss, sew a short vertical line down the centre of the flame for the wick.
Optional: Tie a piece of yarn or ribbon around the cupcake liner.
not ready to make this yet?
Pin this post for later
Explore More Crochet Patterns
After you crochet this birthday cupcake, here are some more crochet patterns to try:
What’s Next?
Have questions? Join the Facebook group!
We hope you enjoyed this pattern. Come and hang out with me in the Stitch by Fay Community Facebook group. We created this space for you to share pictures, ask questions and support each other.

This pattern is for personal use only and may not be copied, reproduced, altered, published or distributed in any format (including video). If you wish to share this pattern, you may link to this pattern but please do not reprint it on your site.
You can sell finished products quantities. Do NOT use our photos as your sale photos.