

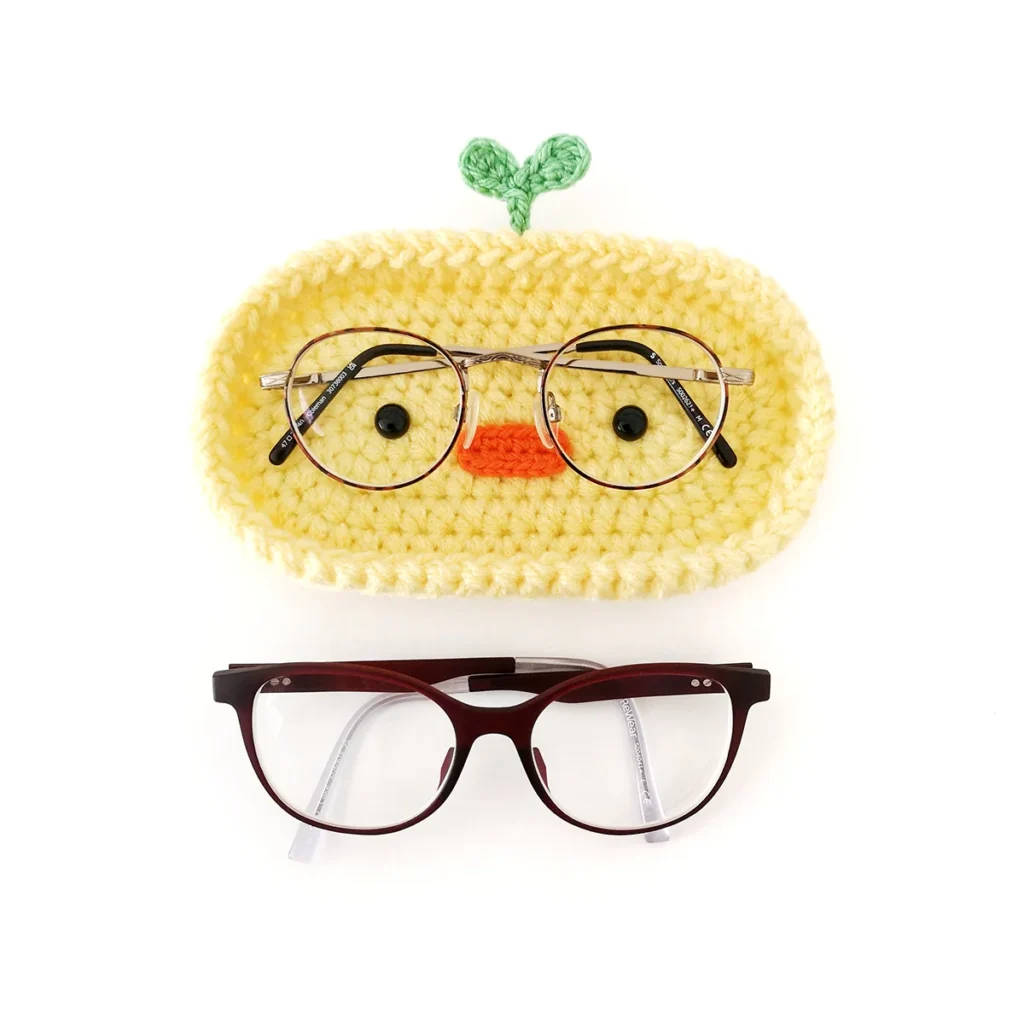
Crochet Carrot Pouch Pattern
Looking for a fun Spring or Easter gift idea? This crochet carrot pouch is the perfect size for adding a small toy or filling with treats.

I designed this pattern to be combined with my no-sew bunny pattern and they make the cutest little set.
The bunny can be tucked inside completely but looks equally sweet peeking out like it’s in a sleeping bag.

Easy Crochet Carrot Pouch
This crochet carrot pouch is worked from the bottom up beginning with a ch 2 start (this is my preferred starting method when using plush yarn).
The carrot top is crocheted separately and sewn on at the end.
I decided not to add a closure but you could easily add a loop and button closure if you wanted to.

Making Them For Easter Gifts?
If you’re making this crochet carrot pouch for Easter, grab some cute Easter gift tags from the Stitch by Fay freebie library for easy gifting.
Freebie Library
Join our newsletter to gain access to exclusive freebies and keep up to date.
Already a member? Login here.
Why You’ll Love This Crochet Carrot Pouch Pattern

More Crochet Patterns
If you love this crochet carrot pouch pattern, you might also like to check out these other Easter patterns:


Crochet Carrot Pouch Pattern
Materials
- Super bulky yarn in orange and green (I used Premier Yarns Parfait Chunky in Tangerine and Emerald Green)
- 4.5mm crochet hook
- Stitch marker, yarn needle, scissors
Abbreviations (US Terms)
- ch – chain
- sc – single crochet
- inc – increase
- invdec – invisible decrease
- sk – skip
- sl st – slip stitch
- st/s – stitch/es
- […] – repeat the instructions in brackets
- (…) – indicates stitch count at end of round
Useful Links
Finished Size
The finished carrot pouch measures approximately 6.5″ (16.5cm) long. Size may vary depending on tension and materials used.
Gauge
Gauge is not important in this pattern. However, using a different yarn and hook size will change the size and look of the finished item.
Notes
- Pieces are worked in a continuous spiral. Mark the first stitch of each round with a removable stitch marker.
Pattern Instructions
Carrot Pouch (orange)
R1: Ch 2, 6 sc in second ch from hook (6)
R2: [Inc] x6 (12)
R3: [Sc] x12 (12)
R4: [Sc, inc] x6 (18)
R5: [Sc] x18 (18)
R6: Sc, inc, [2 sc, inc] x5, sc (24)
R7: [Sc] x24 (24)
R8: [3 sc, inc] x6 (30)
R9-11: [Sc] x30 (30) 3 rounds
R12: 8 sc, ch 14, sk 14, 8 sc back on carrot (16 sc + 14 chs)
R13: 8 sc, 14 sc along ch, 8 sc back on carrot (30)
R14-16: [Sc] x30 (30) 3 rounds
R17: [3 sc, invdec] x6 (24)
R18: [Sc, invdec] x8 (16)
R19: [Invdec] x8 (8)
Cut the yarn leaving a tail and pull through last st. Weave the yarn tail through the front loops only of the final round and pull to close.
Weave in end inside carrot.
Carrot Top (green)
Ch 13, sl st into first ch, [ch 12, sl st into same ch as previous sl st] x2
Fasten off leaving a long tail for sewing.
Sew to the centre top of the carrot. Weave in ends inside carrot.
not ready to make this yet?
Pin this post for later

Explore More Crochet Patterns
After you crochet this carrot pouch, here are some more crochet patterns to try:
What’s Next?
Invitation To Our Facebook Group
We hope you enjoyed this pattern. Come and hang out with me in the Stitch by Fay Community Facebook group. We created this space for you to share pictures, ask questions and support each other.

This pattern is for personal use only and may not be copied, reproduced, altered, published or distributed in any format (including video). If you wish to share this pattern, you may link to this pattern but please do not reprint it on your site.
You can sell finished products made from this pattern in small quantities. Do NOT use our photos as your sale photos.
Hi and thank you so much for this gorgeous pattern. I’m having trouble with R13: 8 sc, 14 sc along ch, 8 sc back on carrot (30).
When I SC along the chain the opening becomes too tight and the flap no longer aligns, am I doing somthing wrong?
Hi, try gently stretching your stitches into alignment or using a slightly larger hook for the chain stitches.
Fay, this is my favorite carrot pattern ever! I’ve made some with little bunnies for my next market. They are so cute!! Thank you, thank you, thank you!
I’m so glad you love it!