

Easy Snowflake Crochet Pattern
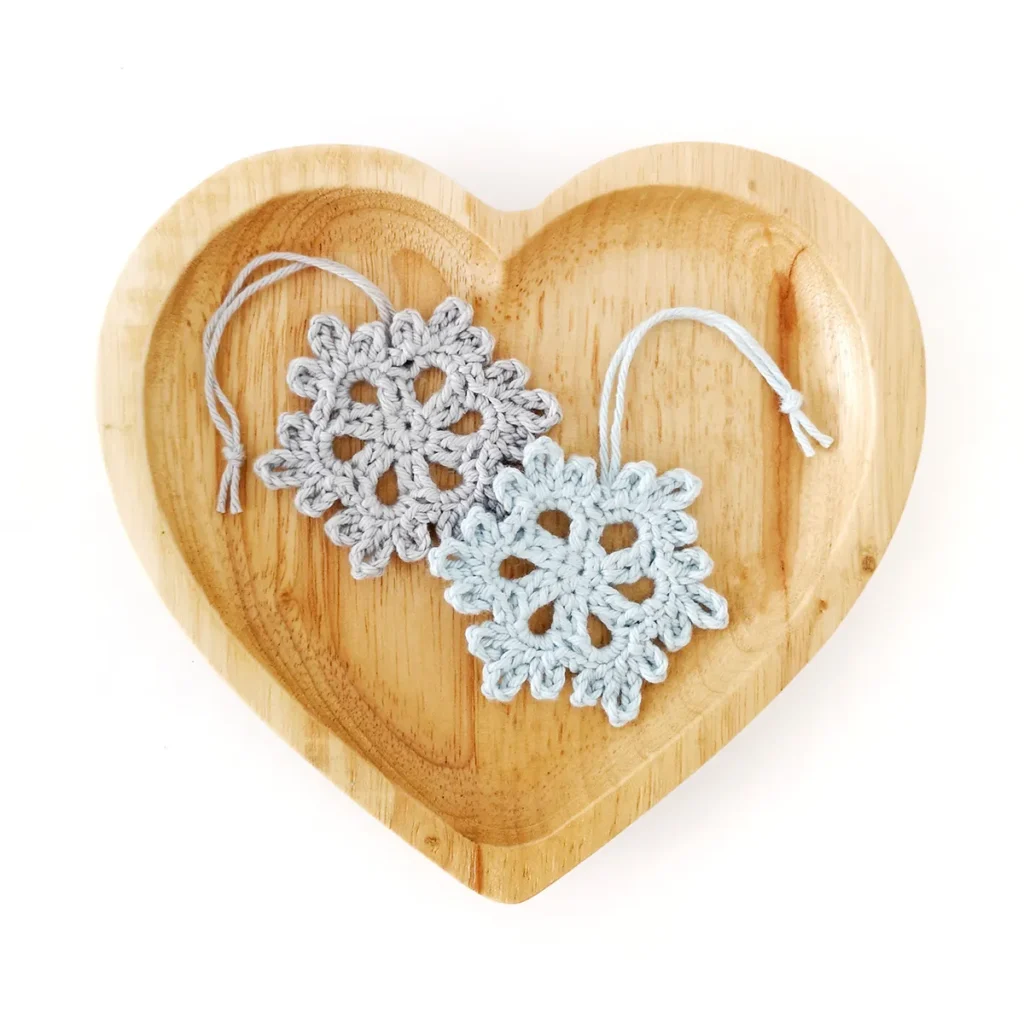
Add some Winter whimsy to your holiday decor with this sweet and simple snowflake crochet pattern.
Welcome to Day 1 of the 12 Days of Crochet Christmas! We’re getting things underway with a nice easy one.
This little snowflake is perfect for last minute gifts and can be used for garlands and appliques as well as a hanging ornament.
About the Pattern
This snowflake crochet pattern works up in under 30 minutes and only uses a small amount of yarn.
The pattern consists of 3 rounds and we’ll use our starting and ending tails to create the hanging loop.
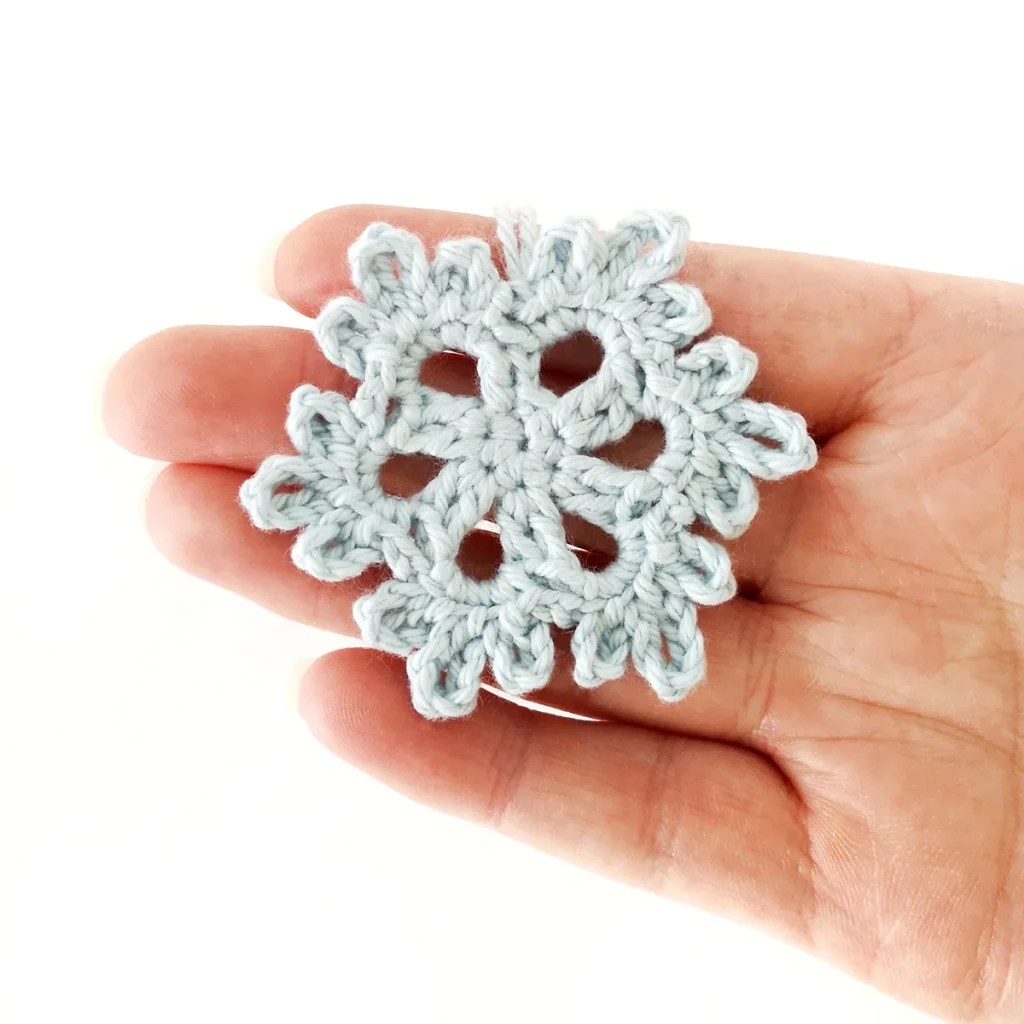
The ‘branches’ are joined a little bit differently but I’ve included a couple of photos to help you out.
Why You’ll Love This Snowflake Crochet Pattern

More Patterns
If you love this snowflake crochet pattern, you might also like to check out these other Christmas patterns:


Snowflake Crochet Pattern
Materials
- DK weight yarn in snowflake colour (I used Paintbox Yarns Cotton DK in Paper White, Duck Egg Blue and Stormy Grey for the snowflakes pictured)
- 2.5mm crochet hook
- Yarn needle, scissors
Abbreviations (US Terms)
- ch – chain
- sc – single crochet
- hdc – half double crochet
- dc – double crochet
- sk – skip
- sl st – slip stitch
- st/s – stitch/es
- […] – repeat the instructions in brackets
- (…) – all stitches are worked in the same space
- (…) – indicates stitch count at end of round
Useful Links
Finished Size
The finished snowflake measures approximately 1.75″ x 2.25″ (4.5cm x 6cm). Size may vary depending on tension and materials used.
Gauge
Gauge is not important in this pattern. However, using a different yarn and hook size will change the size of the finished item.
Notes
- The snowflake is worked in joined rounds starting with a magic ring.
- The ‘branches’ are created with chains that are joined through the front loop and left leg of the single crochet stitch.


Pattern Instructions
Snowflake
Leaving a long starting tail of approximately 15cm, make a magic ring.
R1: Ch 1, 6 hdc in magic ring, sl st to first hdc to join (6)
R2: Ch 2 (counts as first dc), dc in same st, ch 4, [2 dc, ch 4] x5, sl st to top of ch 2 to join (12 dc, 6 ch spaces)
In the next round we’ll be forming the ‘branches’. We will be working into the ch spaces using a combination of sc sts and chs. The chs are joined with a sl st to the sc through the front loop and left leg of the st – see notes.
R3: Sl st in next dc, working in the ch space – [(sc, ch 5, sl st in first sc, sc, ch 7, sl st in sc, sc, ch 5, sl st in sc, sc), ch 2, sk next 2 dc] x6 ( 12 ch 5 loops, 6 ch 7 loops)
Ch 2, fasten off invisibly to first sc.
Weave the starting tail up through the back of your stitches and bring it out next to your ending tail.
Tie in a knot at your desired length to create a hanging loop.
Gently straighten out the ‘branches’ and manipulate your snowflake into shape.
Note: You can block your snowflake if you wish for a more defined shape.
not ready to make this yet?
Pin this post for later

Explore More Crochet Patterns
After you crochet this snowflake, here are some more crochet patterns to try!
- Penguin Ornament Crochet Pattern
- Sleigh Bell Ornament Crochet Pattern
- Angel Ornament Crochet Pattern
Did you make this project?
Share a photo on social media and tag me @stitchbyfay. We love seeing your creations!
Have questions? Join the Facebook group!
We hope you enjoyed this pattern. Come and hang out with me in the Stitch by Fay Community Facebook group. We created this space for you to share pictures, ask questions and support each other.

This pattern is for personal use only and may not be copied, reproduced, altered, published or distributed in any way. If you wish to share this pattern, you may link to this pattern but please do not reprint it on your site.
You can sell finished products made from this pattern in small quantities. Do NOT use our photos as your sale photos.