

Crochet Easter Garland Pattern
Add a touch of handmade charm to your Easter decor with this crochet Easter garland. The crochet eggs feature a sweet flower design that’s perfect for Spring.

How to Make a Crochet Garland
Crochet Garlands are super easy to make. You can string together just about any small amigurumi or applique/shape and you have a fun decoration.
Change up the colours and motifs to suit any occasion – you can’t go wrong!

About the Pattern
The floral eggs that make up this crochet Easter garland are worked in the round starting with a magic ring.
We’ll be fastening off and joining a new colour after rounds 1-3 before finishing with a partial round of varying stitch heights to create the egg shape.

Why You’ll Love This Crochet Easter Garland
More Patterns
If you love this crochet Easter garland pattern, you might also like to check out these other Easter patterns:


Crochet Easter Garland Pattern
Materials
- DK weight yarn in yellow, white and egg colour (I used Paintbox Yarns Cotton DK in Mustard Yellow, Paper White and Lime Green/Bubblegum Pink/Blood Orange/Pansy Purple)
- 3mm crochet hook
- Yarn needle, scissors
Abbreviations (US Terms)
- ch – chain
- bo – bobble stitch
- hdc – half double crochet
- dc – double crochet
- sc – single crochet
- tr – treble crochet
- sl st – slip stitch
- st/s – stitch/es
- […] – repeat the instructions in brackets
- (…) – indicates stitch count at end of round
Useful Links
Special Stitches
Bobble Stitch (bo)
- Yarn over.
- Insert your hook into the indicated stitch.
- Yarn over and pull up a loop (3 loops on hook).
- Yarn over and pull through first 2 loops (2 loops on hook).
- Repeat steps 1-4 three more times in the same stitch (5 loops on hook).
- Yarn over and pull though all 5 loops on hook.
Finished Size
The finished crochet eggs measure approximately 2.25″ tall x 1.75″ wide (6cm x 4.5cm). Size may vary depending on tension and materials used.
Gauge
Gauge is not important in this pattern. However, using a different yarn and hook size will change the size of the finished item.
Notes
- This pattern is worked starting with a magic ring.
- You will be fastening off and joining a new colour after rounds 1-3.
- Crochet over your ends where possible.
- The ch 1 at the beginning of R1 does not count as a stitch.
Pattern Instructions
Egg (starting with yellow)
Make a magic ring.
R1: Ch 1, 8 hdc in magic ring, sl st to first hdc to join (8)
Fasten off yellow yarn.
The next round is made up of bobble stitches. Join white yarn in any st from the previous round with a ch 2 or standing double crochet.
R2: [Bo, ch 2] x8, join with sl st to first bo (8 bobble sts, 8 ch spaces)
Fasten off white yarn.
R3: Join egg colour with a standing double crochet in any ch 2 space from the previous round, 2 dc in same space, ch 1, [3 dc in next ch space, ch 1] x7, sl st to first dc to join.
R4: Sc in next st, hdc in next, dc in ch space, 2 tr in next st, tr in next, 2 tr in next st, dc in ch space, hdc in next st, sc in next (11)
Fasten off invisibly to the ch from the previous round. Weave in all ends.
Make as many eggs as you like.
Blocking
I definitely recommend blocking your finished eggs so that they hang nicely.
Materials
- Blocking mat
- Rust proof pins
- Spray bottle filled with water
Pin your crochet eggs into shape on the blocking mat.
Spray with water until damp and leave to air dry completely.
Finishing
To join the eggs and make into a garland, simply chain your desired amount and sl st through the centre top of each egg (the middle tr st).
For the small garland that I made, I started by chaining 30 and spacing my eggs 20 chains apart.
not ready to make this yet?
Pin this post for later

Explore More Crochet Patterns
After you crochet this Easter garland, here are some more crochet patterns to try:
- 30 Free Easter Crochet Patterns
- Mini Bunny Wall Hanging Crochet Pattern
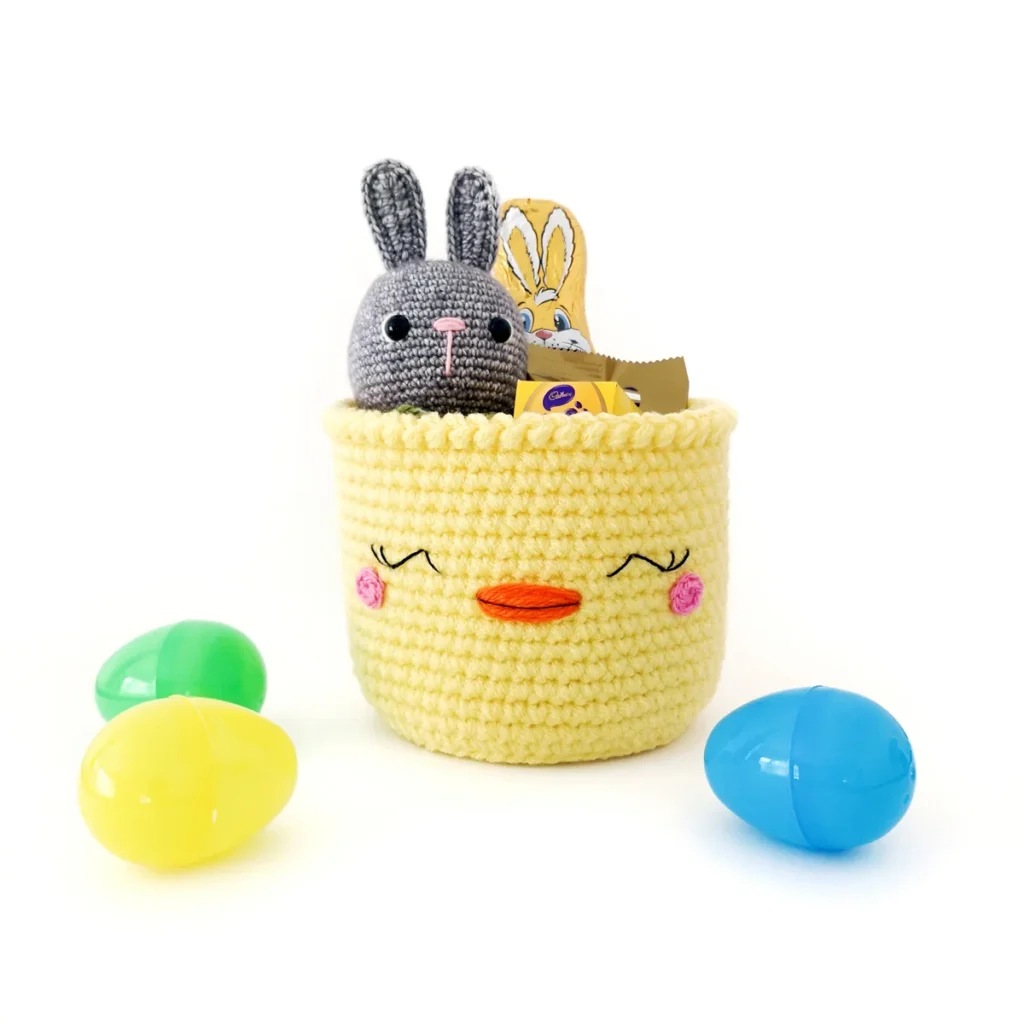
- Creme Egg Bunny Basket Crochet Pattern
What’s Next?
Invitation To Our Facebook Group
We hope you enjoyed this pattern. Come and hang out with me in the Stitch by Fay Community Facebook group. We created this space for you to share pictures, ask questions and support each other.

This pattern is for personal use only and may not be copied, reproduced, altered, published or distributed in any way (including video). If you wish to share this pattern, you may link to this pattern but please do not reprint it on your site.
You can sell finished products made from this pattern in small quantities. Do NOT use our photos as your sale photos.