

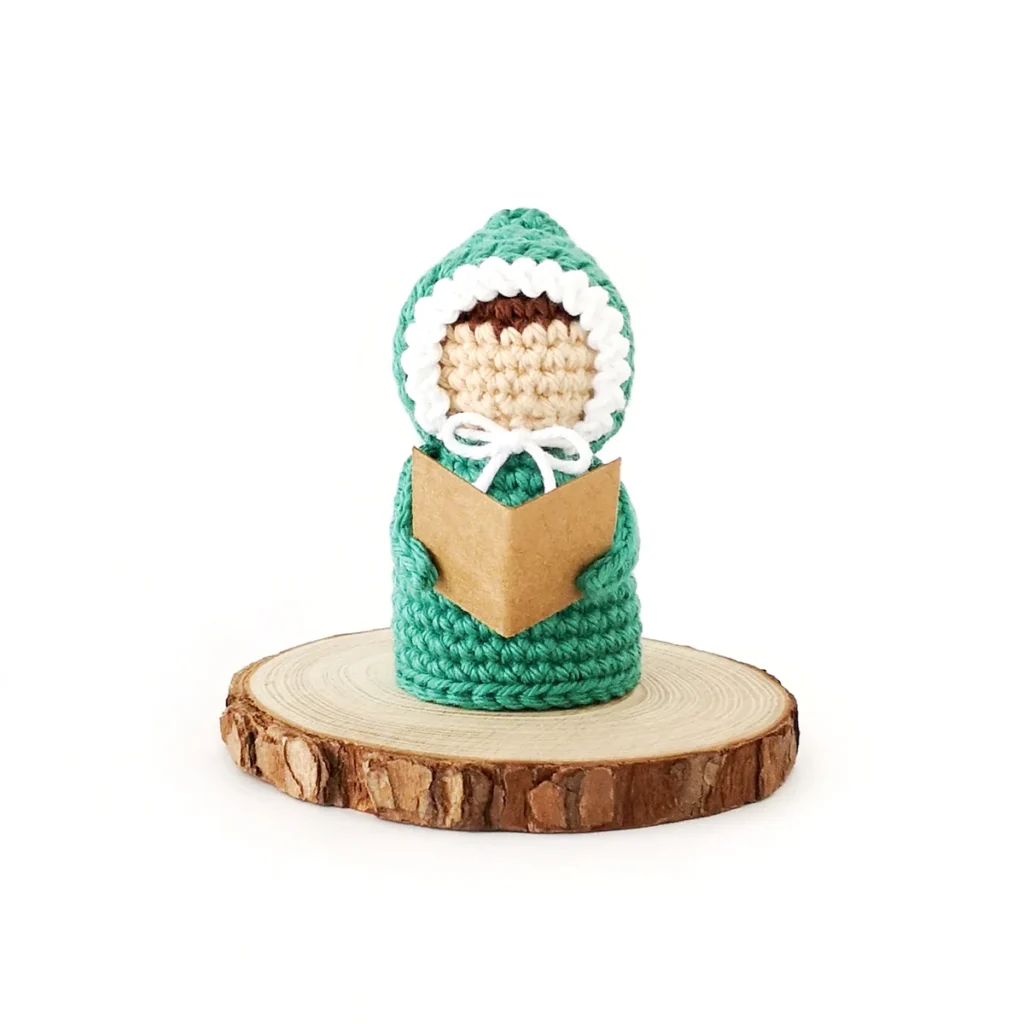
Crochet Carol Singer Ornament Pattern
Celebrate the season’s traditions and bring the joy of music to your holiday decor with this crochet carol singer ornament.
It’s Day 6 of the 12 Days of Crochet Christmas!
This little carol singer is whimsical and fun. If you’re feeling extra, you could even print some tiny sheet music and glue it inside the little song book.
A lot of people struggle with embroidery (myself included) so I chose to leave the face blank for a simple peg doll style.
These sweet dolls would look so cute displayed on a shelf or mantel.

About the Pattern
This crochet carol singer ornament pattern is quick and easy with minimal sewing.
The head and body are crocheted in one piece. We’ll crochet the head first before joining the yarn for the body using a round of leftover front loops.
The body is finished with a round of slip stitches and is left open and unstuffed so it can be used as a freestanding or hanging ornament.
The hood is tied in place using the leftover yarn tails from the trim and the little song book is attached with glue.

Why You’ll Love This Crochet Carol Singer Pattern
More Crochet Patterns
If you love this crochet carol singer pattern, you might also like to check out these other Christmas ornament patterns:


Crochet Carol Singer Pattern
Materials
- DK weight yarn in main colour, hair colour, skin colour and white (I used Paintbox Yarns Cotton DK in Pillar Red/ Slate Green, Coffee Bean, Light Caramel and Paper White)
- 2.5mm crochet hook
- Plain card
- Hot glue
- Stitch marker, yarn needle, scissors
Abbreviations (US Terms)
- ch – chain
- sc – single crochet
- inc – increase
- invdec – invisible decrease
- BLO – back loop only
- hdc – half double crochet
- hdc-dec – half double crochet decrease
- sl st – slip stitch
- st/s – stitch/es
- (…) – all stitches are worked in the same space
- […] – repeat the instructions in brackets
- (…) – indicates stitch count at end of round
Special Stitches
Useful Links
Finished Size
The finished carol singer measures approximately 2.75″ (7cm) tall. Size may vary depending on tension and materials used.
Gauge
Gauge is not important in this pattern. Use a hook size to match your chosen yarn. Make sure that your stitches are tight enough to prevent stuffing showing through and adjust hook size if necessary.
Notes
- Pieces are worked in a continuous spiral starting with a magic ring unless otherwise specified. Mark the first stitch of each round with a removable stitch marker.
- Colour changes take place in the last yarn over of the previous colour.
- The hood is worked in turned rows starting with a row of foundation half double crochet. The ch 1 at the beginning of each row does not count as a stitch.
- The arms are worked in the back bump of the ch.
Identifying the Back Bump of a Chain
If you look at the front of your starting chain you will see the front loop and back loop of your chain stitches. Flip your chain over so you’re looking at the back. You will see a line of stitches running down the center, these are the back bumps of each chain.


Pattern Instructions
Head (starting with hair colour)
R1: 6 sc in magic ring (6)
R2: [Inc] x6 (12)
R3: [Sc, inc] x6 (18)
R4: Sc, inc, [2 sc, inc] x5, sc (24) – change colour to skin colour in last st
R5-7: [Sc] x24 (24) 3 rounds
R8: Sc, invdec, [2 sc, invdec] x5, sc (18)
R9: [Sc, invdec] x6 (12)
Start stuffing and continue to stuff as you go.
R10: [BLO sc] x12 (12)
R11: [Invdec] x6 (6)
Cut the yarn leaving a tail and pull through last st. Weave the yarn tail through the front loops only of the final round and pull to close. Hide the end inside the head.
Body (main colour)
Join main colour to the first left over front loop from R10 of the head.
R1: Ch 1, sc in same space and in each front loop around (12)
R2: [Sc, inc] x6 (18)
R3: Sc, inc, [2 sc, inc] x5, sc (24)
R4-5: [Sc] x24 (24) 2 rounds
R6: [3 sc, inc] x6 (30)
R7-11: [Sc] x30 (30) 5 rounds
R12: [Sl st] x30 (30)
Fasten off and weave in end.
Arms (make 2, main colour)
R1: Ch 9, working in the back bump of the ch – sc in second ch from hook and in each ch across (8)
Fasten off leaving a long tail for sewing.
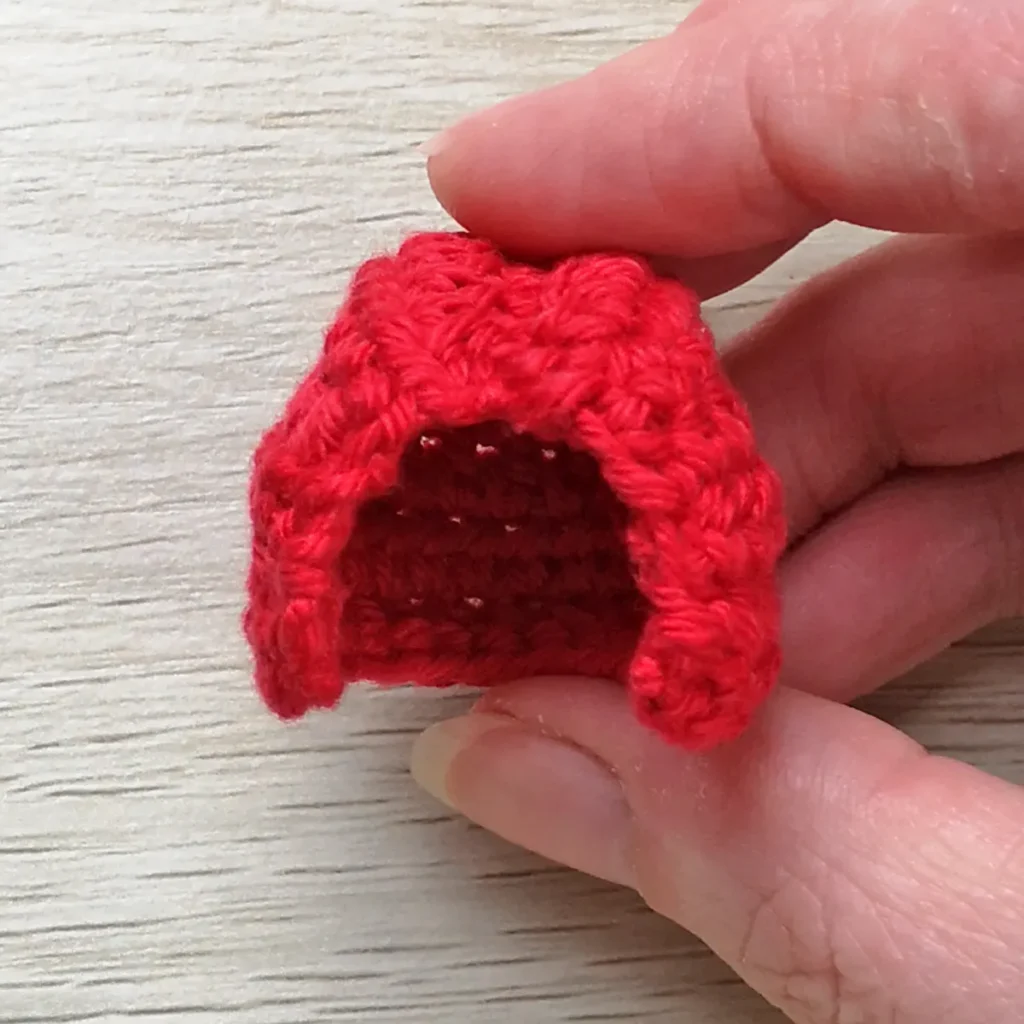
Hood (starting with main colour)
Leave a long starting tail (approximately 22cm)
You can make some adjustments if needed by adding or subtracting sts. The foundation hdc should fit over the head like ear muffs.
R1: 19 foundation hdc (19)
R2-4: Ch 1, turn. [Hdc] x19 (19) 3 rows
R5: Ch 1, turn. Hdc-dec, [hdc] x17 (18)
R6: Ch 1, turn. Hdc-dec, [hdc] x16 (17)
Ch 1, turn. Fold in half and sl st across.
Fasten off and weave in ends.
Turn the hood right side out.
Using the long starting tail from the hood, weave it through the sts around the neck of the hood and gently pull to gather. Keep trying the hood on as you go to check the fit. You want to eliminate any gaping around the neck.
Weave in ends.


Hood Trim (white)
Leave a long starting tail for the hood tie, join white yarn in the back loop only at the bottom left of the hood opening.
[Ch 1, BLO sl st in next st] x19
Fasten off leaving a long tail for the other hood tie.
Finishing
- Cut a piece of plain card and fold it in half for the song book. Mine piece measured 3.5cm x 2.5cm.
- Sew the arms to the sides of the body at an angle over R2.
- Place the hood on the head and tie the 2 white tails together in a bow. Trim ends.
- Position the song book to sit approximately 3 rounds up from the bottom of the body. Glue the hands in place to hold the bottom corners.
- Attach hanging loop if desired.
not ready to make this yet?
Pin this post for later

Explore More Crochet Patterns
After you crochet this carol singer ornament, here are some more crochet patterns to try:
What’s Next?
Have questions? Join the Facebook group!
We hope you enjoyed this pattern. Come and hang out with me in the Stitch by Fay Community Facebook group. We created this space for you to share pictures, ask questions and support each other.

This pattern is for personal use only and may not be copied, reproduced, altered, published or distributed in any format (including video). If you wish to share this pattern, you may link to this pattern but please do not reprint it on your site.
You can sell finished products made from this pattern in small quantities. Do NOT use our photos as your sale photos.
You give the clearest, best instructions, I love all your patterns!